DIY Shamrock Shirt with 4-Leaf Cover Stamp

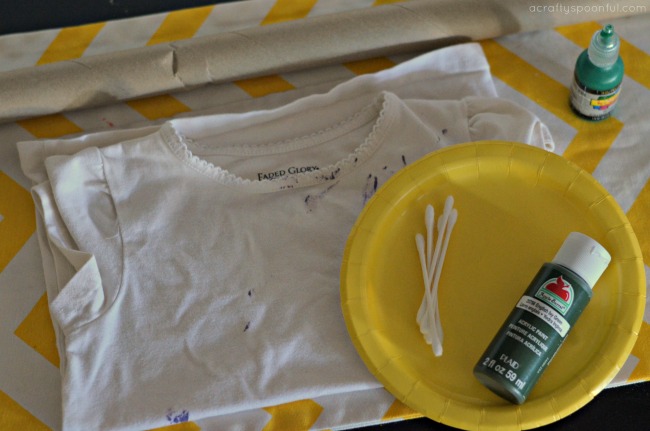
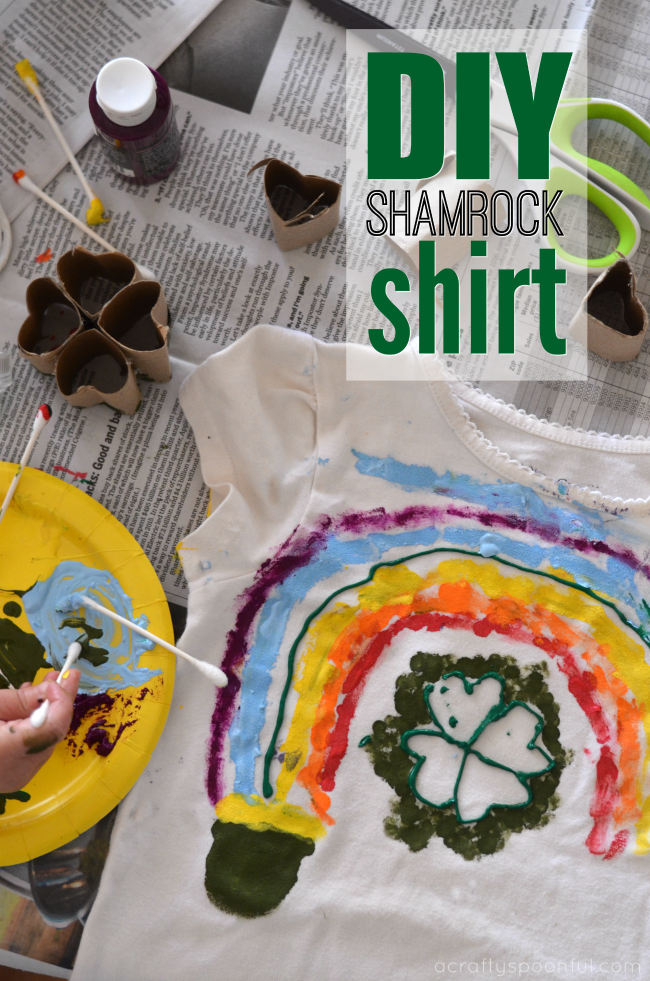
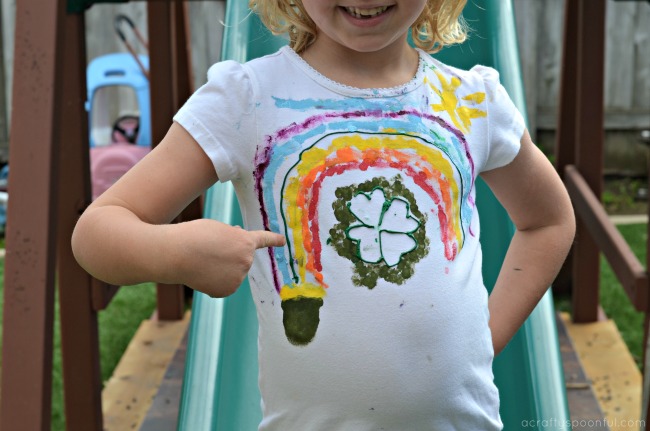
When the kids are home on a weekday because school is out we find an excuse to craft! And with St. Patrick’s Day right around the corner, we decided to make a festive t-shirt for my daughter to wear to school on the holiday. With a cardboard roll, some q-tips, and green paint, you can easily make a shamrock shirt in 30 minutes. 

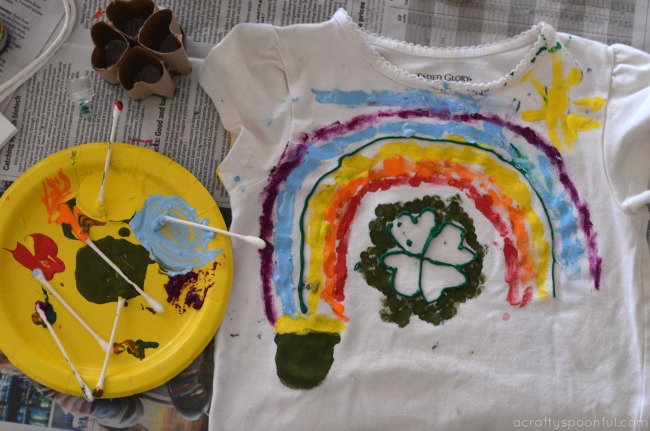
And, if your child is as excited to craft as mine was, you may also end up with a rainbow and pot of gold over your four leaf clover too! Painting with q-tips is fun and using items from around the house to create things allows the kids to think outside of the box! We share some more tips in the Facebook Live video we did below: 
DIY Shamrock Shirt with 4-Leaf Cover Stamp

What you’ll need: 

  • white shirt
  • green paint (plus rainbow colors if you want to add a rainbow)
  • cardboard tube
  • q-tips
  • hot glue gun
  • scissors

What you do: 

1. Cut cardboard tube into 4 sections. 

2. Make a heart with each section by flattening the tube and turning one point into itself.  
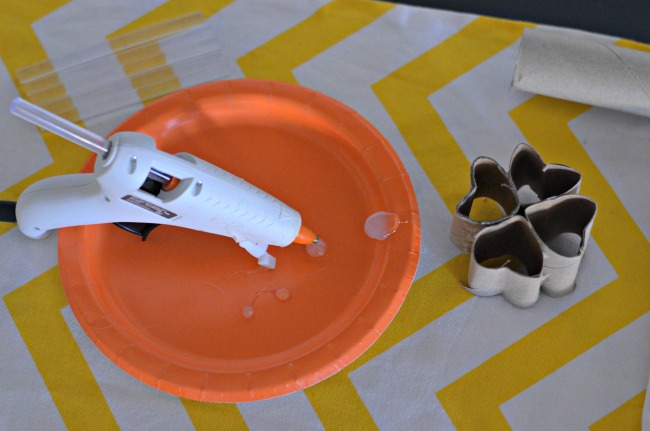
3. Glue all 4 hearts together to form a shamrock. 

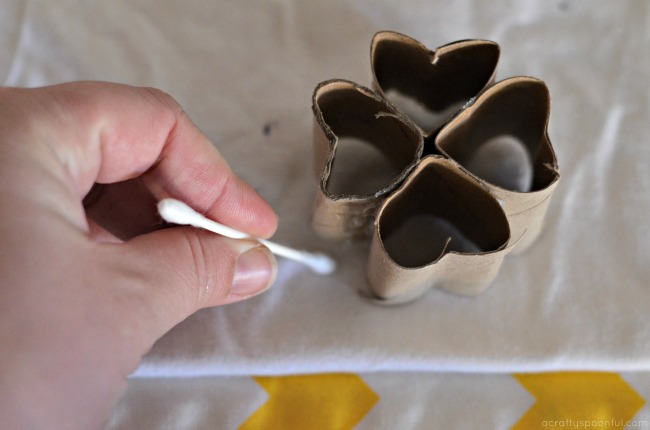
4. Position shamrock onto shirt. Using the q-tip, dot green paint onto shirt following the shamrock outline. 
5. Add a rainbow, pot of gold, or sun to your shirt to finish it off. 

6. Let dry fully before wearing. 
How do you celebrate St. Patrick’s Day? 

Looking for more ways to celebrate? Here are some great recipes to check out! 
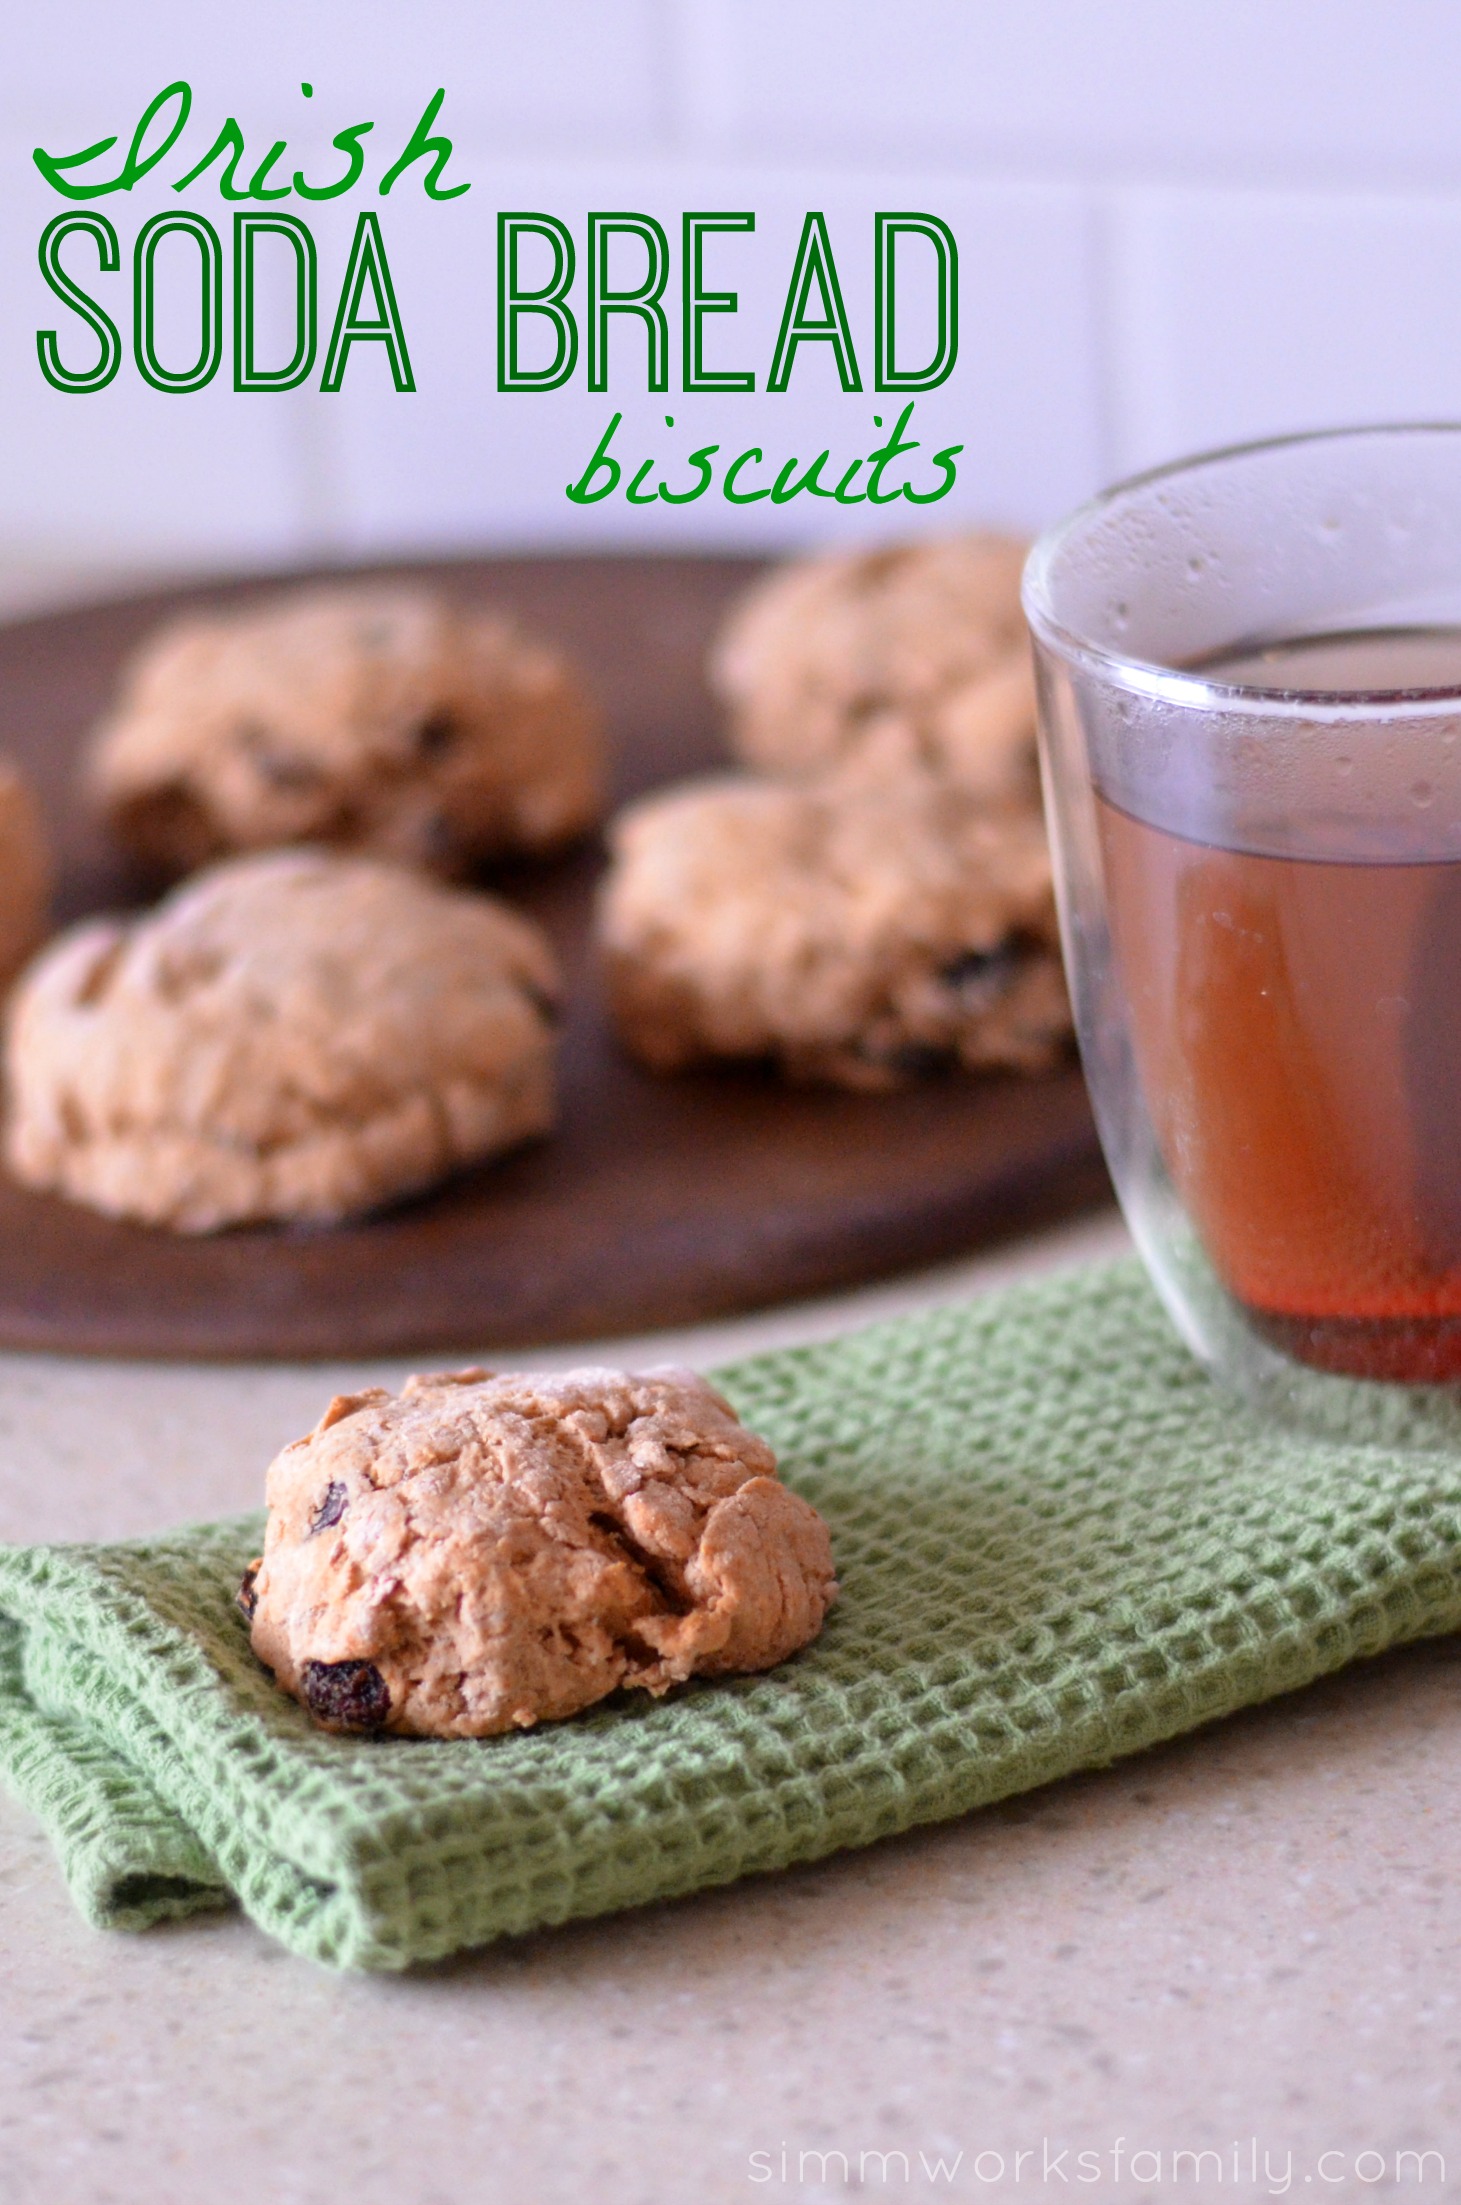
Irish Soda Bread Biscuits

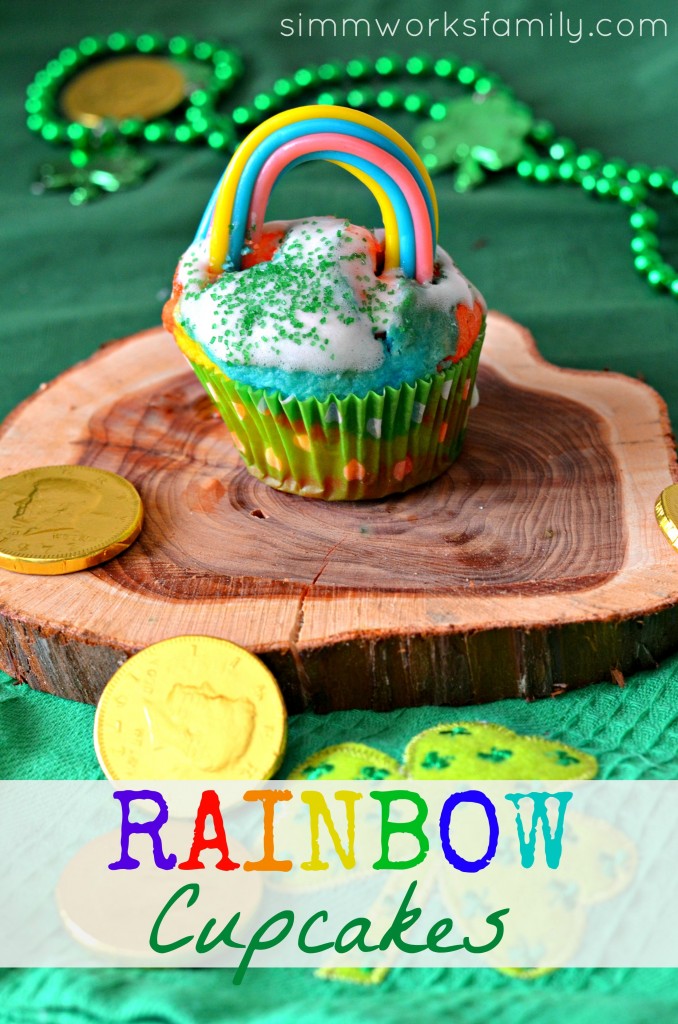
Rainbow Cupcakes

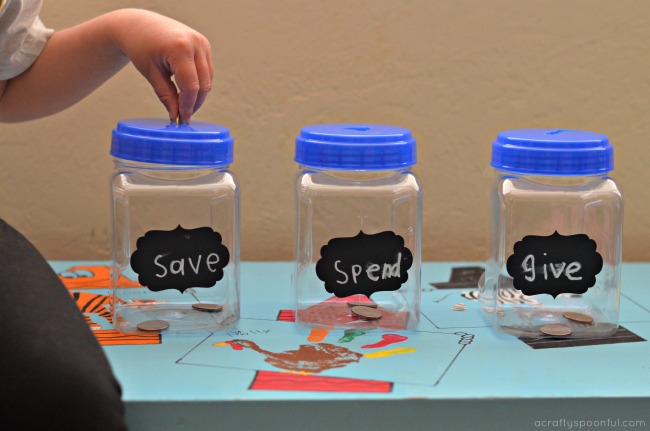
How to Teach Kids To Be SMART Savers + an easy DIY Save Spend Give Piggy Bank

We’re sharing how to teach kids to be SMART savers plus an easy DIY Save Spend Give Piggy Bank for them to make for their earnings.

Do your kids always want to spend everything they get? Or are they more cautious with how they use the money they receive? Whether it’s a weekly allowance, money from birthdays, or money they earn selling lemonade on the corner, kids are never too young to start learning about how to be smart savers. 

With three kids at home, we knew we needed to come up with a simple plan that each of them could understand. From our 2-year-old to our 8-year-old, we use the same system. And it’s broken down into the simplest form for them to grasp. We’ve come up with 3 categories for them and it all has to deal with three simple words: save, spend, give. 

3 Categories of a Budget

Step 1: Save money of your own, 

Step 2: Spend your money wisely by determining what you need versus what you want, 

Step 3: Give your money, time, or things with people who need it.

How to be a SMART Saver

Once you have that broken down, it’s time to start thinking of what or why you want to save. There are 5 steps to putting together a smart savings goal:

1.     Specific: What exactly do you want to accomplish?

2.     Measurable: How will you know you met your goal?

3.     Attainable: Can you really achieve your goal?

4.     Relevant: Why is this goal important to you?

5.     Timely: How much time do you need to accomplish the goal?

Try to talk with your kids about these goals and see if they can come up with their own! 

Get Started! 

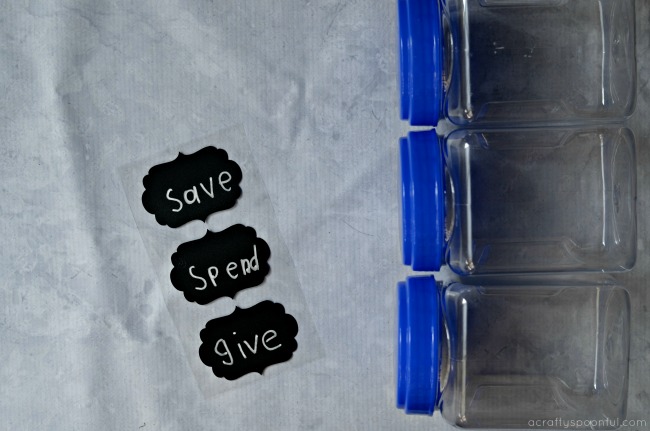
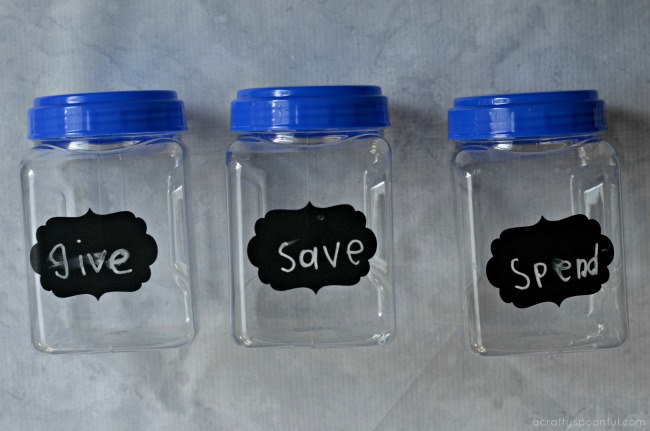
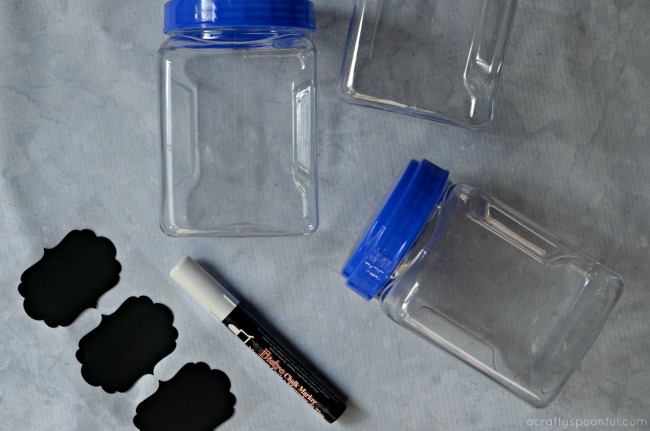
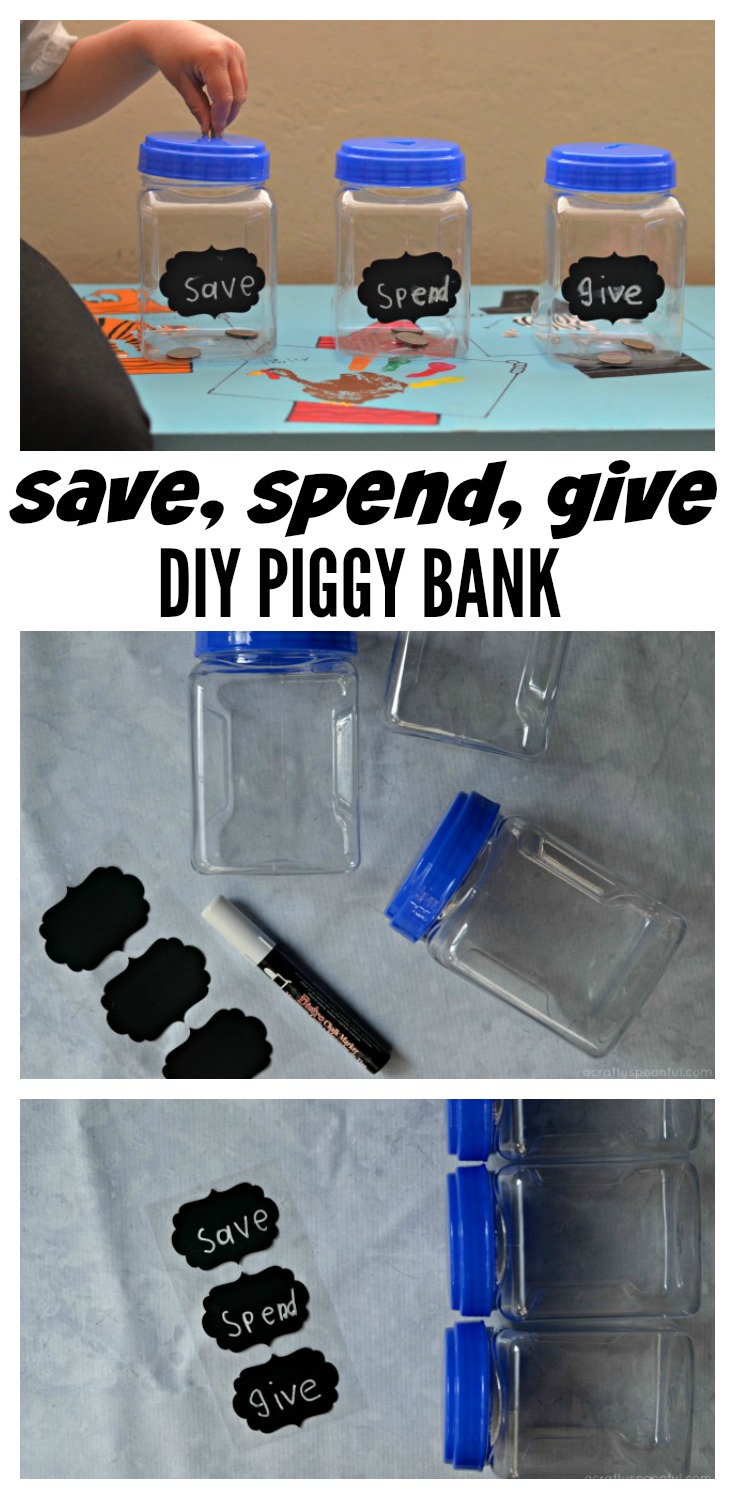
Let the kids construct their own Save Spend Give Piggy Banks by gathering 3 containers, decorating them as you prefer, and labeling each one of the following – “Save, Spend, Give.” Put your money in the appropriate bank as you receive it and watch it add up.

We simply grabbed some containers and labels from the dollar store and kept it simple! But you can get as creative as you’d like. To see how we made ours, watch the video below: 

video here

Are your kids learning to manage the money they’re receiving? 

Love this project? Read more! 

Pin this article for later! 

Click the Pin button on the image below to save for later. 

DIY Sidewalk Paint featured on FormulaMom

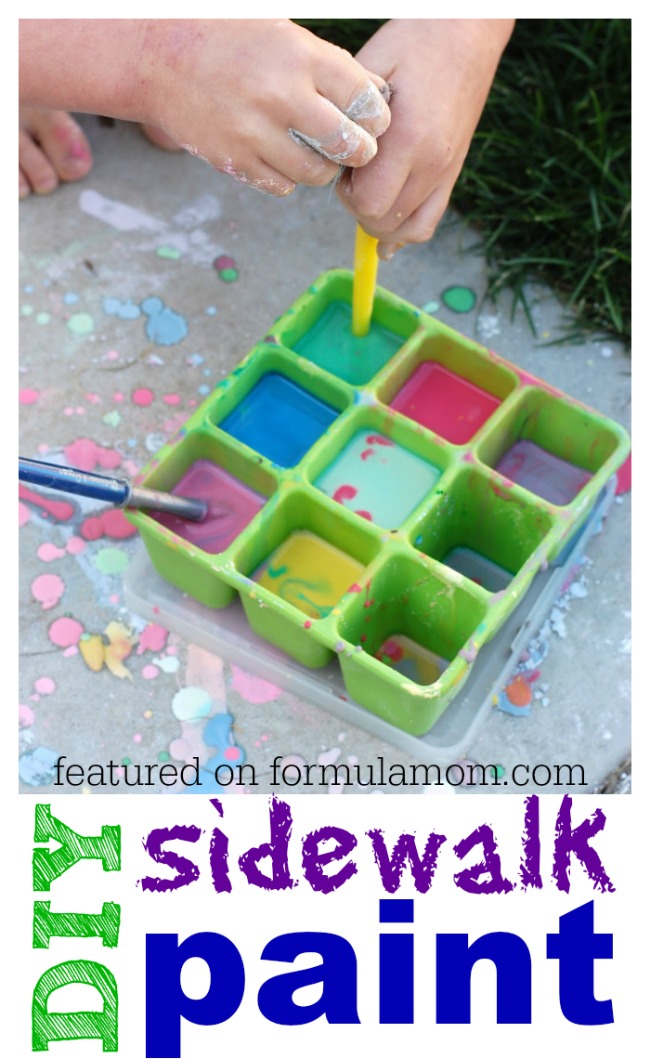
DIY Sidewalk Paint - the perfect summer activity for little onesQuick and easy afternoon crafts are something we love to do. Especially when the weather is nice and the kids are eager to get outside. This craft is not only fun for the kids but it’s easy to put together and very inexpensive. There are only three components to this paint: water, corn starch, and food coloring. You can’t get any simpler than that.
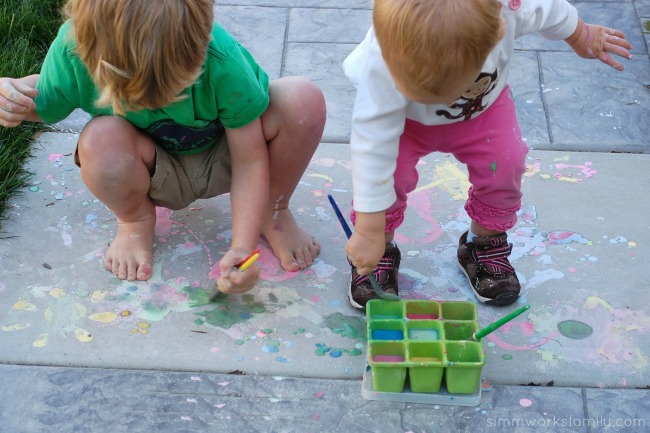
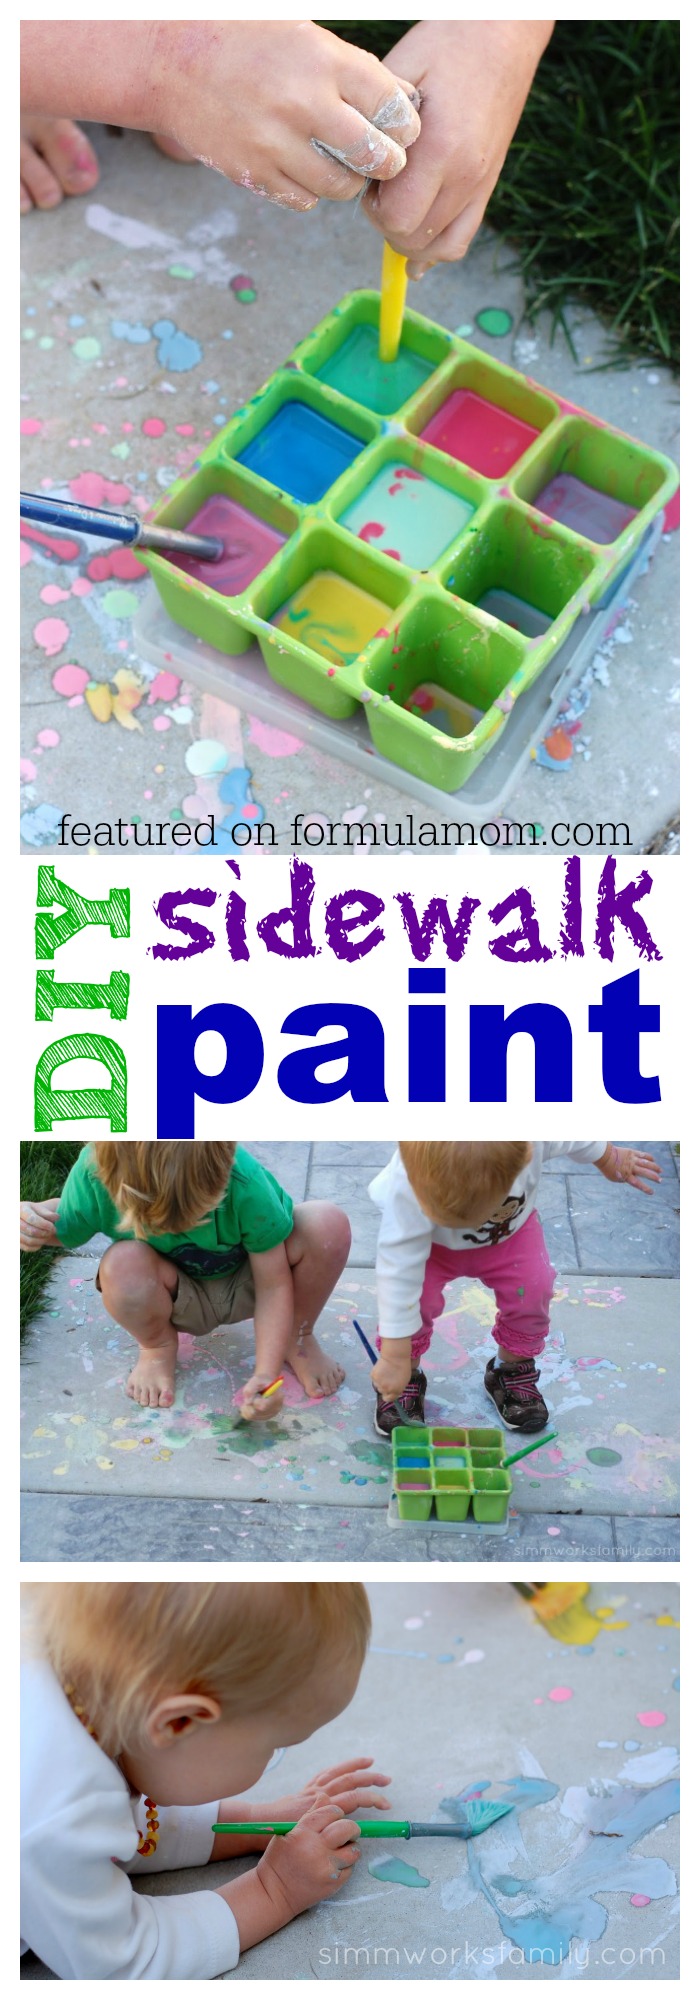
An added bonus is the fact that both of my children could partake in this activity. My 15 month old doesn’t have to sit back and watch Brother make yet another craft without her. She jumped right in as soon as she saw the brushes and didn’t stop until it started getting cold out. I love how creative and imaginative both of them can be together with just paint and a sidewalk.

Sidewalk Chalk Paint

Check out how to make DIY Sidewalk Paint on Formula:Mom today!

This activity is not just for your preschooler. Infants and toddlers love it as well! My 15 month old daughter had a blast painting with her brother. She even wanted to share with mommy and tried to paint me and the camera a few times.

Pinterest Inspiration

DIY Sidewalk Paint featured on Formula Mom


Grand Re-opening of The Home Depot Genesee

Tracking Pixel

This is a sponsored post by me on behalf of The Home Depot.

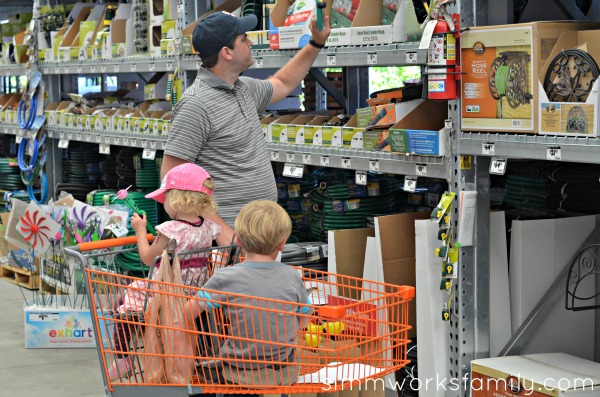
The Home Depot Genessee Grand Re-Opening

As self-proclaimed weekend warriors, my husband and I find ourselves at The Home Depot quite a bit.

So much so that our kids know the layout of the store about as well as they do Target (yeah… we’re bad about that one too!).

The Home Depot garden center

[Read more…]

DIY Father’s Day Gift Ideas

DIY Father's Day Gift Ideas collage

Every Father’s Day I sit and wrack my brain with what I think would be the perfect gift to give my husband. Would he love his favorite TV series on DVD? Does he want to go somewhere and make a day out of it? Or does he love the cute, homemade gifts I have the kids make him every year?

So I decided I’d come up with a plan this year. Each child gets to pick out something to give him from either the store or online (I can still direct them to things he’s interested in or has asked for) and then we’ll make something for him.

And of course I turn to the internets for great ideas on what to do for Dad. So if you’re looking for great gifts the kids can make Dad for Father’s Day, look no further.

Check out these DIY Father’s Day gift ideas and find something for every age child!

[Read more…]

Encourage Reading with Kids Reading Nook Ideas

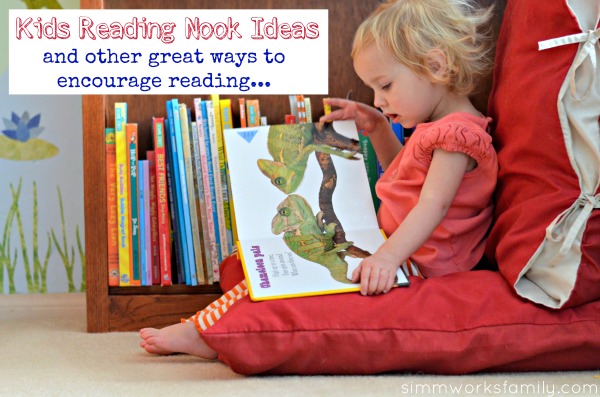
The one thing I will never deny my child is a book. No matter where we are, if my kid finds a book they love, I’m going to get it for them (within reason). I can say no to more toys, more clothes, more shoes, but I can’t say no to books! So I decided to find out how to encourage reading even more and was amazed at the great kids reading nook ideas I came across.

Not only would the kids be able to have a place to access their books, they could cozy up and read them as long as they want.

I read somewhere that the biggest hurdle at home to get kids to read was the lack of books available to them. They either didn’t have many books to access or there wasn’t a place to put them. So from a very young age I’ve made sure that my kids have access to many different books. And we may have taken it a bit overboard.

We have books pouring out of every room in the house. So having one central location for most of the kids books was a big priority when we rearranged the room and moved some furniture. And with this change we created our kids reading nook.

Kids Reading Nook Ideas

[Read more…]

Last Minute Homemade Gift Ideas for the Holidays

Last Minute Homemade Gift Ideas

Christmas is right around the corner and the days are flying by. If you haven’t completed your Christmas shopping consider these last minute homemade gift ideas!

Each is simple, easy, and from the heart. With few ingredients and supplies you can create a gift perfect for any friend or family member.

[Read more…]

DIY Popcorn Garland with @JollyTimePops

Jolly Time Popcorn Garland

 Getting Creative on a Budget: How to Make DIY Popcorn Garland

Getting crafty and creating items to decorate your home can be pretty daunting. And sometimes it gets rather expensive! But this DIY popcorn garland is neither daunting or expensive. So pop up your kernels on the stove and lets get to it!

[Read more…]

DIY Cardboard Seedling Starter {Earth Day Celebration}

In celebration of Earth Day this year I wanted to share a way that you could get the kids involved more in starting your garden. I’ve already posted about releasing butterflies and getting kids involved in gardening so this activity just goes hand-in-hand!

Our family has become quite addicted to gardening over the past year. We were successful in our first attempt this season in our raised bed and are now expanding to the back yard. But since the back yard isn’t quite ready for plants yet we decided to start our seedlings in containers first before putting them in the back yard.

Since we’re a bit frugal we decided to use household items to start our seeds this time around. I grabbed some cardboard, a craft bin we weren’t using, and some left over compost to get started. This method not only proved to be easy but it was a great way to get the kids involved. I can’t wait for them to start seeing the little seedlings sprout!

DIY Cardboard Seedling Starter

What You’ll Need:

  • cardboard tubes
  • shallow container
  • compost or planting mix
  • seeds
  • scissors

What You Do:

1. Cut your cardboard tubes to size. If using paper towel roll cut in 4ths and if using a toilet roll cut in half.

2. Start to fill your container with dirt.

3. Spread the dirt out evenly over the whole container.


4. Using a finger, make a hole 1/4 to 1/2 inch deep in each tube. This will be where the seeds go so read the packaging on the seeds to see how deep you should be planting them.

5. Fill hole with recommended amount of seeds and cover back up.

6. Water well. 

7. Continue to water as directed on the package and allow for adequate sunlight. Depending on the variety of plant your growing, transfer to a larger garden bed when the sprouted plant is large enough (usually 2-3 leaves need to have formed and the plant should be 4-5 inches tall).

Starting from seeds is a great way to reap the benefits of home gardening without the costs of purchasing starter plants from your nursery. Plus, with seeds you get way more than a small plant will yield and you usually end up with multiple plants for a fraction of the cost!

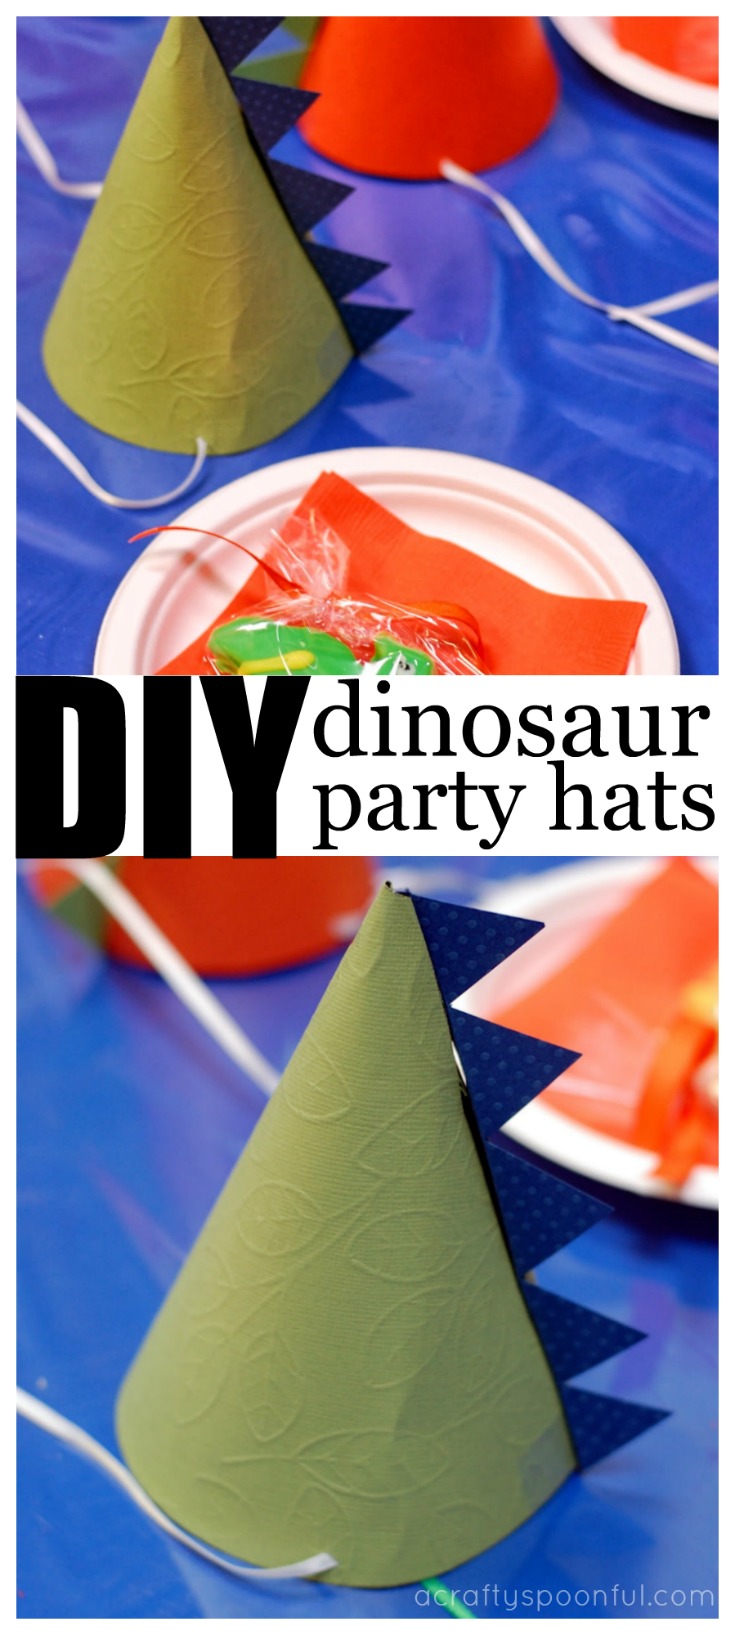
How to Make Dinosaur Party Hats

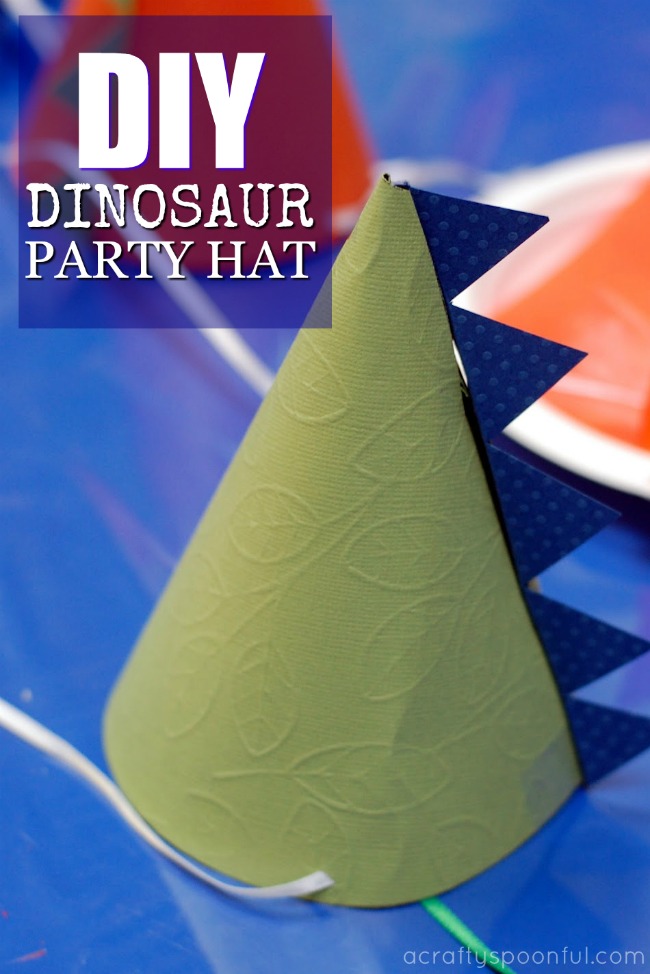
Find out how easy it is to make a dinosaur party hat with this template and some paper.

When planning my son’s Dinosaur Train birthday party I stumbled upon an Etsy store with printables for everything Dinosaur (you can check them out in detail on her blog). One of the things included in the kit was a dinosaur party hat. 

Since I wanted to make my party unique I opted out of purchasing the kit but I did find a way to make those adorable party hats! I used a template I found from Oh Happy Day for the base of the hat, picked up some cute cardstock from Michaels and got cutting and piecing together. 

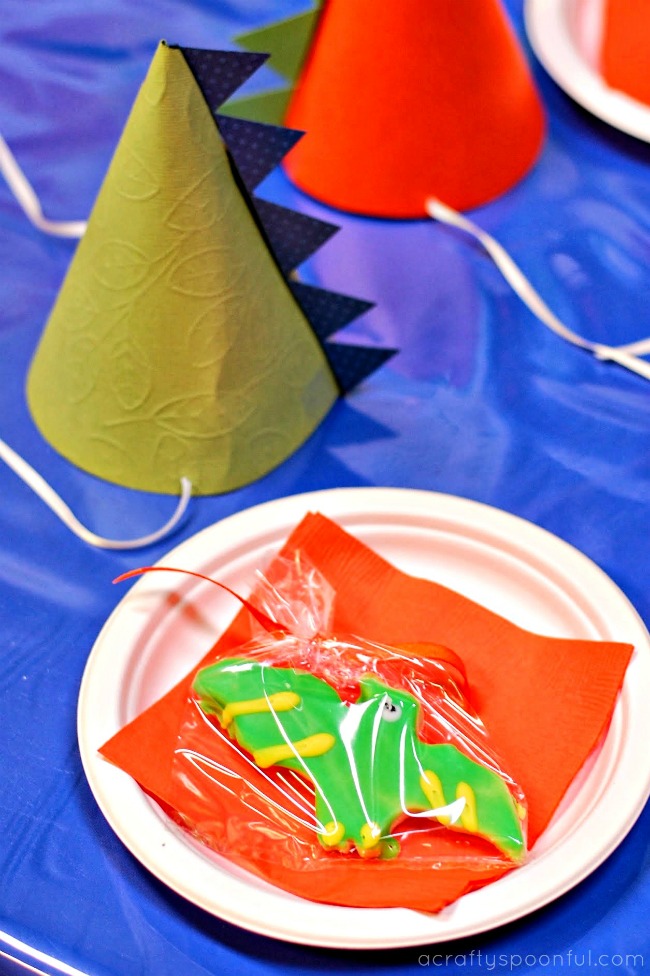
Here’s what I came up with! 

This post contains affiliate links. 

Dinosaur Party Hats

What you’ll need:

What you do:

1. Print template onto cardstock (save 1-2 colors for the spikes).

2. Cut out the template by following the solid black lines.

3. Cut out the slit on the template.

4. Roll hat together and place tab into the slit. You may have to bend the top tab a bit to get it to fit. Once the tab is in, lift the top tab again so it doesn’t slide out. 

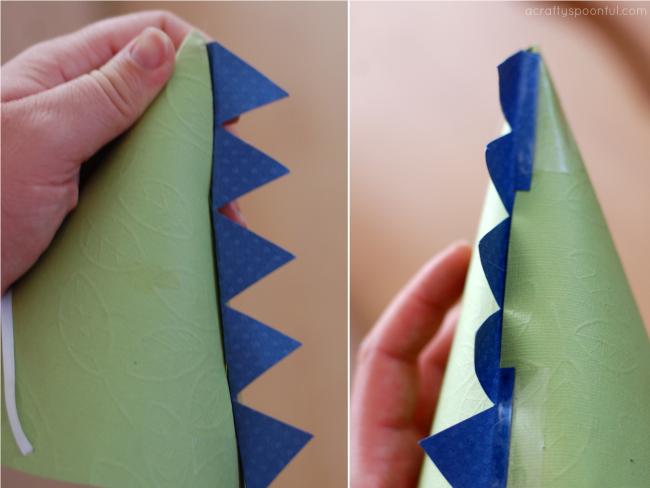
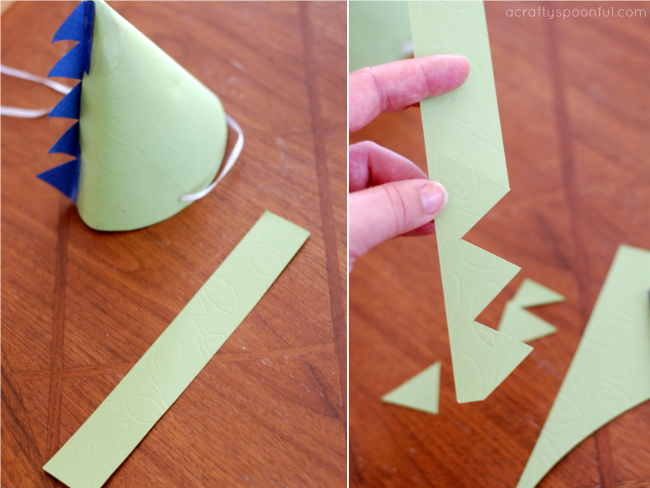
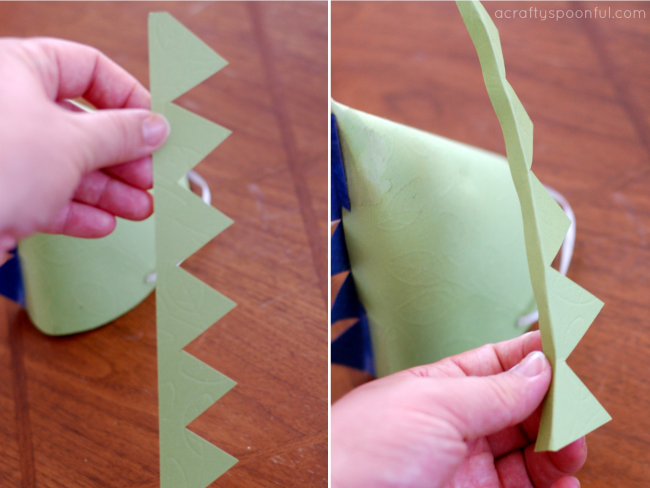
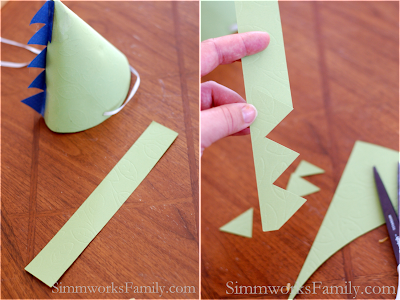
5. Cut out spikes leaving a 1/4″ space at the bottom of each spike row. 

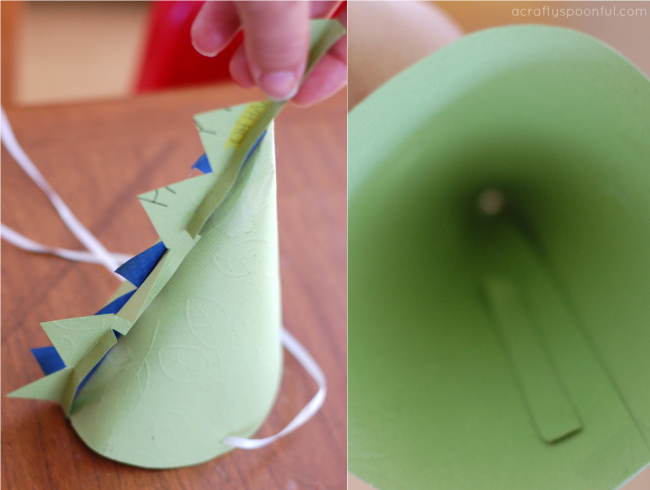
6. Bend spike row on the bottom at the 1/4″ mark and cut the middle of the spikes to slide into the slot.

7. Tape spikes down from the outside and inside of the hat.

8. Using the X-Acto knife, make a small X on either side of the hat.

9. Place the ribbon or string in each hole and knot on the inside.

10. Decorate the hat more from here or leave as is for the perfect Dinosaur Party hat.

Do you have more ideas to make a party hat perfect?

Love this idea? Here’s some more dino party inspiration: 

Pin this article for later! 

Click the Pin button on the image below to save for later. 


© A Crafty Spoonful - All Rights Reserved
It is OK to use one of my photos provided a link back and/or proper credit is given. It is NOT ok to copy and paste a whole post including instructions. Please do not remove watermarks or alter images in any way. Please contact me with any questions at danielle@acraftyspoonful.com

.