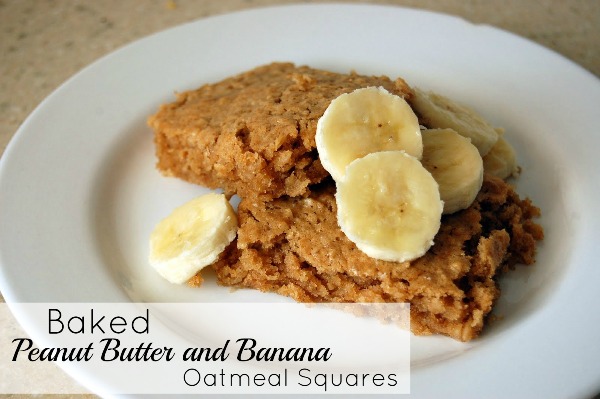
Baked Peanut Butter and Banana Oatmeal Squares Breakfast Recipe

Peanut Butter & Banana Oatmeal Squares

Peanut Butter and Banana Breakfast Squares

If you’re a peanut butter lover AND watching your figure don’t walk, run to go make these healthy baked peanut butter and banana oatmeal squares!

These little squares are packed with flavor and super filling. Now you may be saying healthy oatmeal squares? But if you look at the recipe, there’s nothing “diet” about them. I mean they have butter and real sugar!

No skimping out on this one. If you’re like me and eat a hearty breakfast every morning, help yourself to two servings piled with bananas on top and non-fat vanilla yogurt on the side for an awesome and very tasty breakfast. Each square is only 4 WW+ points.

Seriously… go make these now. [Read more…]
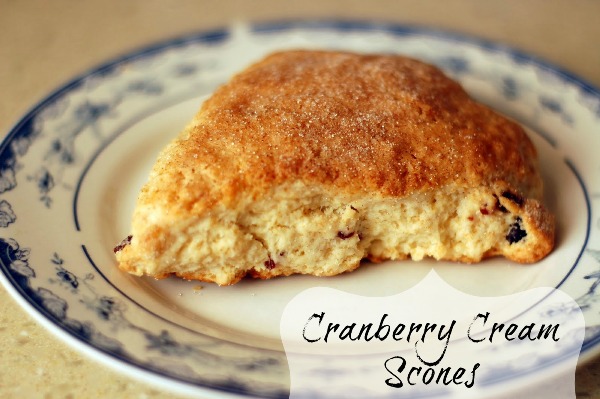
Cranberry Cream Scones {Breakfast Recipe}

Cranberry Cream Scones

Whenever I need something quick and tasty for either breakfast or dessert I almost always go to scones. How can you not?

They’re super filling, very versatile and quick to throw together. You can put just about anything in a scone. Have some raisins? Throw them in! Down to a handful blueberries? Why not use those. And while your at it get some fun ingredients together for toppings. Cinnamon sugar, cream, powdered sugar icing, chocolate, strawberry jam… lots of options!

I also love that I can form the scone into any shape I want. I can make them into biscuits. I can cut them into small triangles or big triangles. I could even use cookie cutters to cut out shapes. And the best part about this recipe is that they not only taste super good on the day they’re made but they taste great the day after as well. The perfect companion to a cup of coffee or tea.

[Read more…]

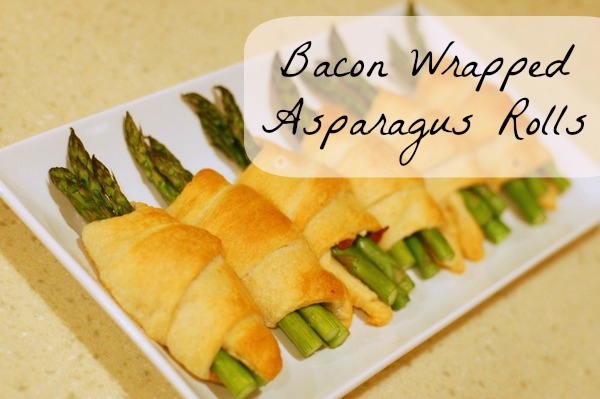
Easy Bacon Wrapped Asparagus Rolls {Appetizer Recipe}

Bacon Wrapped Asparagus

We are a bacon loving family! Who isn’t? And with the holidays coming up, we’ll be thinking of lots of appetizers to serve guests. So why not combine a few favorites with this awesome bacon wrapped asparagus roll?

It’s simple, only 4 ingredients, and easy to make! Plus the combination of the cream cheese and bacon inside with the asparagus is to die for. And how can you go wrong with buttery crescent rolls!

[Read more…]

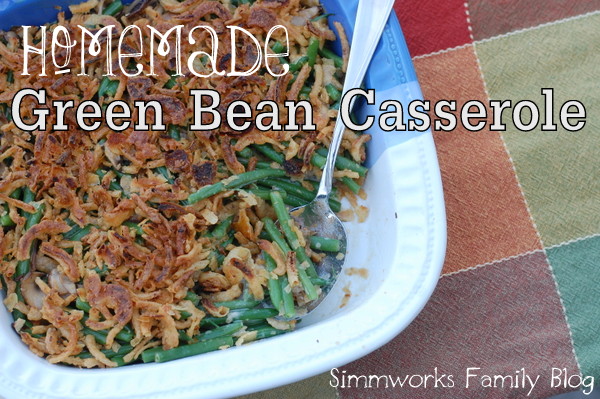
Homemade Green Bean Casserole {Side Dish Recipe}

Homemade Green Bean Casserole

My family was (and still is) absolutely obsessed with green bean casserole growing up. I have so many memories of Thanksgiving dinners of the past where my mother and aunt fought over who would get the first serving as soon as we were done praying.

And sometimes we’d see them munching on the french fried onion topping before we even sat down at the table.

I shook my head wondering how the heck someone could like a dish that included some of my least favorite things: onions, green beans, and mushrooms. Ick! Then I grew up.

It took a Costco sampling this year to make me realize how much I’ve been missing out this whole time. So I decided I’d attempt my own homemade green bean casserole this year. And you know what? I love it!

Homemade Green Bean Casserole

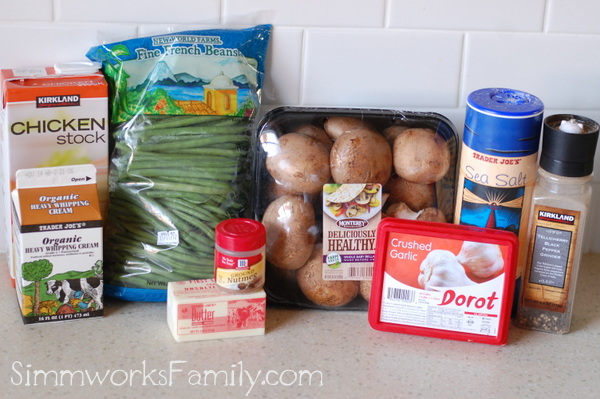
Ingredients:

  • 1lb green beans
  • 6 ounces crimini mushrooms, sliced into 1/2″ pieces
  • 2 tablespoons butter
  • 1/2 teaspoon nutmeg
  • salt and pepper
  • 1 clove garlic
  • 1 tablespoon all purpose flour
  • 3/4 cup chicken stock
  • 1/2 cup heavy cream
  • 1 cup french fried onions + 1 cup reserved for topping


Homemade Green Bean Casserole

1. Preheat the oven to 400 degrees. Boil a pot of water and add salt. Cut green beans into 1-2″ pieces and cook for 5 minutes in boiling salt water.

Homemade Green Bean Casserole

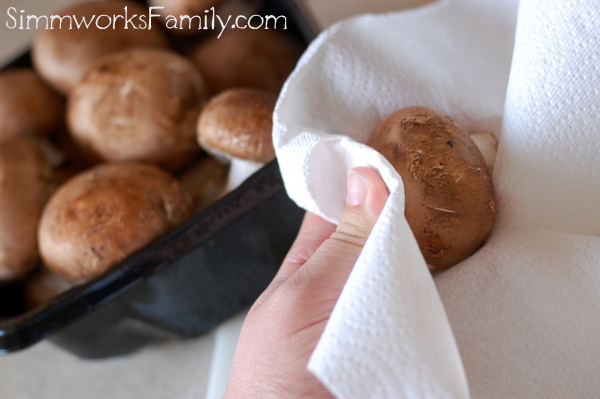
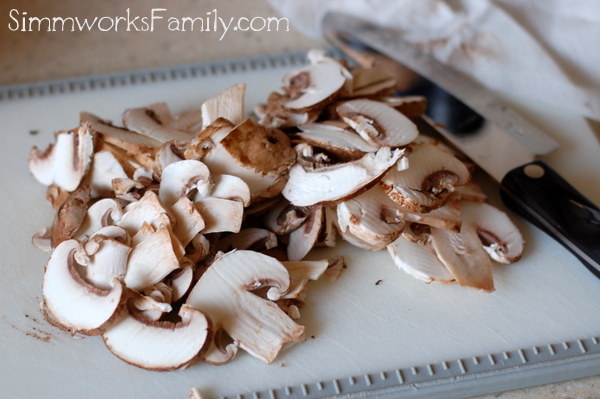
2. Heat butter in a cast iron skillet on medium. Clean your mushrooms off with a towel and slice thinly. Then chop into 1/2″ pieces. Cook mushrooms and salt and pepper in butter until they release their liquid, about 5 minutes.

Homemade Green Bean Casserole

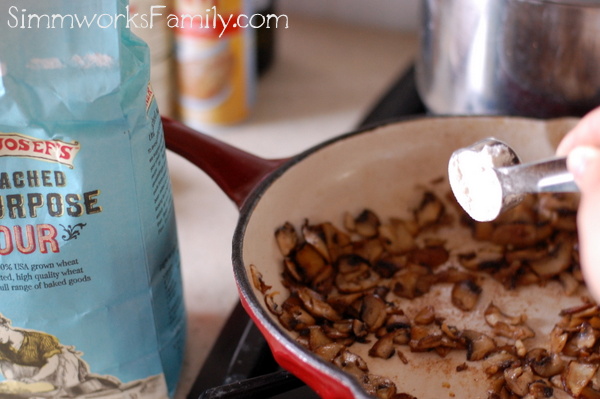
3. Add garlic and nutmeg to the mushrooms and cook an additional minute. Sprinkle with flour and cook another minute.

Homemade Green Bean Casserole

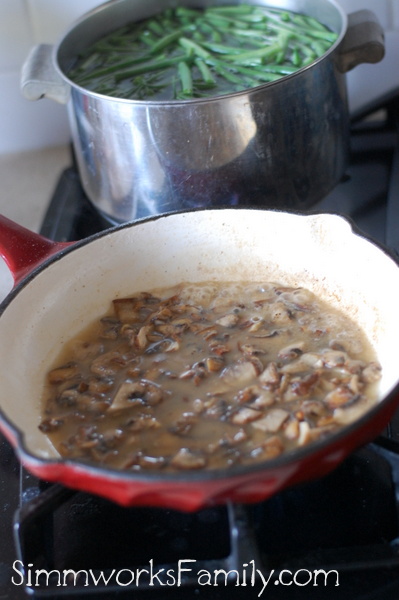
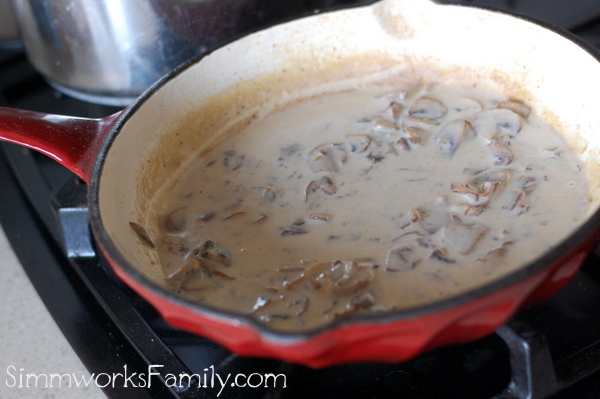
4. Add chicken stock to the pan and scrape up all of the bits on the bottom. Reduce heat and let simmer for a few minutes until thickened.

Homemade Green Bean Casserole

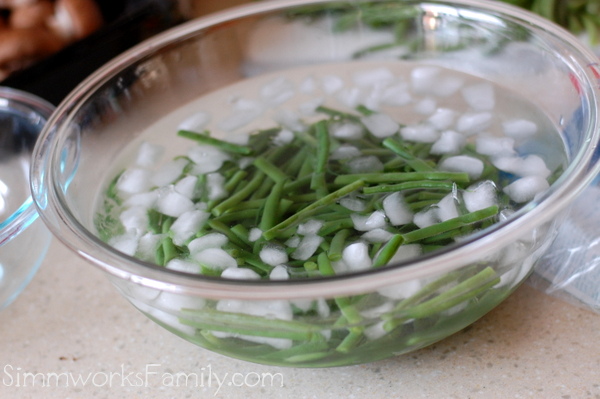
5. Once green beans are done cooking, transfer them to an ice bath to quickly stop the cooking process.

Homemade Green Bean Casserole

6. Add the cream and stir. Let simmer another 2-3 minutes until creamy and fragrant.

Homemade Green Bean Casserole

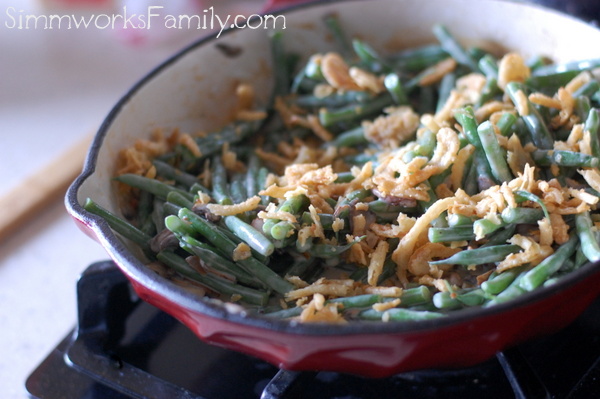
7. Add the green beans and a cup of french fried onions to the mushroom sauce. Mix well until combined.

Homemade Green Bean Casserole

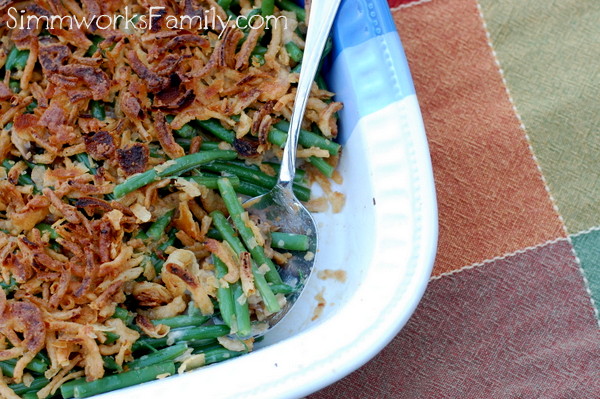
8. Add the green bean mixture to a 9×9 casserole dish and top with remaining cup of french fried onions. Bake for 15 minutes or until bubbly. Let cool 5 minutes and enjoy!

Homemade Green Bean Casserole


Do you serve green bean casserole at Thanksgiving?

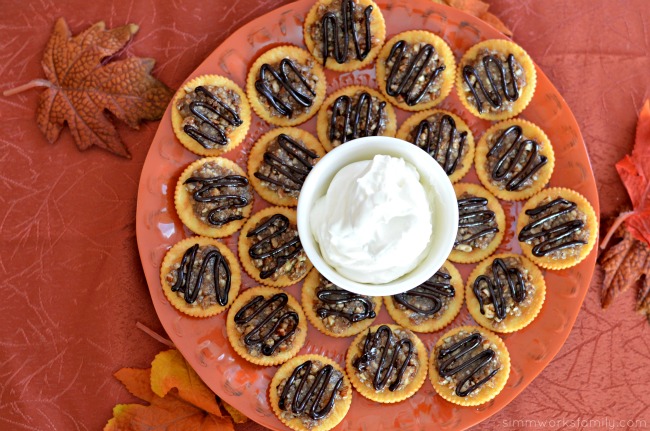
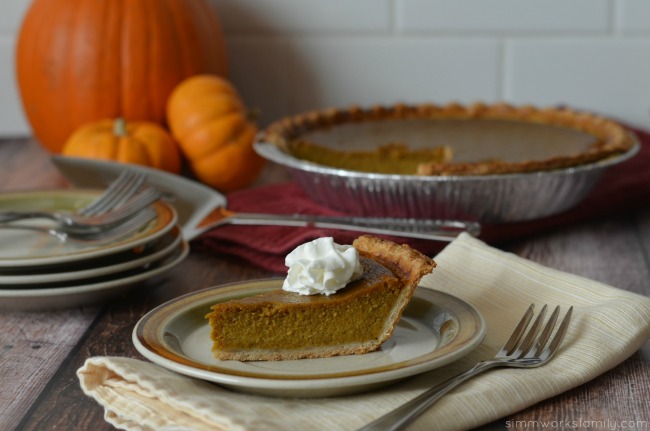
Don’t forget the pie! 

Fall Harvest Party Ideas - Mini Pecan Pie Bites

Mini Pecan Pie Bites

pumpkin pie with coconut milk close up

Pumpkin Pie with Coconut Milk

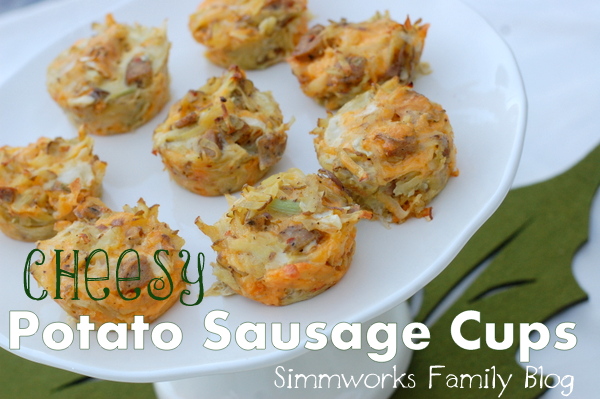
Cheesy Potato Sausage Cups {Appetizer & Sides Recipe}

Cheesy Sausage and Potato Cups recipe

I’ve tried to brainstorm what I’ll be bringing with me to Thanksgiving dinner for about a week now. And I have a few ideas for what I want to make. But I’m not 100% sure.

So I’ve put a few of the recipes to the test before the big day and will be blogging about the ones that turn out tasty!

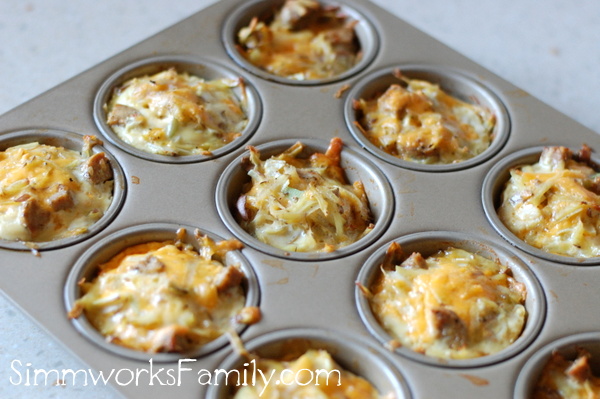
These cheesy potato sausage cups are jam packed with flavor in every bite. And I love how easy they were to throw together.

Like my kitchen sink egg cups, these potato sausage cups are made up of things I found in my fridge and freezer. And they only took about 30 minutes to make.

The best part is they taste amazingly good the second time around. So I could make them the morning of, bring them over to my brother-in-law’s house and simply re-heat them before dinner! They’d make the perfect side or appetizer dish.

Cheesy Sausage and Potato Cups

[Read more…]

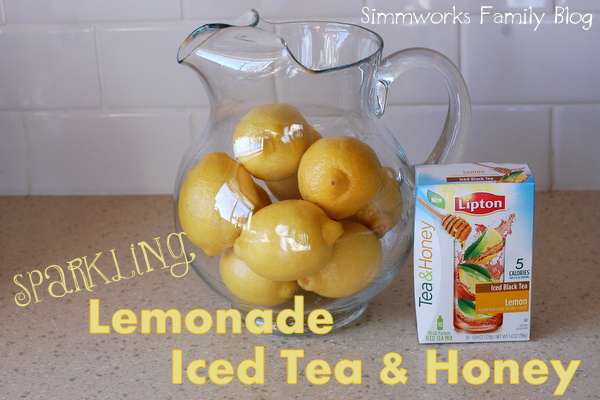
Sparkling Lemonade Iced Tea and Honey Recipe

Sparkling Lemonade Iced Tea & Honey Lipton #FamilyTeaTime

Sparkling Lemonade Iced Tea and Honey

Our family has one passion and that’s tea! Yes, I’m known to have a love of coffee, but my roots have always been with tea. So when I saw these Lipton Tea & Honey iced tea mixes on the shelves of Walmart I knew I wanted to try something new and test them out.

But it wouldn’t be fun to simply mix the Tea & Honey packets with just plain water. No… I wanted to make something that would be tasty and fun for the whole family!

So I started thinking about some of my families favorite flavors and two things immediately emerged… lemons and iced tea! How perfect is this combination? Simple, classic, and refreshing. Instead of simply mixing the iced tea with lemonade, I decided to kick it up a notch and add a little sparkle to the mix.

What I love about this recipe is how versatile it is! With so many Lipton Tea & Honey varieties, there are so many combinations of flavors you can make with this one recipe.

I served this pitcher to my family as a taste test first and then served it at my My Favorite Things Spa party. It was the perfect refreshment for the mamas-to-be who attended and were looking for something fun and bubbly to enjoy.

[Read more…]

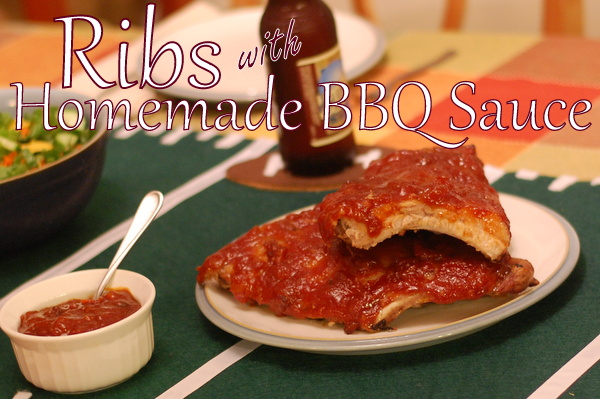
Baby Back Ribs with Homemade BBQ Sauce

Ribs with Homemade Barbecue Sauce

There’s one meal that I wish I could cook better. And that’s baby back ribs with bbq sauce. I absolutely love ribs. Love the taste, the mess, and the pile of bones left over at the end. I know, I know… I’m weird. But a good plate of ribs just hits the spot.

And they’re the perfect dish to make for tailgating! So when I was planning my menu for my tailgating party I knew we had to serve ribs. Not only can they be made at home, but they can also be made on the grill and in the crock pot. So many different ways to make one delicious dish!

These ribs are even tastier because of the homemade barbecue sauce I made to go with them. And I have two surprises… my secret ingredient! Total Iron Chef moment here.

We headed out to Smart & Final for our ingredients and I knew I wanted to pick up some flavored preserves. As soon as I saw the First Street apricot pineapple preserves I knew I needed them for my sauce. And it was the best choice I made! While you can use peach, apricot, or even raspberry preserves in this recipe, the combination of the apricot and pineapple gave this sauce an amazing flavor.

You can check out my whole shopping experience by checking out my Smart & Final Tailgating Google + Album.

[Read more…]

Better than Panera Chocolate Chip Cookies Recipe

There’s one thing my family is obsessed with. And that’s cookies. Our favorite cookie? Chocolate chip cookies!

There are many nights that my husband comes home and, after eating dinner together, heads to the  kitchen to start a batch of homemade chocolate chip cookies. You can understand now why it’s so hard to stick with a diet plan in this house.

One cookie we absolutely love are the Panera chocolate chip cookies. Every bite is filled with chocolate and they’re super soft with the perfect crunchy outer layer. So when we heard of a chocolate chip cookie recipe that was deemed better than Panera we had to try it out.

The results? Oh, these cookies are definitely better. And worth making again and again!

Better Than Panera Chocolate Chip Cookies

  • 2 cups all-purpose flour
  • 1/2 teaspoon baking soda
  • 1/2 teaspoon salt
  • 3/4 cup unsalted butter, melted
  • 1 cup packed brown sugar
  • 1/2 cup white sugar
  • 1 tablespoon vanilla extract
  • 1 egg
  • 1 egg yolk
  • 2 cups mini semi sweet chocolate chips

Preheat the oven to 325 degrees. Line cookie sheet(s) with parchment paper.

Sift together flour, baking soda, and salt. Set aside.

In a stand mixer, cream together the melted butter, brown sugar and white sugar until light and fluffy. Beat in the vanilla, egg, and egg yolk until mixture is creamy.

Mix in the sifted dry ingredients until just combined. Using a spatula, fold in the mini chocolate chips.

Using a cookie scoop, drop cookie dough (about 1/4 cup) onto the prepared chookie sheets. Cookies should be about 3 inches apart.

Bake for 15-17 minutes or until edges are golden brown. Cool on cookie sheet for 1-2 minutes before transferring to a wire cooling rack. Cool completely before serving.

Makes about 18 large cookies.

What’s your favorite cookie?

Delicious Pumpkin Bars with Cool Whip Frosting

Oh Fall! I’m so happy you’re here again. We could definitely use the cooler weather (if that ever happened) and I’m very excited about the upcoming holidays. But a more important reason why I’m here… is because with Fall comes pumpkins! And canned pumpkin is on the shelves in full force.

That means I get to try a whole new batch of recipes out on my friends, family, and playgroup and this year is no different. I decided to go with a pumpkin bar. But the special ingredient isn’t the pumpkin, it’s the Cool Whip Frosting on top. If you want the perfect pumpkin treat this season you need to try this recipe.

Pumpkin Bars with Cool Whip Frosting

  • 3 eggs
  • 1 2/3 cups sugar
  • 1 cup vegetable oil
  • 15 oz pumpkin puree
  • 2 cups flour
  • 2 teaspoons baking powder
  • 2 teaspoons cinnamon
  • 1 teaspoon baking soda
  • 1 teaspoon pumpkin pie seasoning
  • 1 teaspoon salt

1. Preheat oven to 350 degrees. Grease an 8×8 pan with butter or cooking spray.

2. In a stand mixer with a paddle attachment, beat together sugar, pumpkin, oil, and eggs on medium until light and fluffy.

3. In a large bowl, sift together flour, baking soda, baking powder, cinnamon, pumpkin pie spice, and salt.

4. With a spatula, add flour mixture to liquid mixture until just combined. Make sure not to over-mix.

5. Pour batter into prepared pan and bake at 350 for 35-40 minutes.

 
6. Once the pumpkin bars are cooked, transfer to a cooling rack.

7. When completely cooled, cut off top to make an even, flat surface.

8. Cut into squares.

9. Grab the Cool Whip Frosting and start spreading it on.

10. Top each bar with a pecan and serve.

This recipe makes 16 servings.

Note: 
You can easily bake in a 9×13 pan instead for thinner bars to feed a larger crowd. Simply reduce cooking time to 20-25 minutes. Feel free to frost then cut if you feel that frosting each individual bar will take too long. I just hate dealing with crumbs in my frosting.

What do you love to make with pumpkin? 

Smarties Sugar Cookies

I love when I can take something that I love and create something equally as great. Smarties are one of my favorite Halloween sweet treats and I love passing them out to trick-or-treaters. Not only are they gluten-free, they’re free of most allergens and are low in fat as well. But in this recipe they are most definitely not gluten free. Nor are they low in fat…

By pulsing the Smarties in a food processor I created a flour and used the Smarties in a family sugar cookie recipe. I simply reduced the amount of sugar called for in the recipe and subbed the Smarties flour. The end result was fantastic! A not-too-sweet sugar cookie that was definitely flavored by the Smarties. Yum!

And perfect for any Halloween party coming up. We baked them up for our parish festival’s bake sale and they were quite a hit. Three to a bag with a few Smarties thrown in. Who could resist? [Read more…]


© A Crafty Spoonful - All Rights Reserved
It is OK to use one of my photos provided a link back and/or proper credit is given. It is NOT ok to copy and paste a whole post including instructions. Please do not remove watermarks or alter images in any way. Please contact me with any questions at danielle@acraftyspoonful.com

.