
Every morning we wake up and decide what to have for breakfast. Sometimes it’s eggs, sometimes it’s yogurts and berries, and sometimes it’s cereal. But every once in a while we get a special treat.
Pancakes!
Now, it’s not that pancakes are hard to make. Or that they’re labor intensive. We just don’t eat them all the time. So when we do, we make them special. And I have to admit, when I run out of my Alton Brown pancake mix, I grab a box mix.
But I don’t leave it at that! We spice up our pancakes with the fruit and spices we have on hand and make them extra special and nutritious. When my kids were small I would add different purees into their pancake mix but now that they’re older we like to dice up our fruit before adding it in.
And here’s how we do it:
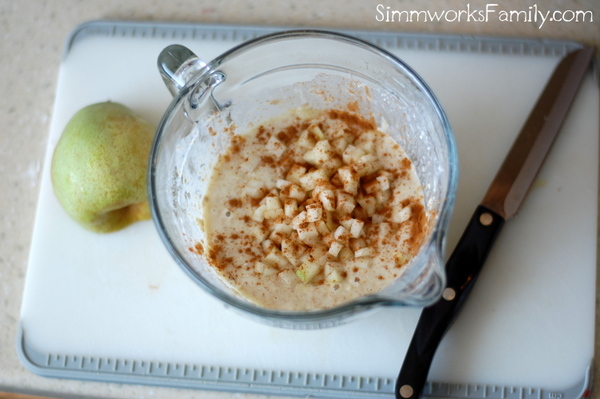
Pear Pancakes with Cinnamon
- 1 cup Trader Joe’s multigrain pancake mix
- 1/2 cup milk
- 1 egg
- 1/4 pear
- 1 tsp cinnamon

1. Dice up the pear into small pieces.

2. Mix together the pancake mix, milk, and egg with a whisk until just incorporated. Do not over-mix.

3. Add in the diced pear and cinnamon. Fold in gently.
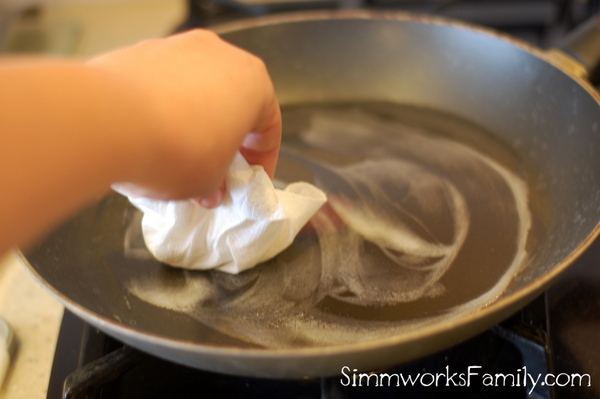
4. Let pancake batter sit while you prep the pan. Heat pan on medium heat.

5. Coat pan with butter. Take a towel and wipe off the excess batter (thanks, Alton, for that tip!)
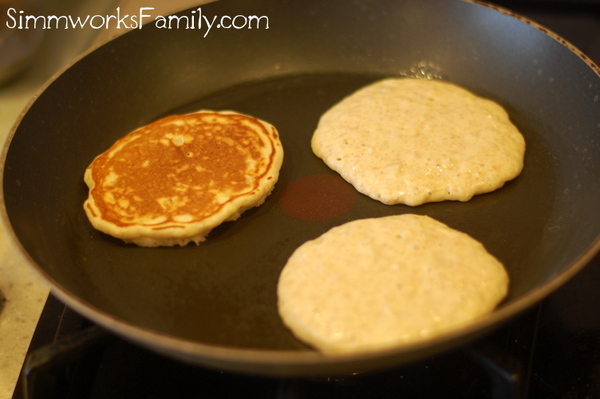
6. Using a measuring cup, pour 1/4 to 1/3 of the batter onto the hot pan.

7. Let cook until batter is bubbling and edges look firm and underside is golden brown, about 1 1/2 to 2 minutes. Flip.

8. Let the other side cook until golden brown, about 2-3 minutes.
9. Repeat with the rest of the batter. If making large batches, store cooked pancakes in a warm oven (I set mine on the lowest setting and place pancakes on a plate with a towel on top to keep warm while I finish the rest of the batches).

10. Enjoy!
Makes 6 pancakes
Pancakes are so easy and versatile! Why stick with the same old plain pancakes when you can jazz them up? Switch up apples for pears and add some peanut butter on top and you have a tasty, and healthy meal perfect for this Fall!


