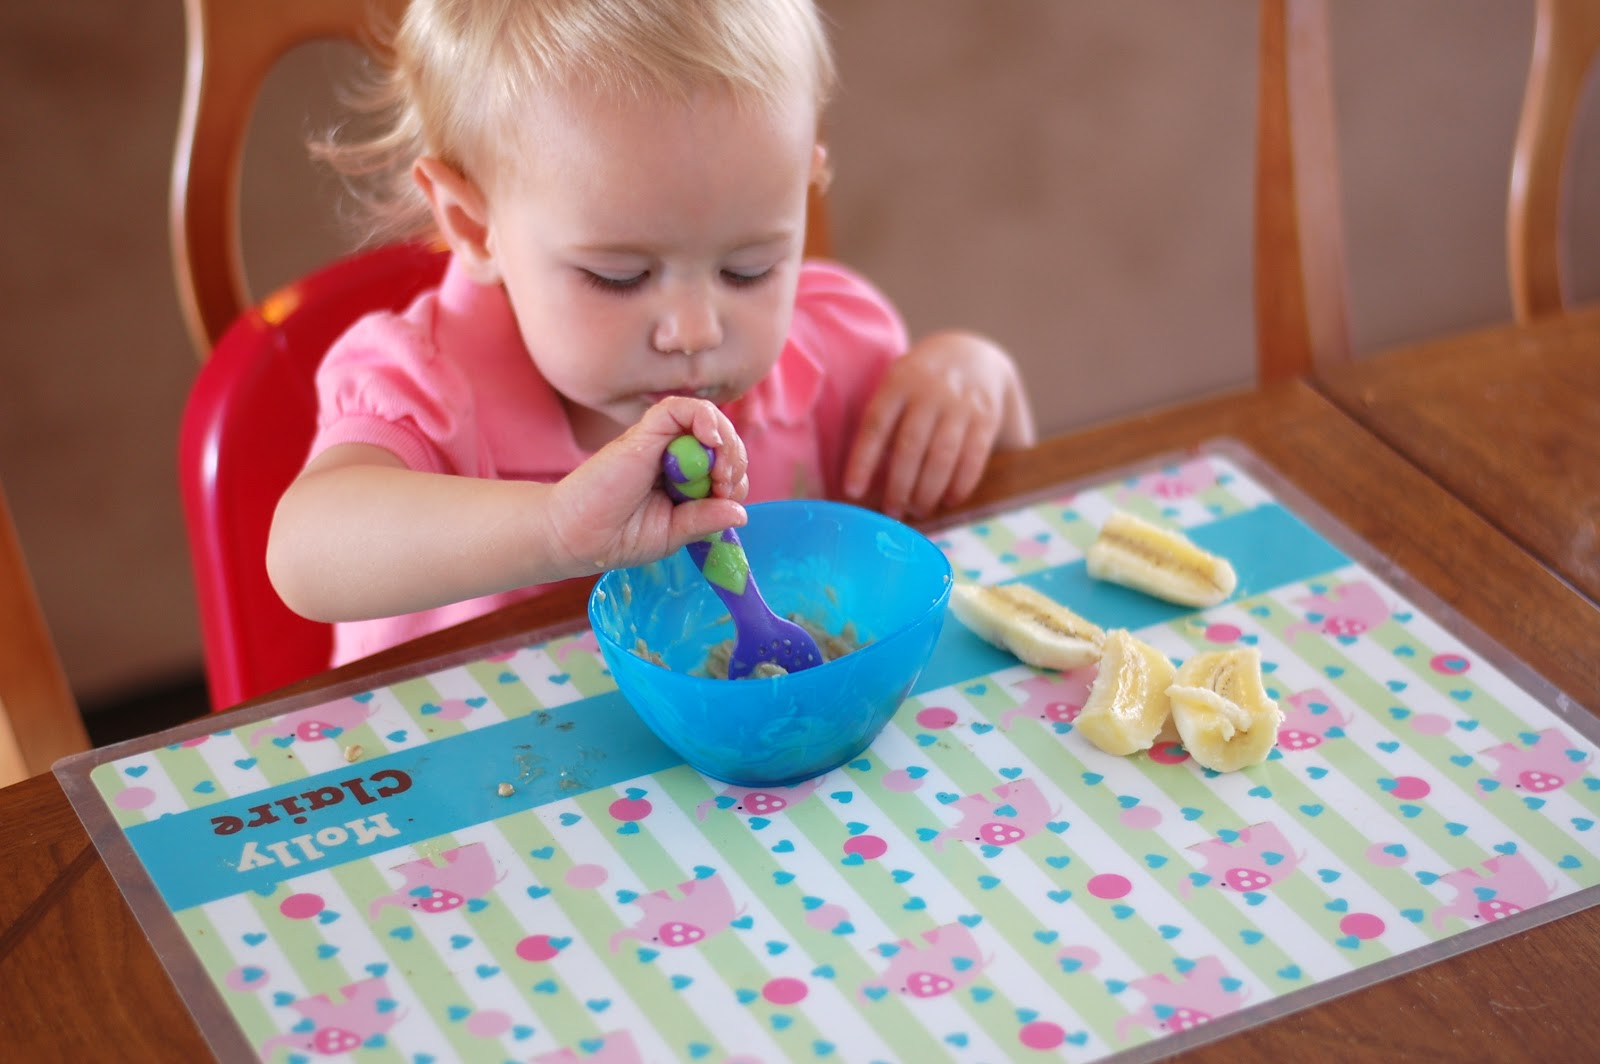
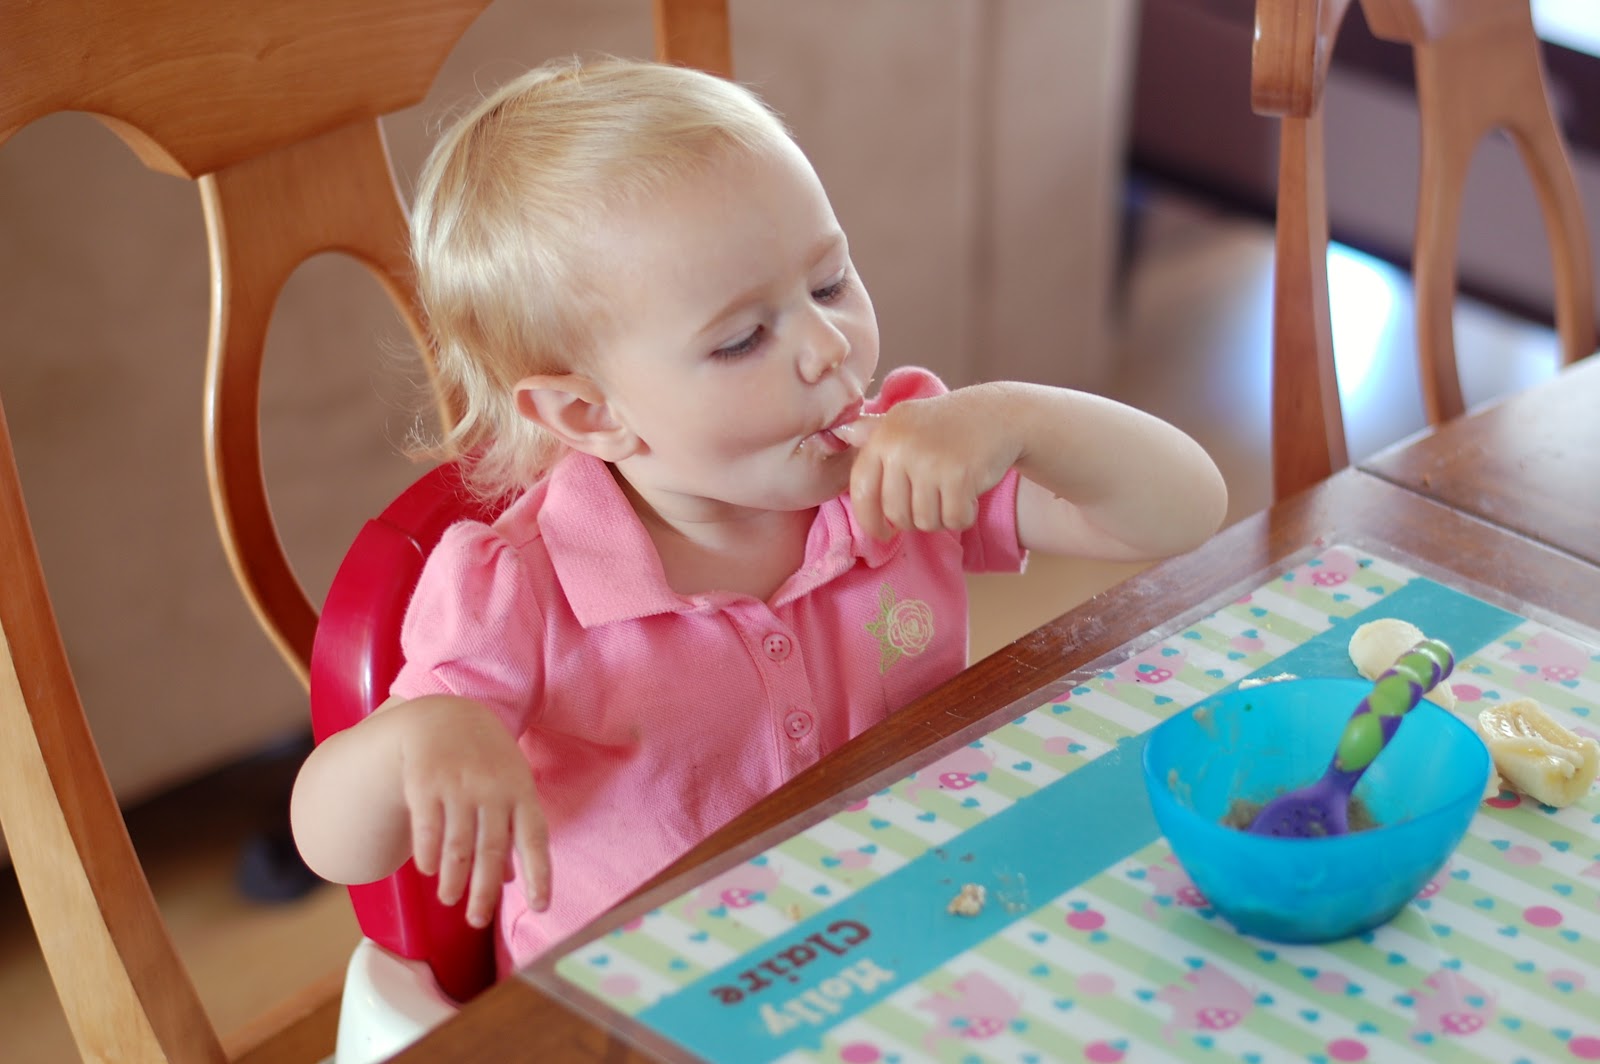
As I mentioned yesterday, my daughter now has to take an iron supplement. We’ve had great luck over the first few days with making her smoothies when it was time to take her supplement but now she’s no longer interested.
So this morning I thought I’d put a spin on her favorite breakfast meal. I added her two favorite foods, peanut butter and oatmeal, and threw in a banana to find that this finger-licking good meal would be completely devoured before my eyes!
The results were exactly what this mama wanted.
The first time since we started her iron supplements and she actually finished a whole dose! In the form of peanut butter oatmeal, of course.
And an even better bonus is the fact that one serving is only 4 points. Paired with a banana this makes a delicious breakfast for my kids and me. And it’s a bit faster to whip up than my baked peanut butter and banana oatmeal squares.
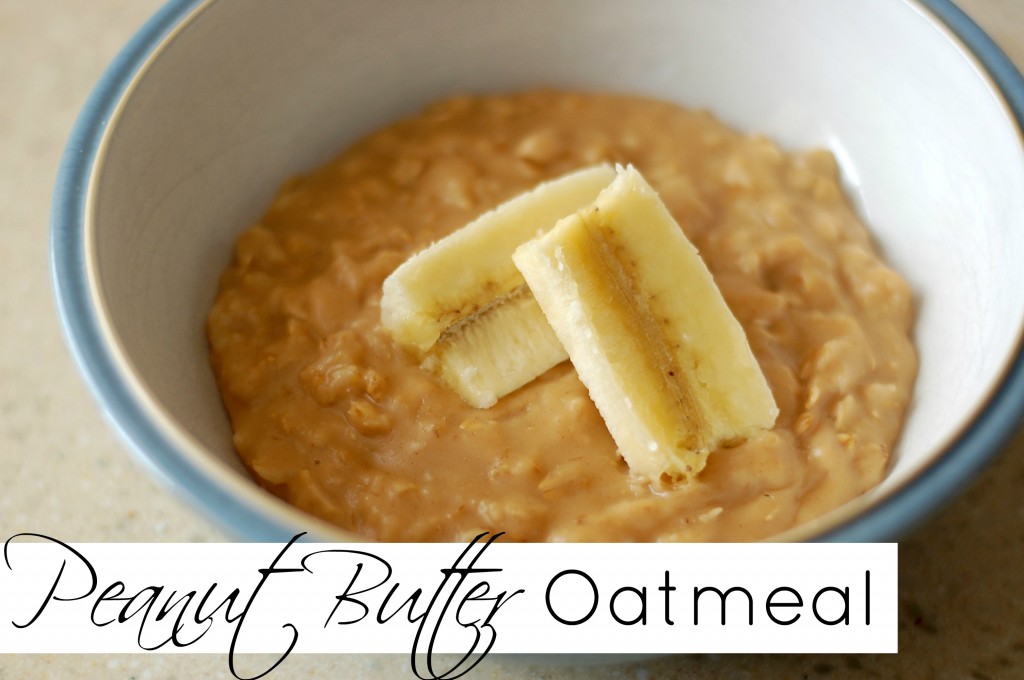
Peanut Butter Oatmeal
- 1/2 cup water
- 1/2 cup milk
- 1/2 cup old fashioned oats
- 1 tablespoon peanut butter
- 1 teaspoon brown sugar
- banana to top, optional
Add all ingredients to a small saucepan. Cook on medium low heat stirring frequently. Cook for 5-7 minutes or until oatmeal is creamy and all ingredients are incorporated.
Spoon into a few bowls and enjoy this delicious breakfast!
Serves 2 | 4 WW+ Points


