Thanksgiving Tips and Tricks: Party Like A Pro

This is a sponsored conversation written by me on behalf of Sam’s Club. The opinions and text are all mine.

Ahhh… turkey day is nearly upon us and, if you’re like me, you’re about to lose your mind due to the long list of things you need to get done before the big day. Not to mention Christmas right around the corner! Well, in an effort to ease my mind and give myself a bit of time to prep I decided to head out to Sam’s Club® and search for great tips and tricks for planning the perfect Thanksgiving party.

Holiday entertaining can be the ultimate challenge.  But with affordable, gourmet selections from Sam’s Club®, you’ll be party planning like a pro for the best holiday season ever.  Get started at FoodNetwork.com/party, your one-stop source for great tips, recipes and behind the-scenes videos with Sam’s Club® Members.

You can also get tips directly from the pros! Check out Chef Robert Irvine, host of Food Network’s Restaurant: Impossible Ambush as he ambushes an unsuspecting Sam’s Club member to help solve problems and party plan like a pro.  In this video, Robert provides his ideas for the perfect center plate protein to make sure your next dinner party is a smash!

In addition to great food from Sam’s Club, I’ve also asked bloggers what their favorite ways to help save them time (and sometimes money!) when hosting or attending a Thanksgiving party. If you’re like me and need a game plan to keep your mind at ease, read along to find out all of the great tips I discovered.
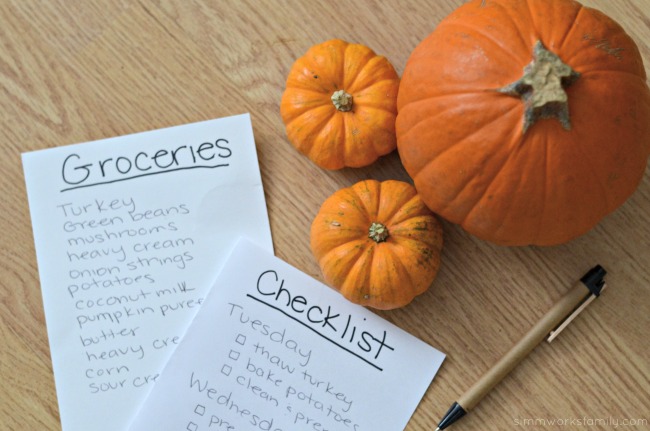
Thanksgiving Checklist
1. Create a checklist

One of the easiest ways for me to stay on track with big meals or events is to have a checklist. A place I can put everything I need to do and have the satisfaction of checking off each little box as I go along. Luckily, Tonya Staab wrote a Thanksgiving checklist featured on Blissfully Domestic that should help each of us prep and plan for this Thanksgiving.

2. Prep ahead

One of the easiest things to do when prepping for Thanksgiving is to do things in advance. Rachael Nash Wunderlich of Adventures in Wunderland suggests to make pies and put together casseroles the day before, then on thanksgiving day you just rotate the casseroles in to bake and all you really have to worry about is the turkey and potatoes.

Need help on those potatoes? Check out these mashed potato tips from Dish over Dinner. Or do what I do and make a twice baked potato casserole (recipe coming soon!) that you can prep in advance.

Prepping doesn’t stop with food. Consider setting up the buffet with dishes and decor while placing post its and labels to indicate where dishes should go on the big day. Put out anything you can in advance so you aren’t rushing to put things together on the day of the party. We also set the table a few days before too.
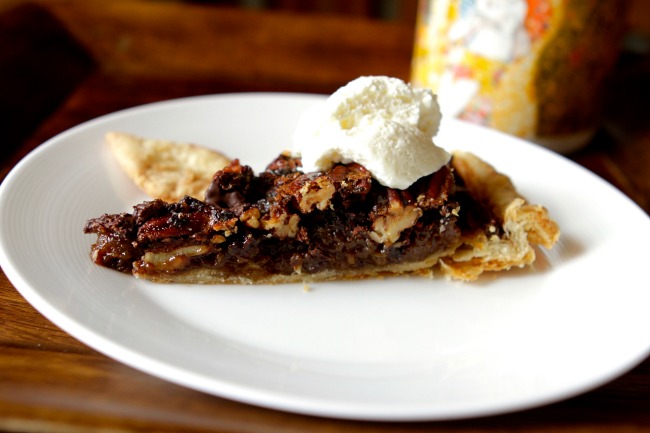
chocolate espresso pecan pie3. Keep drinks and dessert simple

One of the easiest ways to reduce stress is to keep it simple. Delegate some items so that you aren’t burdened with many different dishes. One tip Joann Wooley of Sign4Baby thinks helps a lot is to have your guests be in charge of dessert and beverages.

Now if you really love to bake and that’s your thing then consider delegating out some side dishes instead. Consider this chocolate espresso pecan pie from Baby Birds Farm for your main dessert and then have guests bring other pies to add to the mix. That way you can spend more time on other aspects of the meal.

And drinks can be kept super easy. Ask guests to bring their favorite bottle of wine and then for the kids make this easy crock pot apple caramel cider featured on Catching Up With Kate.

4. Remember food allergies

Its important to remember that not all guests can eat everything on the table. Try to accommodate guests food allergies says Melonie Gallegos. It may be a small change you make to  a recipe or simply preparing a dish without one ingredient but your guests will sure appreciate it!

Know of a guest who’s gluten or dairy free? Try this delicious pumpkin pie I made with coconut milk. Cook it up in a dairy-free, gluten-free crust and you have an allergy friendly dessert!

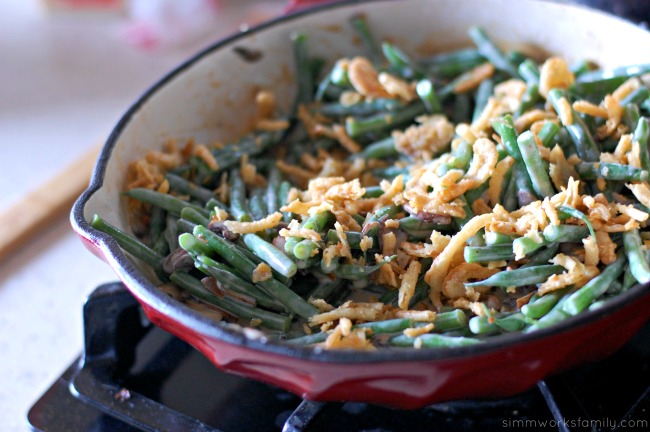
green bean casserole

5. Make sure to think of the leftovers

No one wants to miss out on the delicious left overs so consider buying 2 turkeys if you are hosting a big family gathering suggests Joann Wooley. Or plan to make a double batch of that favorite casserole everyone loves. And make sure to pick up plenty of goodie bags and dishes from Sam’s Club so you can send leftovers home with your guest. The one thing I always regret each year is not taking enough leftovers home!

7. Don’t Overcook the Bird!

Now I’ve only cooked two turkeys in my life. One with a brine, the other without. And the only thing I was concerned about was dry turkey. So I did a bit of research and found that cooking the turkey with it’s breast down for half of the cooking time allows the bird to cook evenly without overcooking the white meat. By flipping it back over 1/2 way through I can still get that gorgeous golden brown crisp skin everyone loves.

8. Keep it Simple

I had to laugh when a fellow blogger suggested to simply purchase everything already made. Heather Delaney Reese of It’s A Lovely Life mentioned that her best Thanksgiving ever was the year they bought everything at Sam’s Club (and split the cost with friends). Sam’s Club has a truly impressive array of holiday foods from the entire meal-in-a-frozen-box to just the sides (fresh or frozen) to just the ingredients for a homemade feast. Now I’m all about home cooking 99% of the time but when it comes to these giant meals for parties keeping it simple just makes it easier on everyone.

9. Entertain your Guests

There really can be too many cooks in the kitchen when it comes to prepping Thanksgiving parties. So make sure you have something for your guests to do (or eat) while you’re finishing up.

Make sure there’s a ball game on for the guys and the black Friday ads out for those who shop early. Some bloggers may have mentioned getting into arguments with their mother-in-law. Jillian Warner of Mommy Testers tip is one we should keep at heart – keep your mother-in-law out of the kitchen! Or simply give her all of the salad fixings and set her at the table to get to work.

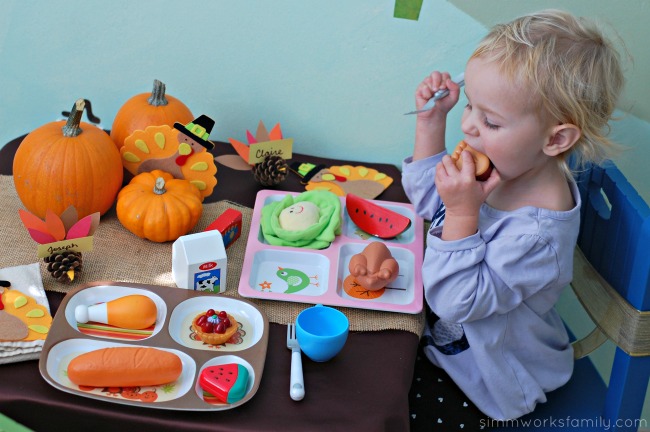
Thanksgiving Kiddie Table

10. Enjoy yourself!

With all of the prep and work that goes into a Thanksgiving meal, remember to enjoy yourself and the time you have with your family. Don’t sweat it if something goes wrong. Because you’re with people who you care about and just want to have a good time. Plus… if dinner is a huge disaster there’s always dessert!

How do you keep Thanksgiving stress-free?

Don’t forget to enter the “Holiday Party Planning” sweepstakes running from 10/22 – 12/31/15 and make the holidays just a little brighter! The Grand Prize winner will receive a $500 gift card and 1 year Plus membership ($100 value). 5 1st Place winners will receive a 1 year Prime membership ($100 value). 5 2nd Place winners will receive a Wolfgang Puck 10 piece Stainless Steel Mixing Bowl Set ($29.99 value). And 10 3rd Place winners will receive a Kitchen Aid 3pc Chef Knife Set ($15.98 value). 

NO PURCHASE NECESSARY.  Open to legal residents of the 50 United States and D.C., 21 years or older.  Ends 12/31/15.  To enter and for complete details and odds, visitwww.foodnetwork.com/party. 

This is a sponsored conversation written by me on behalf of Sam’s Club. The opinions and text are all mine.
Entertaining During The Holidays: Homemade Pudding Parfait with Cookie Crumble

This shop has been compensated by Collective Bias, Inc. and its advertiser. All opinions are mine alone. #HolidayPairings #CollectiveBias The following content is intended for readers who are 21 or older.

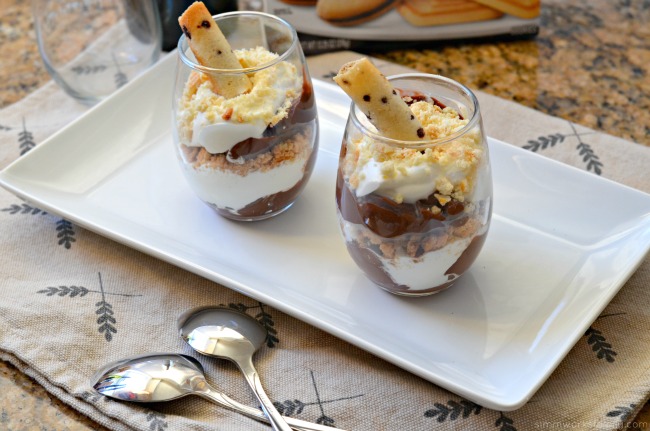
Homemade Pudding Parfait with Cookie Crumble

Ah… the holidays are here! And now is the time for holiday cheer… right? One thing I LOVE about the holidays is unexpected guests. Whether it’s friends stopping by to drop something off, family members coming to catch up, or a random neighbor who shows up at your door as you’re sitting down to eat dinner. I’m not joking either. My house may be a mess, my kids may need baths, but I will always have room in my home for our family and friends. Now I would love a little heads up call ahead of time so that I can pretend to pick up before guests arrive.

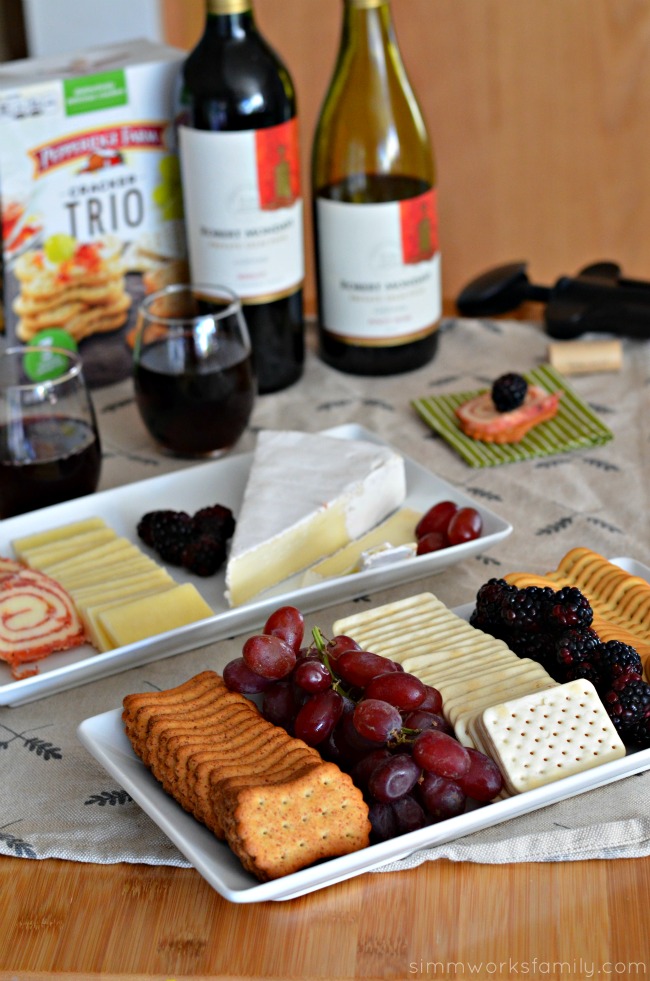
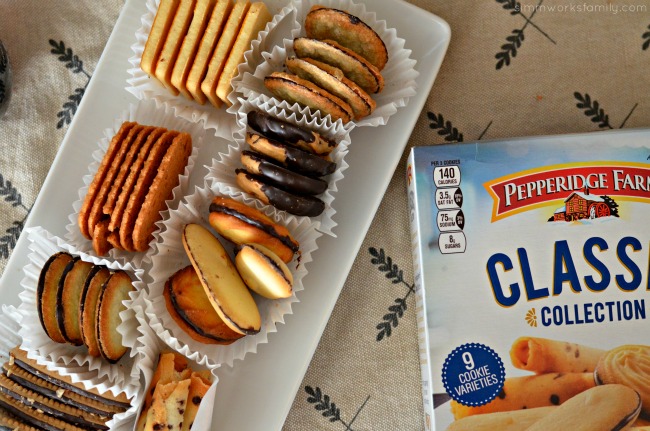
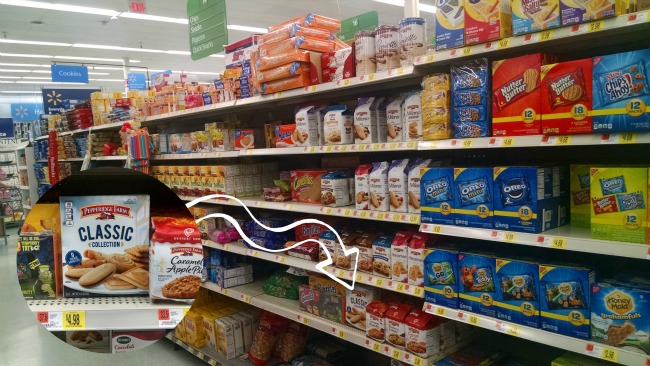
One of the reasons why unexpected guests don’t stress me out, especially around dinnertime, is that I keep a well stocked pantry and fridge. On any given time I can whip out some Pepperidge Farm crackers to pair with cheese and fruit to keep the guests busy while I prepare dinner. And dinner can be as simple or elaborate as I want. I can whip up a delicious pasta dish in less than 30 minutes. Give me 30 more minutes and I’ll have some homemade pudding to make individual pudding parfaits.  Sometimes I just keep it basic and put a spread of Pepperidge Farm cookies out. It’s good to keep a box of their Classic Cookie Collection on hand just in case. But don’t think you’ll be getting any of the Milanos out of that package if you’re near my husband. He’ll snag them before you even notice they’re gone!

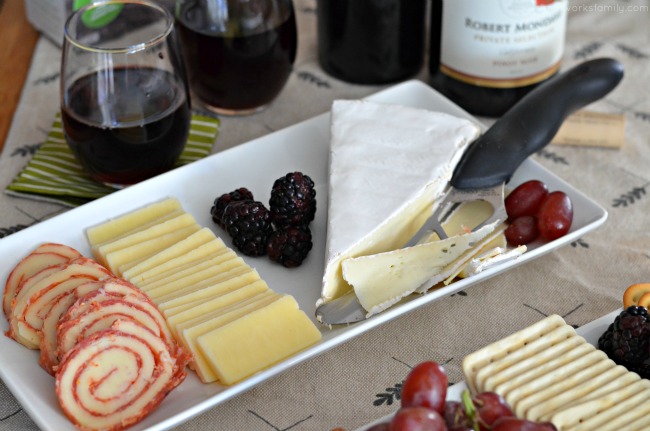
Entertaining during the holidays - simple cheese platter with fruitEntertaining during the holidays - simple cracker and cheese platter paired with wine

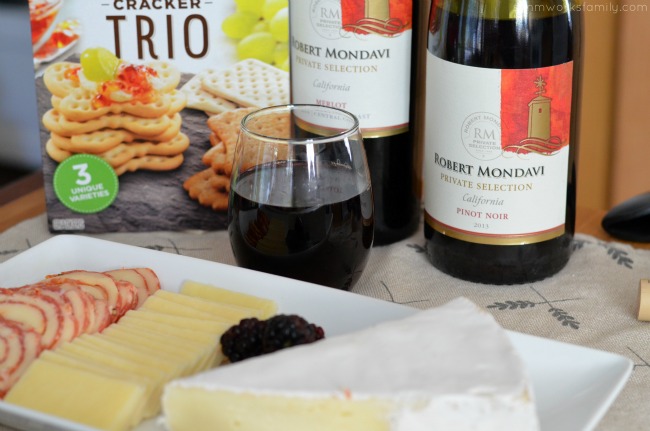
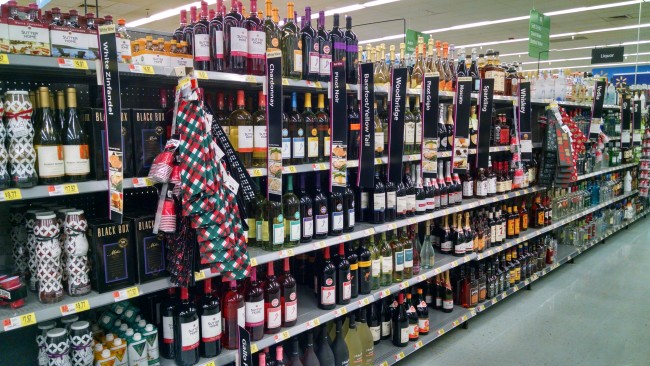
Entertaining during the holidays with Robert Mondavi wines

The Cracker Trio pairs well with a variety of cheeses. I love the classics – brie, sharp cheddar, and a salami mozzarella roll sliced up. And since we usually have grapes and some sort of berry on hand, we can put out a simple spread to keep appetites satiated. Plus busting out the Robert Mondavi wines helps too. My favorite? The pinot noir.

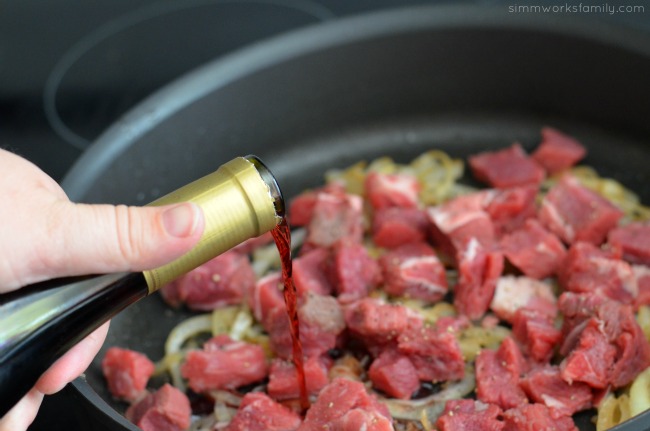
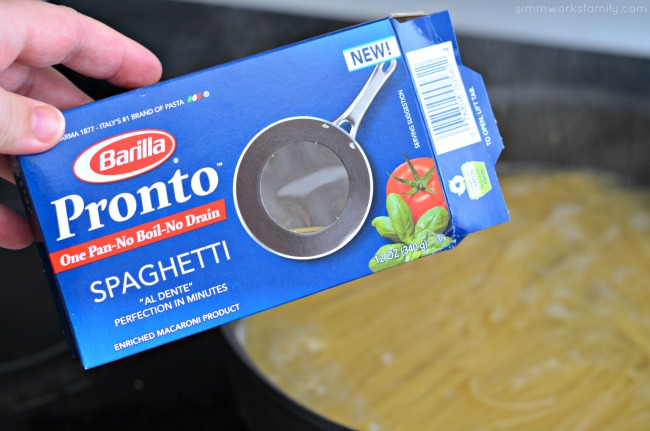
The pinot noir also tastes amazing in this pasta dish I just made recently. I grabbed some Barilla Pronto spaghetti and was intrigued at it’s claims to be ready in minutes. With my newly inherited electric range, I can’t get pasta to boil in less than 30 minutes! So frustrating. But after sauteing some onions and browning some steak, then de-glazing the pan with a little wine, I removed everything from the pan and added the pasta. Covered with 3 cups of water and cooked it on high for 10 minutes.

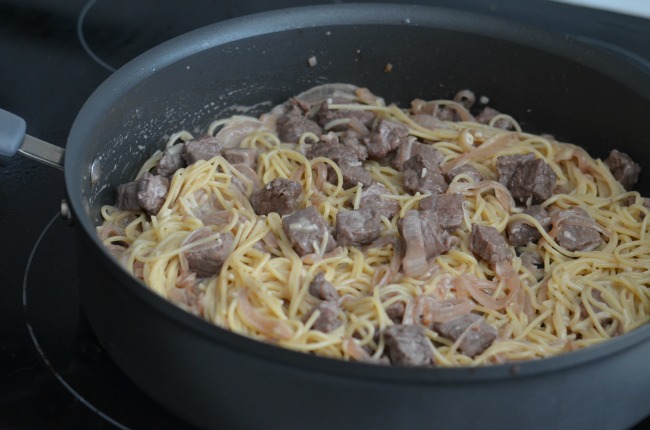
About 20 seconds till the end of that 10 minutes I had a skillet filled with fully cooked pasta. Amazing. All I had to do was toss the onions and beef in with the pasta and sprinkle with some parmesan to create a delicious one-skillet pasta dish in less than 30 minutes from getting out the ingredients to putting the skillet on the table for dinner.

Entertaining during the holidays with easy pasta dishes Entertaining during the holidays with Barilla Pronto Entertaining during the holidays with easy pasta meals

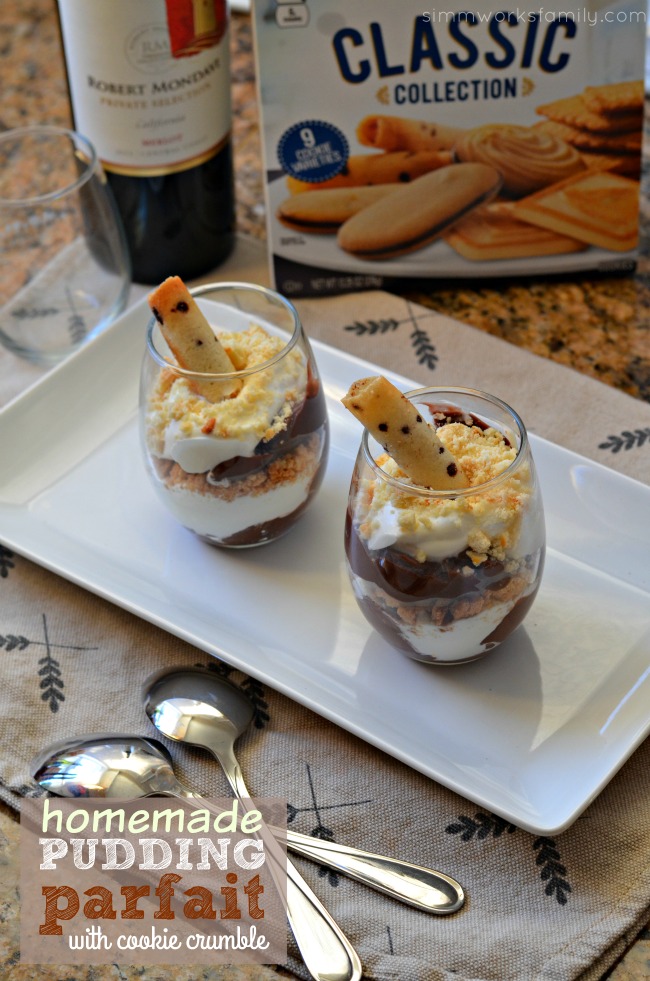
In between cooking the onions, steak, and pasta, I whipped up a chocolate pudding from scratch. It would be the perfect light dessert to end our meal. Plus it was a great way to enjoy our favorite cookies. Pudding is not that hard to make. With a few simple ingredients I can make a silky pudding that can cool and set while we eat dinner. Sometimes I even make an avocado pudding. Interesting AND delicious with it’s greenish tint.

Entertaining during the holidays with pepperidge farm

Homemade Pudding Parfait with Cookie Crumble - a deliciously simple dessert

Homemade Chocolate Pudding Parfait

  • 2 cups whole milk
  • 1 cup sugar
  • 1/2 cup cocoa powder
  • 1/4 cup corn starch
  • 1 teaspoon vanilla

In a heavy saucepan, heat milk to warm, not boiling. Set aside.

Add sugar, cocoa, and cornstarch into a small bowl and mix to combine.
Pour 1 cup of the warm milk into the bowl with the chocolate mixture and whisk.

Pour chocolate mixture back into the saucepan with the remaining milk, slowly whisking to incorporate together.

Heat over medium high heat whisking frequently until mixture starts to boil and thicken. Remove from heat and add vanilla.

Pour pudding into individual dishes, or one large bowl. Cover with plastic wrap so that a skin doesn’t form on the top of the pudding. Chill at least 1 hour to cool.

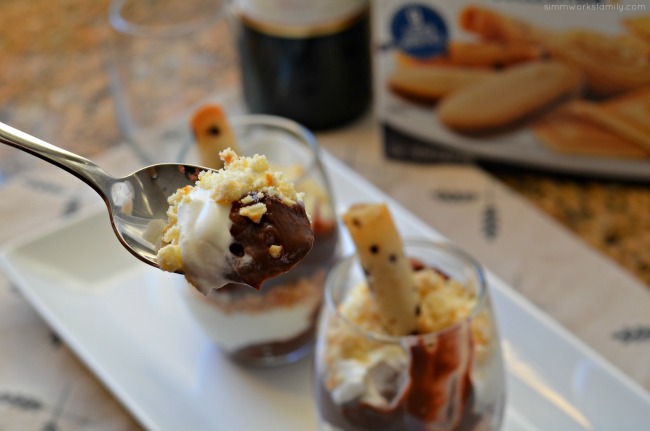
Homemade Pudding Parfait with Cookie Crumble bite

Homemade Pudding Parfait with Cookie Crumble

What you need:

  • milk frother
  • heavy whipping cream
  • 1 batch chocolate pudding (see above)
  • Pepperidge Farm cookies of your choice, crumbled
  • small glass bowls or cups

What you do:

1. Using the milk frother, thicken the heavy whipping cream. You don’t want it super thick but thick enough to form a layer between the pudding.

2. Grab a glass cup and pour in about 1/4 cup chocolate pudding.

3. Top with whipped cream.

4. Add cookie crumbles. I used two types from the Pepperidge Farm Classic Cookie Collection.

5. Repeat once again.

6. Top with a pirouette or other cookie of choice and serve with a spoon!

Pepperidge Farms Cookies at Walmart

Robert Mondavi wine at Walmart

Make sure to visit the Simple Entertaining hub to learn more about the upcoming wine tastings as well as Barilla & Pepperidge Farm demos at select Walmart Stores in November and December. You can find the products I featured above at your local Walmart.

How do you keep entertaining easy during the holidays?

Keto Friendly Side Dish: Mashed Cauliflower

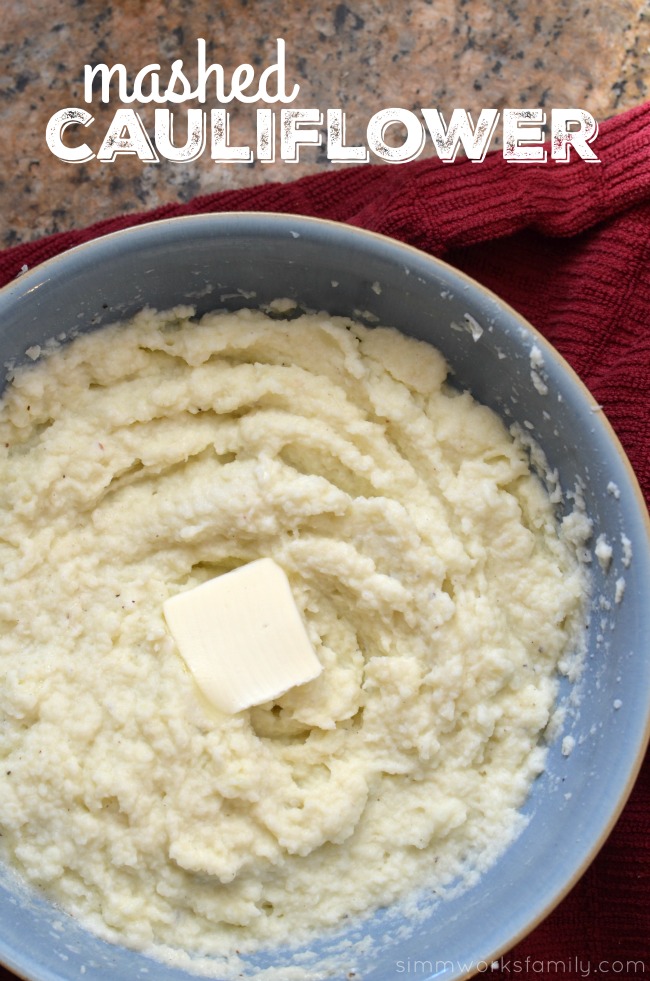
Mashed Cauliflower - the perfect keto friendly side dish to any meal!

I haven’t really mentioned it but after chatting about my new LCHF way of eating, I decided to start a blog solely dedicated to the recipes I try, restaurants I enjoy, and our monthly date nights and how I navigate through the food menus while out and about in San Diego. One recipe I’ve become a bit obsessed with on this way of eating is mashed cauliflower. Now you may be thinking why oh why would you want mashed cauliflower when you can have the real thing? Well on this WOE, a starchy potato loses to cauliflower any day! Plus? I can add tons of fats to this dish to help me meet my macros for the day (I struggle with eating enough fat). Real butter. Heavy whipping cream. And a sprinkle of salt and pepper. That’s all it takes to make this deliciously silky, smooth mashed cauliflower dish.

You can find the recipe, and my new blog by heading over to Low Carb San Diego here.

Like what you see? Follow me on my new social channels at @LowCarbSanDiego on Twitter and on Facebook and see what I’m eating, how I’m doing, and how easy it is to follow a LCHF diet!

Keto Friendly Grilling Meals Mashed Cauliflower with Butter
Pinterest Inspiration

What do you love to mix in your mashed cauliflower?

Fall Harvest Party Ideas

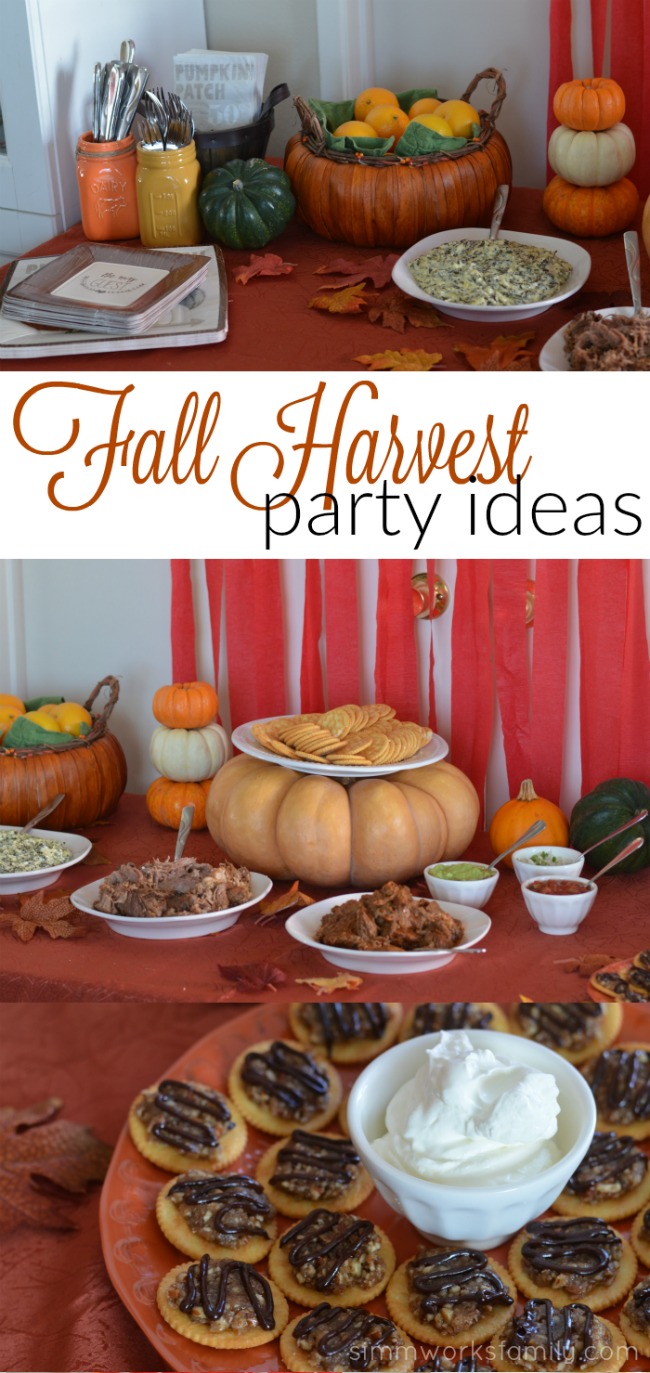
We love to travel. And we love to entertain. So we’re sharing our Fall harvest party ideas along with two regional recipes featuring our sponsor, Ritz. Read ahead to find out how to marry your favorite destinations all on one tablescape!

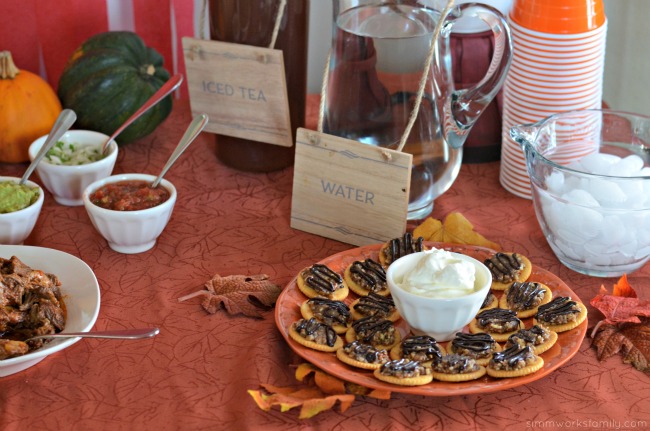
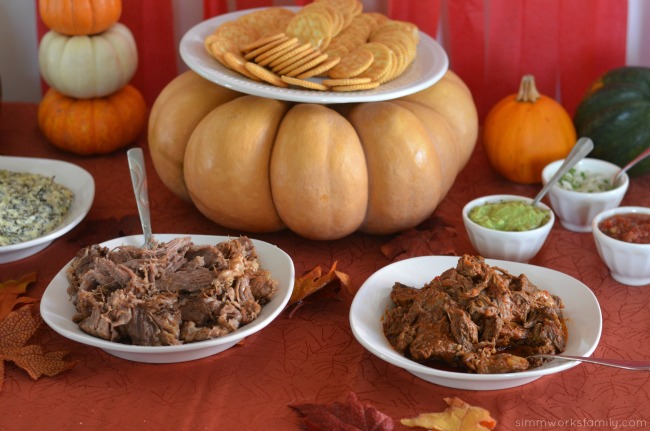
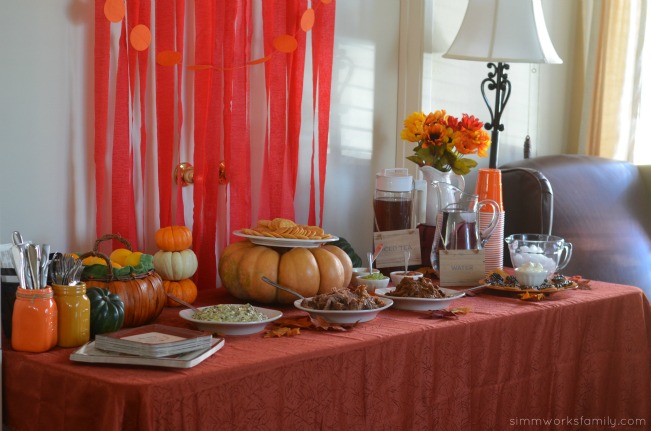
Fall Harvest Party Ideas - a simple spread perfect for any holiday get together

Hosting our family for a fun party is always a fun way to celebrate the holidays. And I do enjoy hosting people over at my home. With the weather changing and the leaves starting to fall, I almost get a glimpse of seasons changing. Living in San Diego, I have to travel to another part of the country to truly see seasonal changes. I don’t mind it. I love living in San Diego and love travel so it’s a win-win for me!

One place that definitely sees the change of seasons, and somewhere I haven’t been yet, is Atlanta. Now I don’t know why but I’ve never visited the south. Not that it isn’t on my list of places to go! I would love to do a little tour of the southern states one day with my family. At our fall harvest party I created a delicious dish to remind me of where I’m from and a dish to represent a place that I want to visit. And with such great rates on airfare from Southwest Airlines, I’m sure I’ll visit soon!

Fall Harvest Party Ideas - street taco on a ritz bar

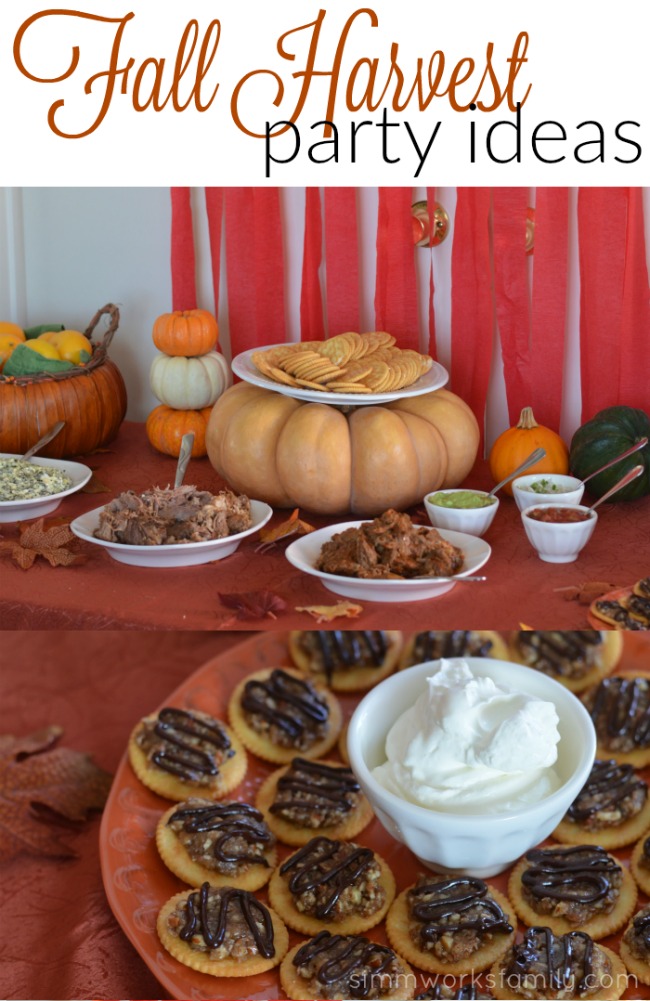
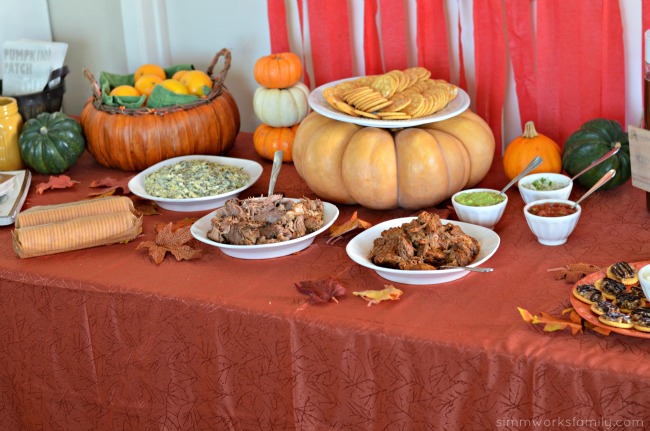
In celebration of fall, I created a fall harvest tablescape incorporating the colors and seasonal decor of fall. I was inspired by the squash and pumpkins we had left over from Halloween and used them to create the colorscape for our table. I love being able to use various items over and over again throughout the season. And the cinderella style pumpkin was the perfect way to raise my serving platter.  

I tried to keep the food simple but delicious. I always have some sort of fruit for the kids so I went with some tangerines and placed them in a pumpkin basket I had. Since the tangerines look very similar to pumpkins the kids got a kick out of them. To make serving a group of people easier, I also made a street taco (on a Ritz) bar instead of making up individual carnitas bites. That way the guest can choose what type of meat they use and what toppings they want to enjoy. 

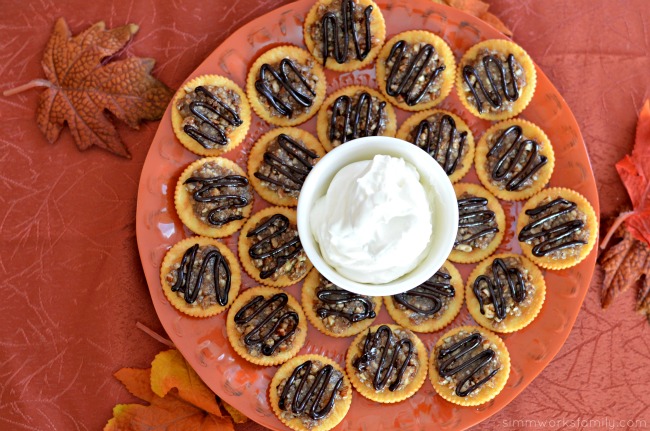
Fall Harvest Party Ideas - mini pecan pie bites and drinksFall Harvest Party Ideas - street taco bites
Now I know that street tacos don’t scream fall, but in San Diego mexican food makes it’s way into just about any celebration. But one thing that does scream fall is pecan pie. After having it for the first time a few years ago, I’ve come to love the flavors in a pecan pie. So these pecan pie bites not only remind me of the upcoming holiday, they’re also the perfect dessert for parties because they’re easy to eat and simple to make.

This whole spread was absolutely delicious and pleased a variety of palettes including the kids. And if you’re a parent you know how hard that is! You can find the recipes for my carnitas bites and mini pecan pie bites here. And voting is now open for the best travel-inspired Ritz creation! You can vote for either of my recipes at LuvRitz.com.

Fall Harvest Party Ideas - Mini Pecan Pie BitesFall Harvest Party Ideas - the spread

What are your favorite flavors of fall?
Fall Harvest Party Ideas

How To Make Salt Dough Ornaments

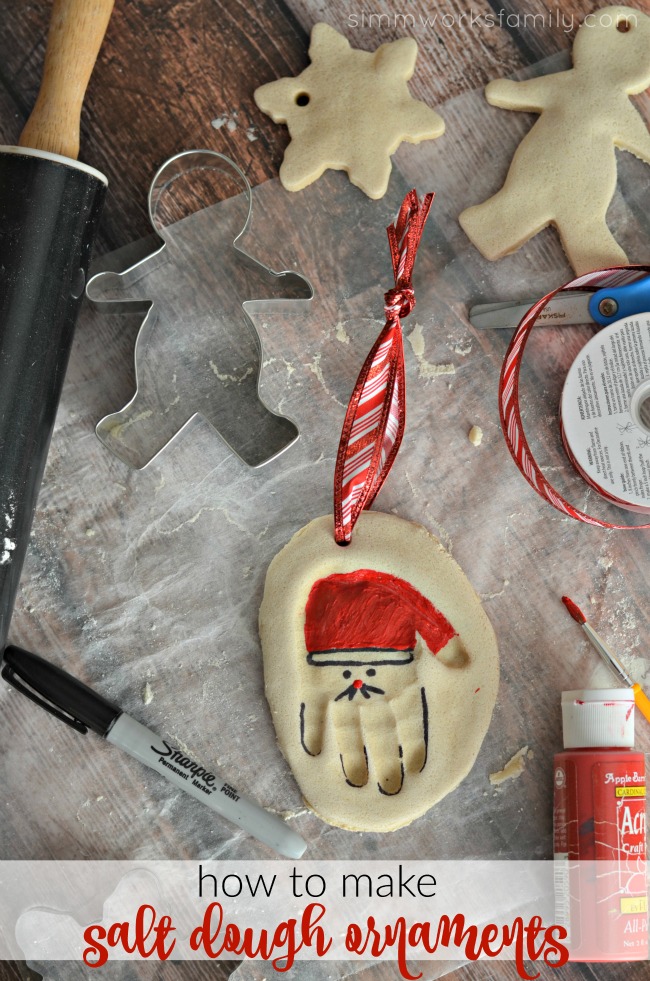
How To Make Salt Dough Ornaments - a simple craft for kids of any age
E year my son’s school has each class decorate and create ornaments for the kids to gift to their parents. Last year we had fun making reindeer thumbprint ornaments along with a few other great ornament designs. And this year we’re going to be making salt dough ornaments with the first graders. There are so many great ideas and techniques to incorporate when making salt dough ornaments with kids. You can get as creative as you like by simply incorporating different mediums when decorating your ornaments.

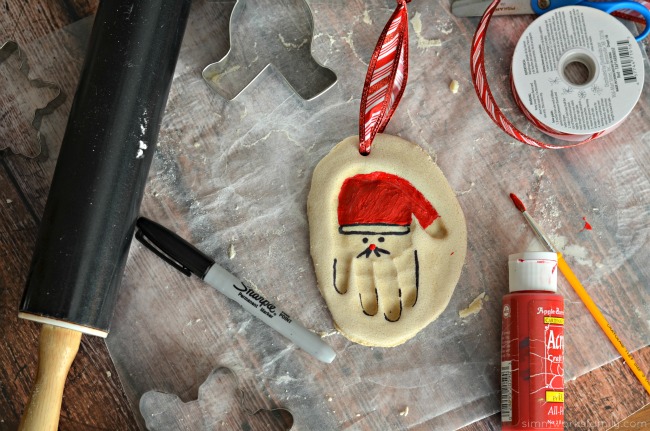
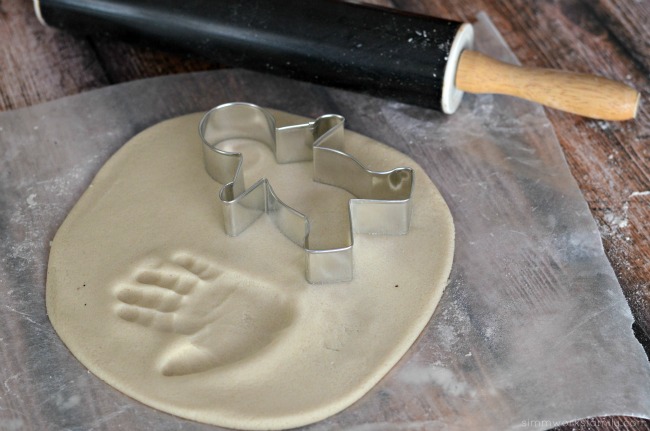
Since this year is my youngest’s first Christmas, I decided to make an example for the kids by using her hand print and turning it into Santa. My other daughter wants to use her footprint to make a reindeer but I’ll be sticking with hands for the first graders. I’ll also be using cookie cutters for the kids who don’t want to do hand prints and I’ll have them add two thumbprints to create hearts in the middle of their cut out. They’ll get to color and decorate their ornaments after I bake them up.

How To Make Salt Dough Ornaments - decorate ornament after baking

How To Make Salt Dough Ornaments

What you’ll need:

  • 1 cup flour
  • 1/2 cup salt
  • 1/2 cup water (more or less depending on dough)

What you do: 

Preheat your oven to 250 degrees.

Grab a medium bowl and mix flour and salt until well incorporated.

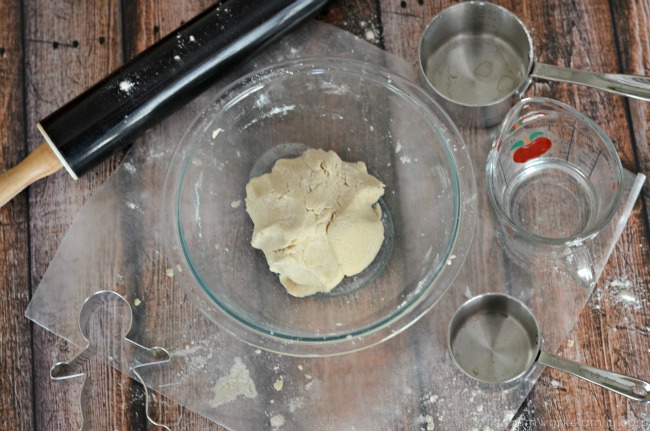
Slowly add in water. Start with 1/4 cup and mix in, then add in a bit more until the dough forms and is lightly tacky but not sticky.

How To Make Salt Dough Ornaments - combine ingredients into dough

Grab a piece of parchment paper and lightly flour. Turn dough onto floured surface and knead a little more until the dough is smooth.

Roll dough out with rolling pin to 1/4 inch thickness.

Grab a kid and put a hand print in the dough and/or use some cookie cutters to cut out some designs.

How To Make Salt Dough Ornaments - make a handrpint

If you’re using a hand print, make sure to cut a circle around the hand print leaving room for a hole at the top.

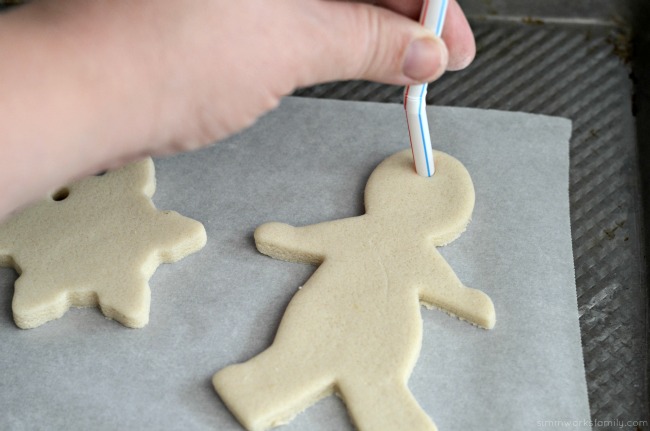
Remove excess dough and set aside. Place parchment paper with ornaments on a cookie sheet. Using a plastic straw, poke a hole at the top of each ornament (for Santa, make sure you put the hole at the palm/bottom  of the hand). Now grab a kid and let them blow on the straw until the little ball of dough that was just punched out pops onto the counter.

How To Make Salt Dough Ornaments - make hole with straw before baking

Bake ornaments for 2-3 hours or until hardened. Let cool completely before decorating.

How To Make Salt Dough Ornaments - decorate ornament after baking

What is your favorite part about the holidays?

stockingstufferhopbutton

*** This giveaway is closed ***

Congrats Janet!

Tips For Hosting A Photobooth At Your Next Event

Tips For Hosting A Photobooth - using a smartphone to print photos
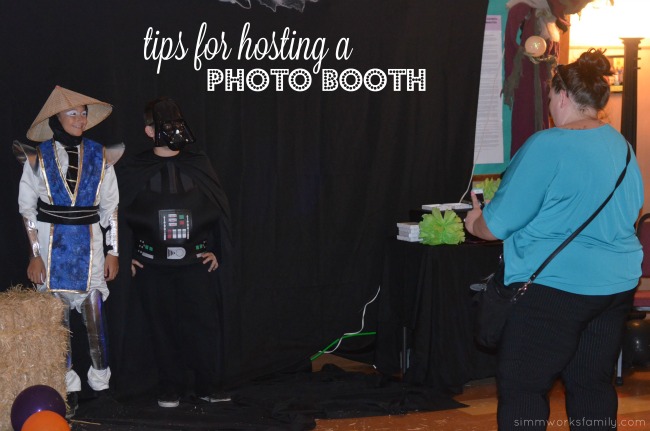
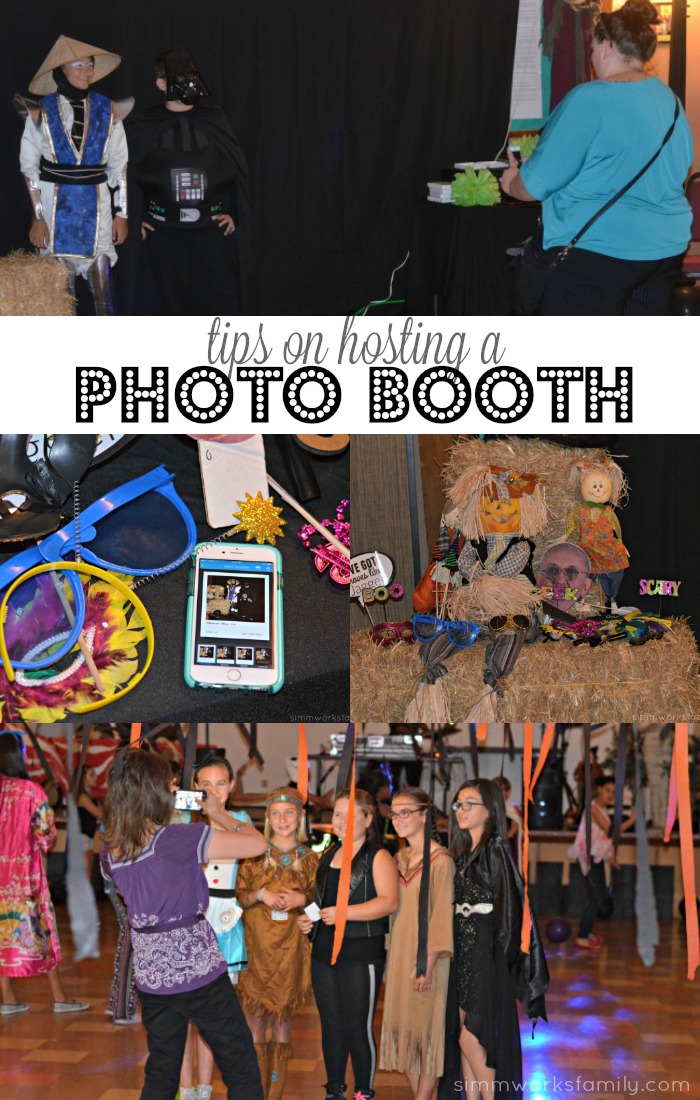
Photobooths are very popular right now. Kids love them, adults love them, and they make great momentos from events attended. And there are a lot of things you can do to change a photobooth up to make it relevant for the event you’re at or the group you’re with. From including fun props to changing up the backgrounds to match the theme or season,

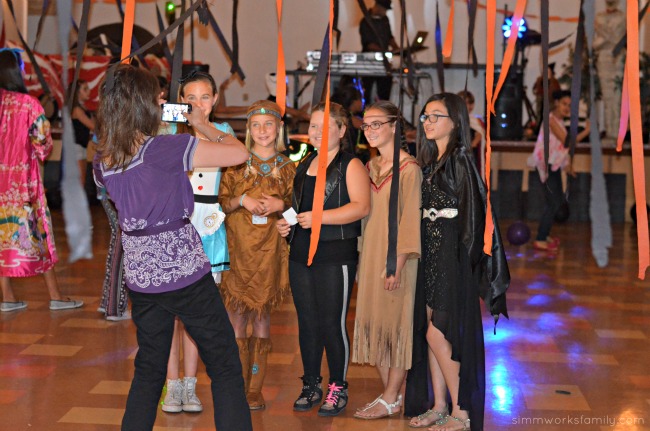
After joining the PTG I started to realize that a photobooth was a great way to document the special events we host every year. From our Fall Festival to our Junior High dances, having an easy way for parents and kids to make memories is a big plus. Photo booths are also very simple to set up nowadays and fairly inexpensive with the use of technology.

Tips For Hosting A Photobooth - printer and props

Tips For Hosting A Photobooth

1. Find A Good Location –

Make sure to find a spot at the event with the best lighting. If your event is at night, consider additional lighting to light up the photo booth area. Because you’ll be having guests use their phones to snap photos you don’t want them to have to worry if their flash will be enough light.

2. Set Up The Printer

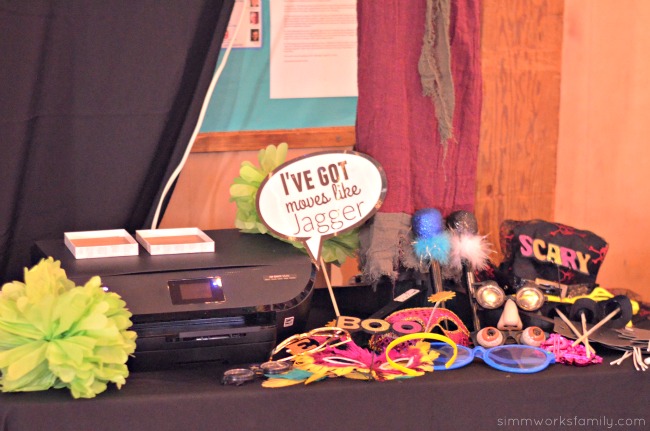
At the dance I had a whole table for props and another table for the printer and photo paper. You’ll want to choose a location that has a good WiFi connection so that you’ll be able to set up the printer and so that you can connect the phones to the printer as well on the WiFi connection. We made sure to test out our printer during set up when we first arrived so we could confirm that everything worked before guests started showing up. 

Tips For Hosting A Photobooth - props

3. Provide Lots Of Props

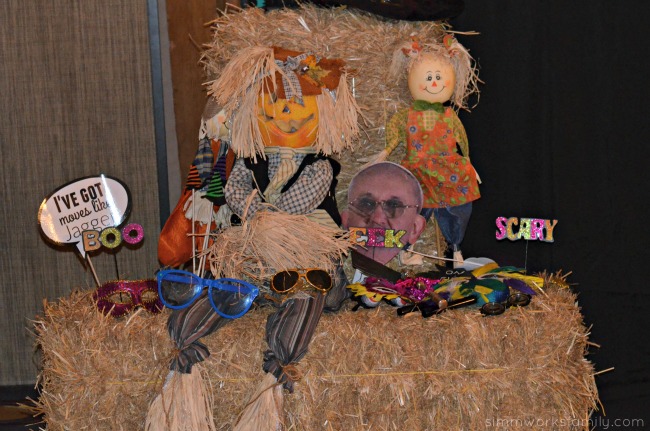
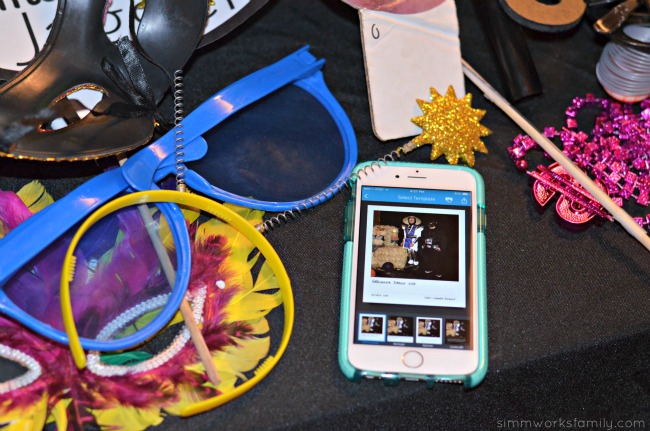
A quick visit to the dollar store can provide very helpful with props. I was able to find huge glasses, silly masks, signs, and more in the aisles of the dollar store. I also made a few signs on my own through PicMonkey and laminated them so they wouldn’t get ruined after multiple uses.

4. Use The HP Social Media Snapshots App

We had a few signs around with instructions on how to download the HP Social Media Snapshots app and use the app to print out photos from the event. We shared how easy it was to write new captions if they were using photos from their social media accounts and how to print photos from their galleries that they took that night. The kids loved being able to get with their friends and customize their photos.

Tips For Hosting A Photobooth - use Social Media Snapshots

5. Print Memories Easily Onto HP Social Media Snapshots

I cannot say how much I love HP Social Media Snapshots! Not only are they awesome for printing out Instagram and social media photos, they’re also awesome to have for parties and events at a photo booth. Not only can you take photos at the photo booth and have them print out, but you can capture photos all over the event and print them out. Simply select your favorite images straight from social media, print them out onto the 4×5 paper, and stick them anywhere.

HP Social Media Snapshots are available now at Staples and they’re BOGO free until 11/30. Grab a few packs for your next party or event!

Tips For Hosting A Photobooth - thinking outside the booth

What events do you have coming up?


Tips For Hosting A Photobooth

Keto Friendly Grilling Meals: Hatch Green Chile Chicken Drumsticks

This shop has been compensated by Collective Bias, Inc. and its advertiser. All opinions are mine alone. #LegendaryTailgate #CollectiveBias
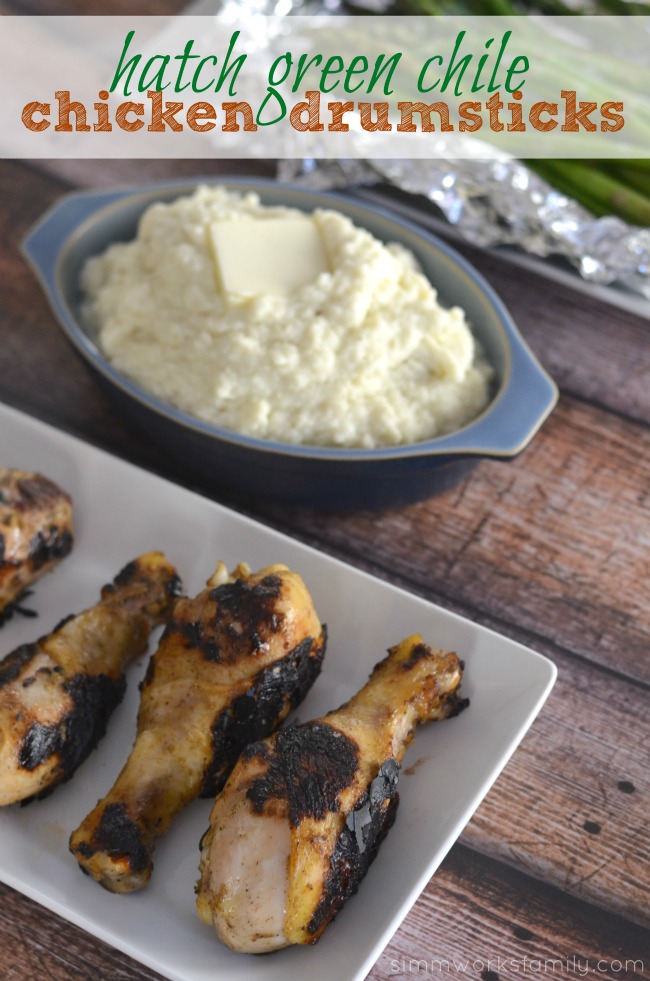
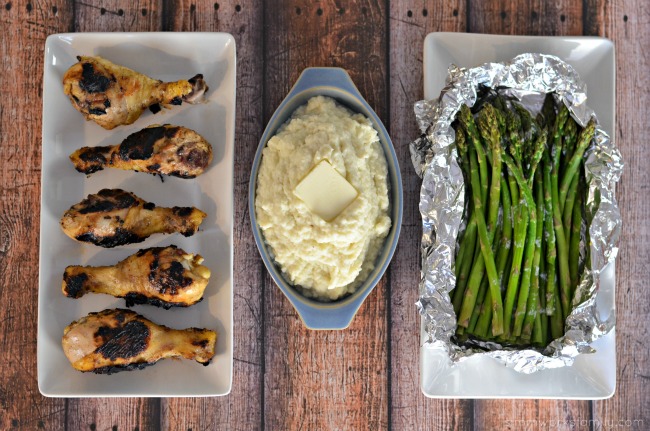
Keto Friendly Grilling Meals- Hatch Green Chile Chicken Drumsticks

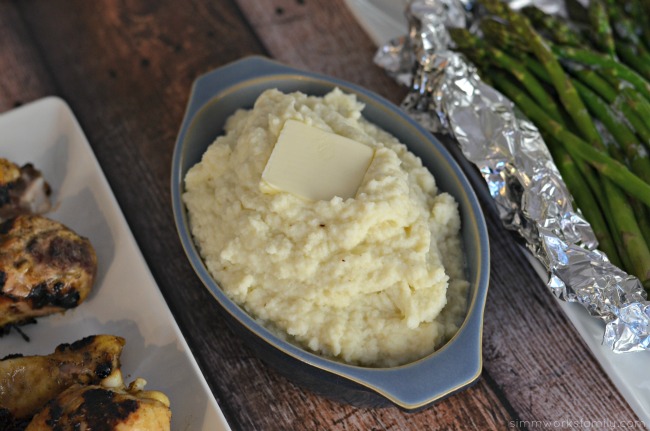
So it’s been a little over a month since I’ve switched over to a low carb high fat lifestyle (LCHF) and I’m starting to get the hang of things. I’m a bit obsessed with experimenting in the kitchen and love to find great meals that I can tweak. One of my favorite recipes to make over and over again is mashed cauliflower. I don’t know why… maybe it’s the heavy whipping cream and butter? Yeah, it’s definitely the heavy whipping cream and butter!

But I can’t just eat mashed cauliflower for dinner. Or serve it to the family. They might riot.

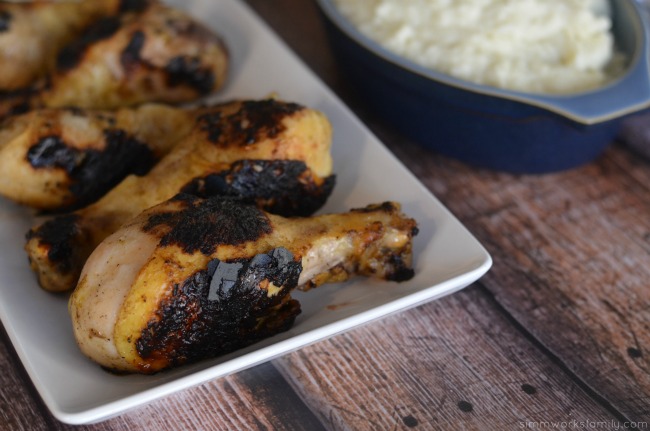
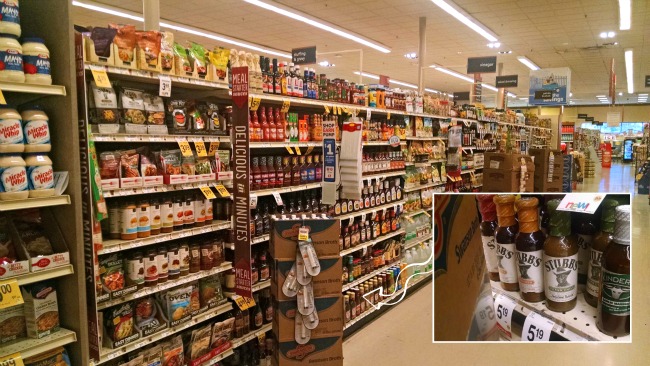
This weekend I was doing my grocery run sans kids (yay!) with coffee in hand (double yay!) and I headed down the marinade and sauces aisle. It’s one of my favorite aisles to peruse for help for dinner. Not only are there plenty of lower carb/sugar options, but they help make tasty meals in little to no time. This time around I found a delicious green chile marinade in Stubbs Anytime Sauces. Paired with the Foster Farms drumsticks I picked up on sale, I was ready for grilling!
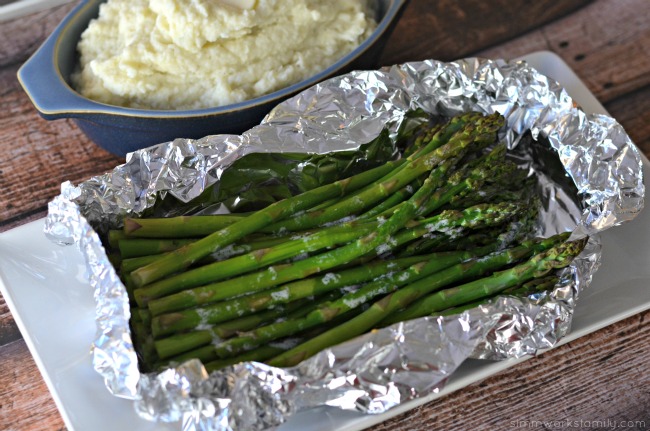
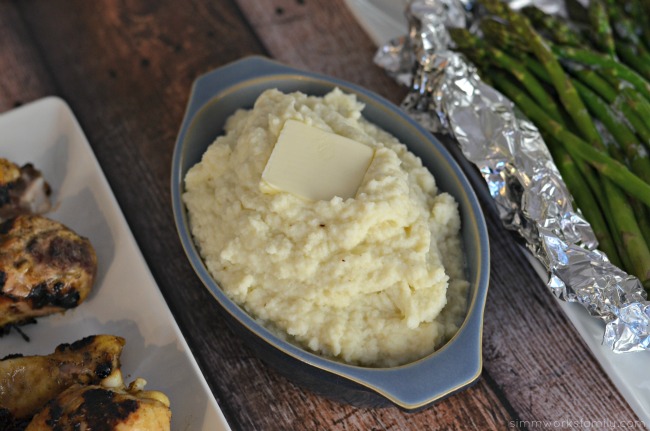
Keto Friendly Grilling Meals - foil wrapped asparagus Keto Friendly Grilling Meals Mashed Cauliflower with Butter

One thing I love about grilling, even in November, is that I can prepare just about anything on the grill. What’s not to love about a full meal being cooked outside while I don’t have to dirty up the kitchen? Less dishes in my sink. With the help of some foil, I was able to cook up the asparagus and the cauliflower right on the grill along side the drumsticks as they cooked. 

And? It’s perfect for tailgating meals too. When we head out to watch our team play on the field when they’re here in town we love enjoying a meal on the grill before heading into the stadium. Or when we’re hosting family over to watch the game on TV. Grilling makes it easier for us to host our family and enjoy time with them while they’re visiting with us. 

Keto Friendly Grilling Meals BBQ Hatch Green Chile Chicken Drumsticks

Hatch Green Chile Chicken Drumsticks

  • 1 jar Stubb’s Anytime Sauces in Green Chile
  • 1 package (24oz) Foster Farms Fresh & Natural Chicken Drumsticks
  • Olive Oil

Place the drumsticks in a 9×13 baking dish. Pour Stubbs Anytime Sauces over chicken. Cover dish with saran wrap or lid and marinate for 4-24 hours.

Preheat grill. Grab a paper towel and blot with olive oil. Rub on grates to prevent meat from sticking.

Once grill is heated, add drumsticks to the grill. Barbecue for 30-35 minutes or until completely cooked.

Let rest for 5 minutes and serve with veggies.

Serves 8 | Nutritional Info: 123 calories, 2 Net Carbs, 2g Carbs, 5g Fat, 16g Protein, 0g Fiber

Keto Friendly Grilling Meals Hatch Green Chile Chicken Drumsticks, Mashed Cauliflower, Asparagus

What’s your favorite thing to grill on the barbecue?

Looking to make grill time easier? Check out Stubbs anytime sauces at Vons! I found mine in the BBQ Sauce and Vinegar aisle.

When you’re in the store, check for an Instant Redeemable Coupon that can be found in-store on the Foster Farms chicken packaging for a discount on Stubbs BBQ sauce so you can save instantly. The coupons expire on 12/31/15.

Stubbs Anytime Sauces at Vons

Creating The Perfect Thanksgiving Tablescape

Today we’re sharing our tips on creating the perfect Thanksgiving tablescape. Insight for this post was provided by GE Café™ Series.

Creating The Perfect Thanksgiving Tablescape

With Thanksgiving around the corner, I’m starting to plan out our Thanksgiving table. I love being able to create a festive tablescape for the holidays even if we don’t host Thanksgiving at our home. It keeps things fun for dinnertime. Why leave all the fun to my mother-in-law, right? And why not keep the house festive all month long? Plus if we get unexpected guests we can entertain easily without worrying about decor.

I haven’t talked much about our new home but one of the things that frustrates me is the fact that we don’t have enough room in our home, nor do we have an adequate kitchen, to host a holiday meal… yet. Luckily we have plans to remodel our kitchen and dining room so that we have the space, and appliances, to accomodate entertaining along with our every day meals.

So for now I focus on what I can control – the decor and festive tablescapes!

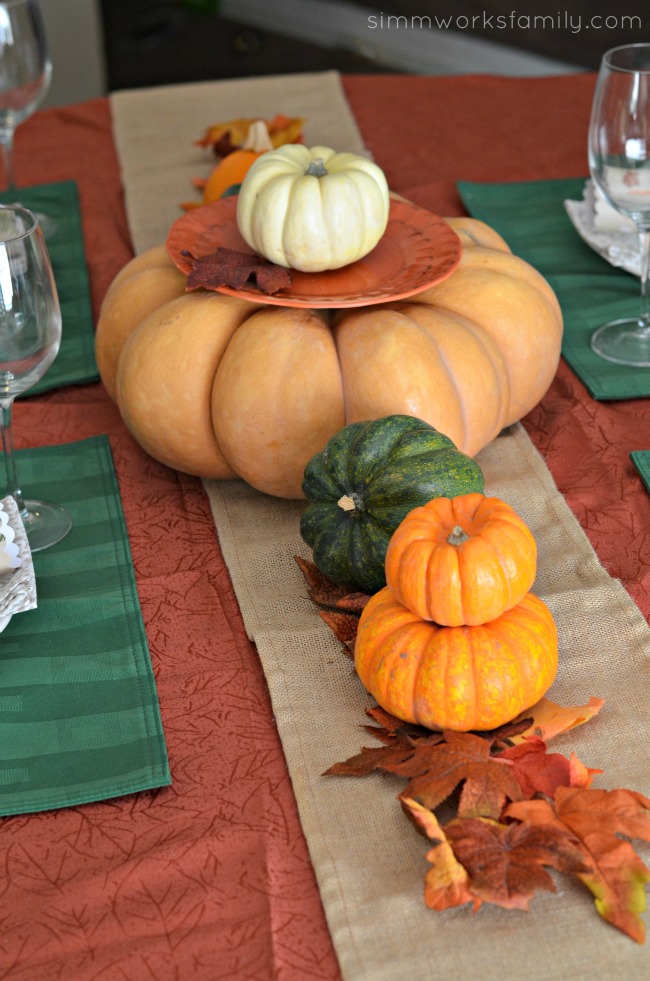
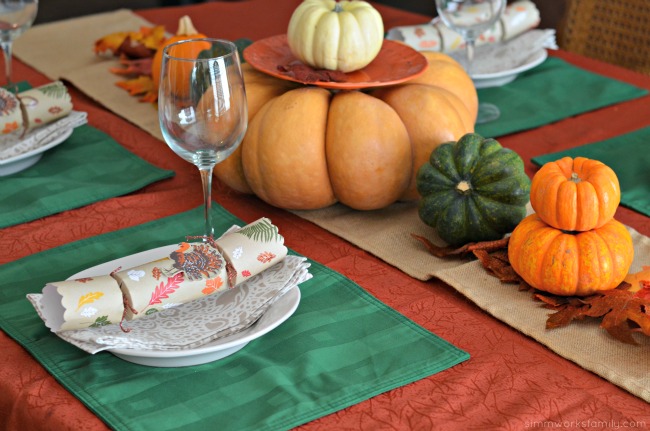
Last year we went with a simple centerpiece to decorate the table so this year we’ve continued with the simple approach. By using pumpkins and squash we picked up at the pumpkin patch right before Halloween, I was able to repurpose a few of our fall decor into a nice tablescape that was festive and coordinated with everything else I had.

Creating The Perfect Thanksgiving Tablescape - fall foliage and squash

Keep The Center Simple

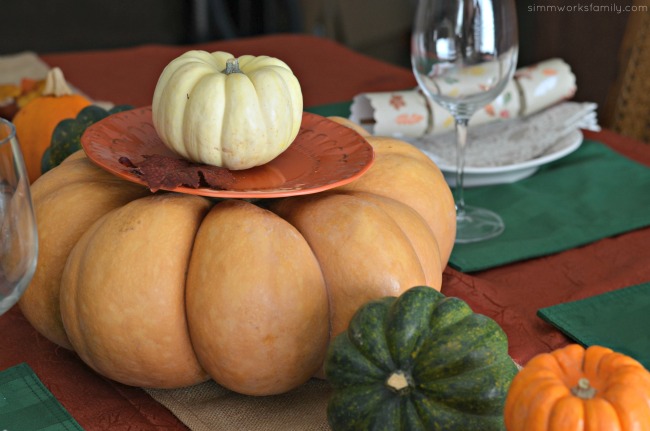
Since we typically keep a buffet of food in the kitchen, the center of the table is for decorative pieces to keep things festive. By utilizing some gourds and squash and placing them along with some leaves on top of a burlap runner, I can create the look of Fall without too many pieces.  I was able to utilize the orange leaf print table cloth that I use for Halloween again for our Thanksgiving tablescape. I’ve also used a cinderella pumpkin here to serve not only as a centerpiece, but as a place to put the pie for dessert at the end of the meal.

When you want to keep conversation flowing, keep the centerpiece low. That allows guests to converse across the table. If there are a few taller pieces, make sure they’re seperated out so there are spaces between to make eye contact. Also, if you’re using candles, make sure they’re unscented. There’s nothing that’ll ruin a dinner more than a scented candle when you’re trying to eat food. 

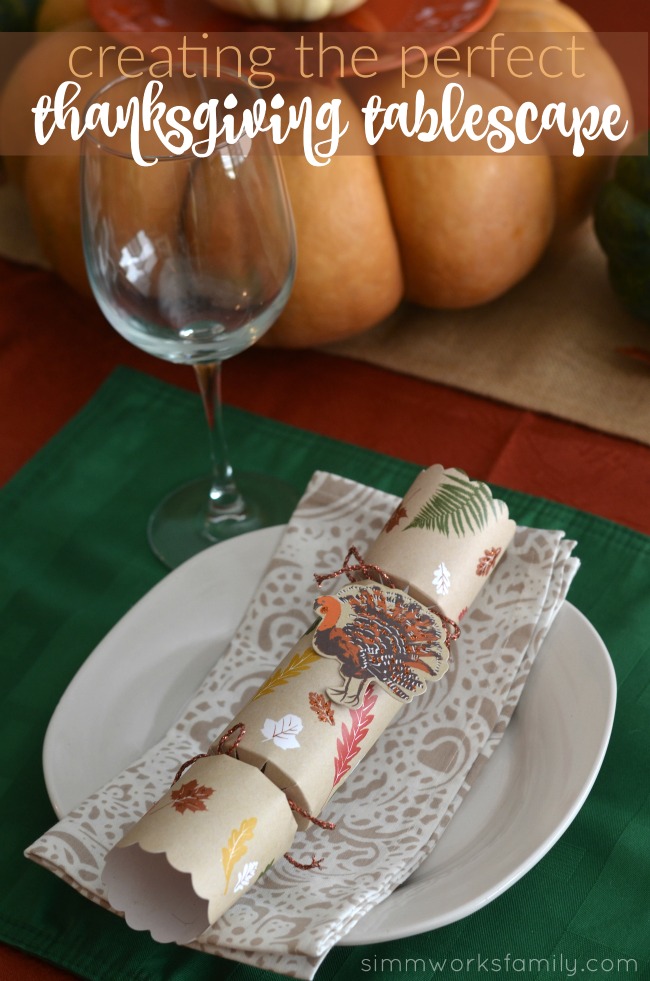
Creating The Perfect Thanksgiving Tablescape - place settings

Have Fun With Place Settings

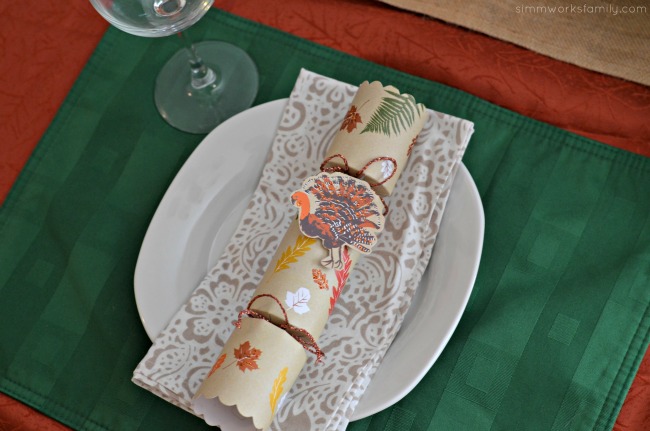
I love creating fun place settings for my guests to enjoy. This year we found some party poppers from our most recent trip to one of our favorite cooking sho that had a festive turkey theme. These are great conversation starters when guests sit down because they want to open them and discuss what they got inside. Sure they’re normally at the kiddy table but why can’t the adults have fun too? I’ve also created fun place cards and napkin rings to keep the table fun and entertaining for everyone.

While I do keep our plates and silverware near the food at the buffet, I leave a bowl for the guests to take to the buffet with them for their salads so they have room on their plate for other foods. Don’t you hate when you put the salad on your place first and it takes up a ton of room? No? Just me? I also like to leave a napkin at each place setting. I’m always that person who gets to the table after getting her food, sits down, and has to get back up to grab a napkin because I forgot it or didn’t have any hands free.

Creating The Perfect Thanksgiving Tablescape - centerpiece

Keep Versatile Pieces

It’s a great idea to have some key pieces from your tablescape to utilize from one holiday to the next. Consider investing in some timeless colors or colors that work with various seasons. Green can work for the fall and winter seasons depending on what you pair it with. Orange works for Halloween and Thanksgiving. And red can work from Christmas to Valentines Day to patriotic hoidays. I also keep a few basic colors of place mats as well on hand to switch it up. Cream, green, and blue are in my current rotation. 

Creating The Perfect Thanksgiving Tablescape - a simple, easy idea for Thanksgiving dinner

Now that I’ve taken care of our tablescape, I can focus on testing out a few of our favorite recipes to contribute to our holiday meals. And next year I’m hoping that I’ll be preparing a holiday meal in our new kitchen. With the research I’ve done on appliances, I’m starting to narrow down exactly what I want. And first things first, out with the electric stove and in with a gas stove!

Since I love to cook, I am aiming to purchase appliances that will last a while and keep up with my passion in the kitchen. I also have to keep in mind my husband’s love of baking. Luckily I can “Take Food Further” through the power of GE Café™ appliances. These appliances bring the expertise of the restaurant, home, during holiday timing.

With the GE Café™ Series I’ll be able to get the details designed to help the meals I make become masterpieces. From slow roasts to quick sears, from soups to sauces, the advanced cooking technology and intuitive design of our ranges can take every meal further. And boy do I need that! With each burner specialized for precise boiling, simmering and searing I won’t have to put up with the frustration that I feel with our current kitchen.

How do you simplify the holidays?

Disclosure: Insight for this post was provided by GE Café™ Series.

Chocolate Peanut Butter Walking Taco Dessert

This shop featuring how to make a chocolate peanut butter walking taco dessert has been compensated by Collective Bias, Inc. and its advertiser. All opinions are mine alone. #SnackAndGo #CollectiveBias

Chocolate Peanut Butter Walking Taco Dessert

Since having our youngest, my daughter Molly has been feeling a bit left out. She is starting to show a little jealousy and really just doesn’t know why she isn’t getting all of the attention like she once did. In an effort to make sure she knows just how much we love her and enjoy spending time with her, I’ve been trying to go out of my way to make special moments with her. And now that the holidays are upon us I’ve had to make extra effort to find those little moments in our day.

As a fun experiment I decided to pick up a few things from Walmart while she was at school to make an after school snack she’d love. Since we normally save sweets for after dinner, she’d be excited to have dessert after school. Norah and I had a fun time finding all of the ingredients we needed for our chocolate peanut butter walking taco dessert.

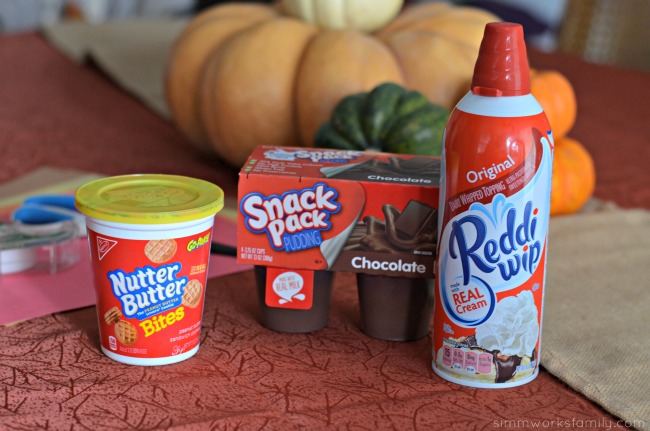
Chocolate Peanut Butter Walking Taco Dessert ingredients

Haven’t heard of a walking taco? Neither had I! But I have been eating them since I was younger and just didn’t know they were called something specific. I don’t know about you but when the ice cream man came around our neighborhood we didn’t always get ice cream. Most times we would get a bag of chips (whatever we decided) and the ice cream man would open the bag and pour in cheese. We’d get the same thing at lunch time and sometimes for breakfast when I was in high school (along with a sugary soda to wash it down with) although instead of chips I remember choosing flaming hot cheetos most of the time.

Well I guess  someone decided to start adding more to their chips and created a walking taco you ate right out of the bag. However they were a bit smarter and used a fork to consume their deliciousness. We just used our fingers and licked off the excess cheese. 

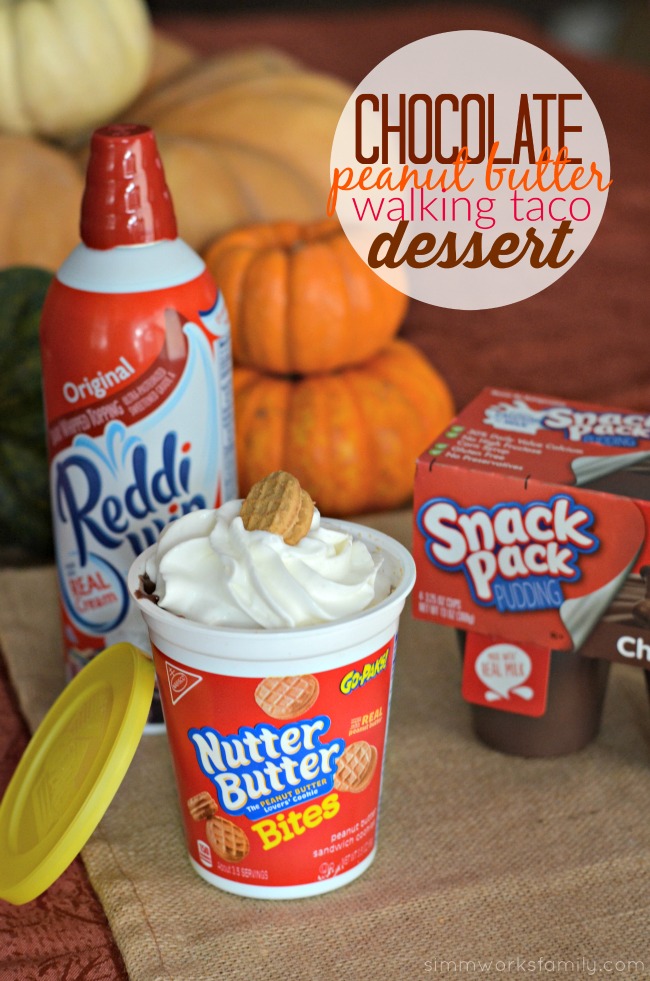
And now I’m making a spin on that walking taco with this walking taco dessert! Using a few simple ingredients I can create a delicious dessert that incorporates all of my daughter’s favorites: peanut butter, chocolate, and of course whipped cream! And making these walking taco desserts in the Go-Paks! means no mess or leaks so it’s easy to take on the go. She just needs a spoon and she’s set. 

Here’s how I made it: 

How To Make A Peanut Butter Chocolate Walking Taco Dessert

Chocolate Peanut Butter Walking Taco Dessert

What you need: 

  • NABISCO Go-Paks! NUTTER BUTTER Bites Sandwich Cookies
  • Snack Pack® Pudding Cups in chocolate
  • Reddi Wip Original

What you do: 

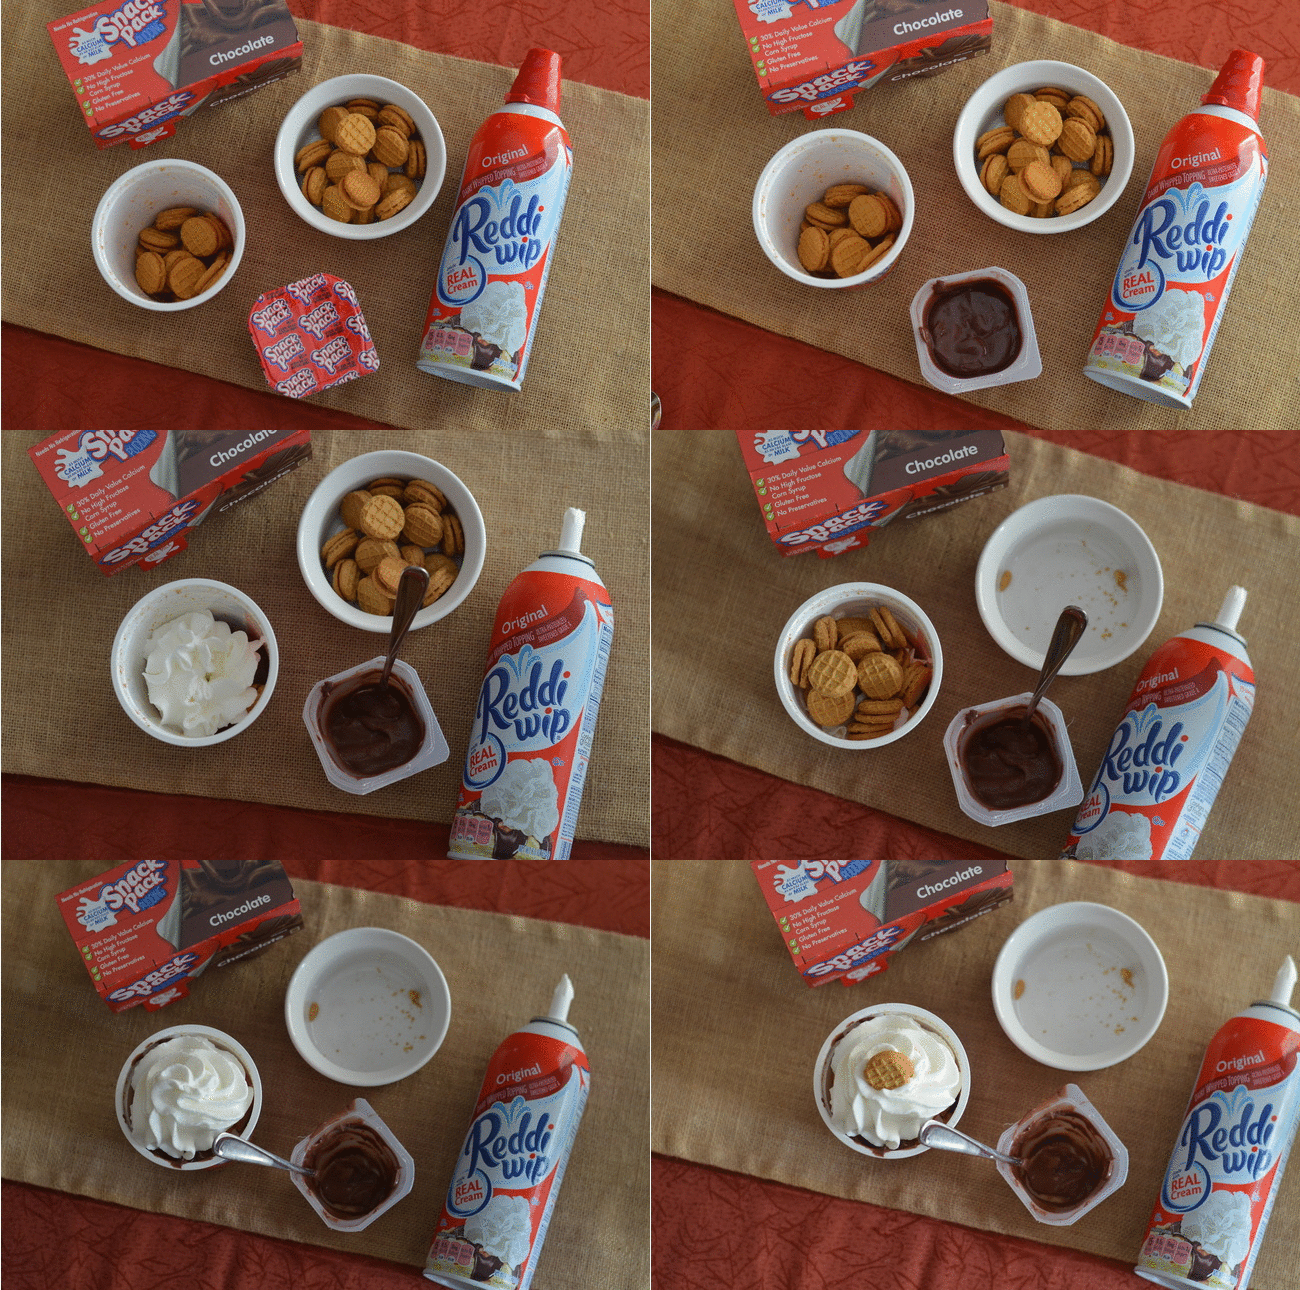
1. Open the Go-Paks! and empty out 1/2 of the cookies inside into a seperate bowl (save one on the side).

2. Open one Snack Pack® Pudding Cup and scoop 1/2 of the container into the Go-Paks! on top of the cookies.

3. Top the pudding off with some Reddi Wip Original.

4. Repeat the process ending with the Reddi Wip Original and add that one cookie you saved on the side on top to share what’s inside.

5. Surprise your kid with a fun dessert treat!

Enjoying a Chocolate Peanut Butter Walking Taco Dessert

Be sure to check out more delicious Go-Pak recipes at DeliciousMomentsOfJoy.com.

What’s your favorite combo?

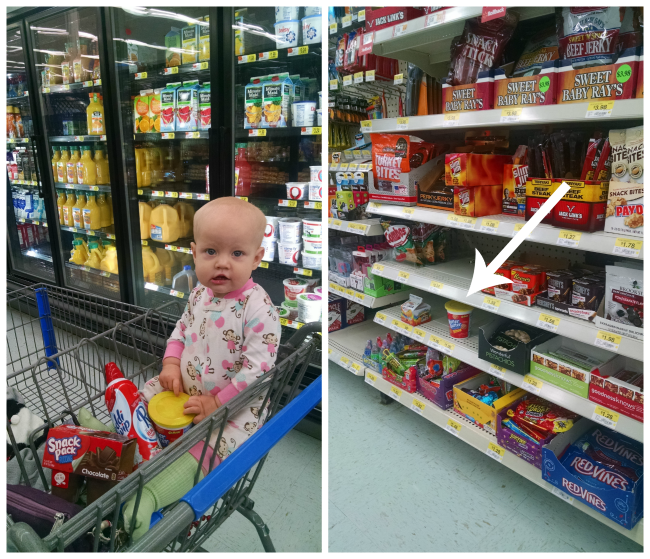
You can find all of the ingredients to make your own walking taco dessert cups at Walmart! Reddi Wip Original can be found in the Dairy aisle by the milk, Snack Pack® Pudding Cups are in the snack aisle, and a variety of Go-Paks! are at the check out counter.

Nabisco products at Walmart

Handmade Holidays: Toy Animal Necklaces

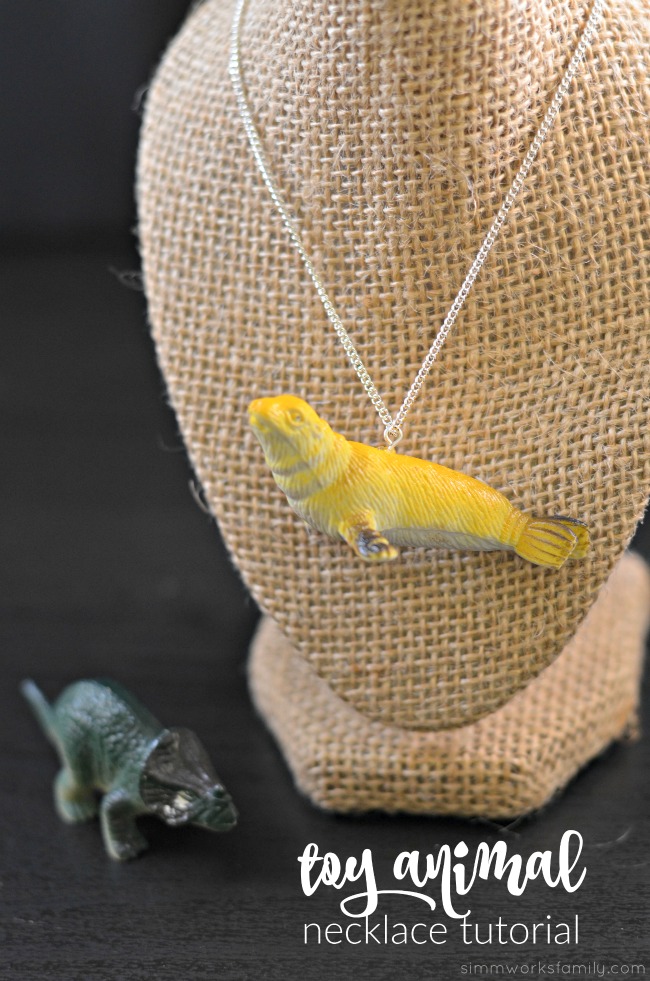
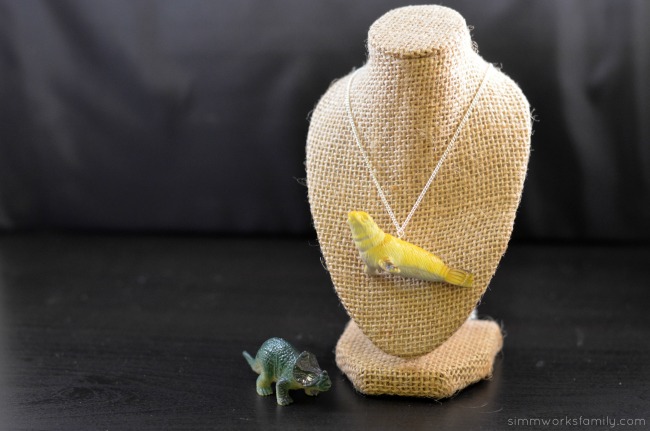
Toy Animal Necklace Tutorial

My kids have a LOT of toys. And as the holidays are coming up (as is my daughter’s 5th birthday) I’m trying to see how I can repurpose old toys as gifts to give to them as well as other relatives and friends.

My daughter is obsessed with my jewerly. She loves trying it on, playing with it, and picking out what pieces I should wear when I go out. So I decided to gift her with a few pieces of her own. Including a handmade toy animal necklace I made just for her.

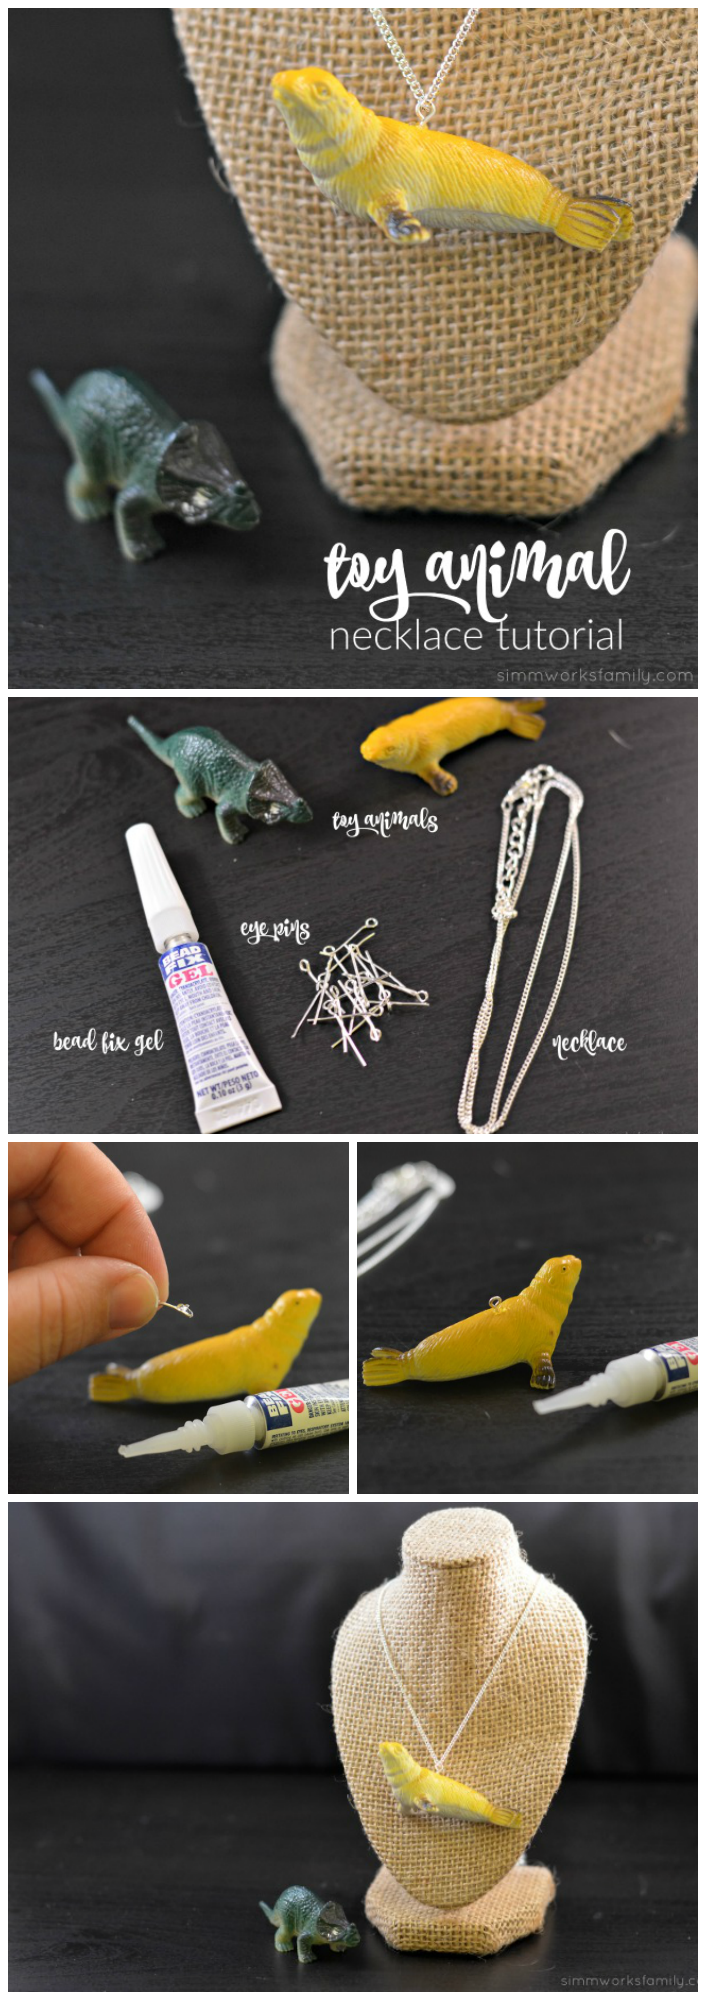
These toy animal necklaces are super easy to make and take about 10 minutes to actually put together. How’s that for a simple DIY gift?

Toy Animal Necklaces - a quick and easy DIY gift to upcycle old toys

Toy Animal Necklaces

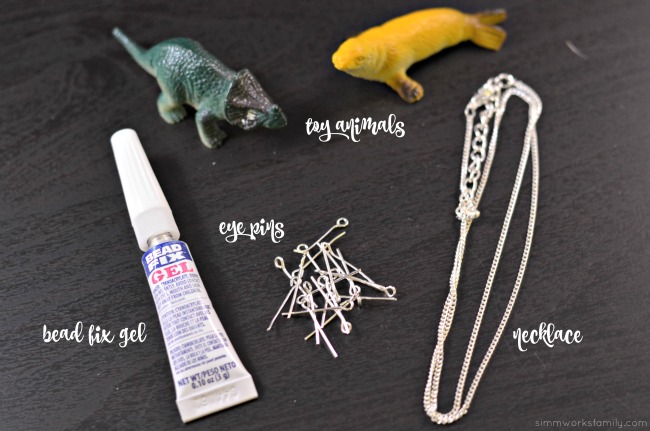
What you need:

Toy Animal Necklaces - supplies

What you do:

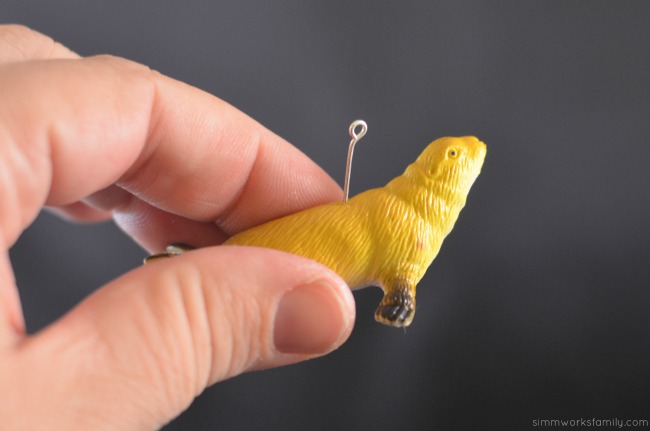
1. Take an eye pin and poke a hole into your toy. If you are having difficulty getting it in, or if the pin is bending, you may need to use a small drill to drill a hole. Or you can simply get a small nail and create a small hole to get the pin going.

Please note: I had to cut my pin in half to allow it to fit inside the body of the toy. 

Toy Animal Necklaces - stick pin in toy

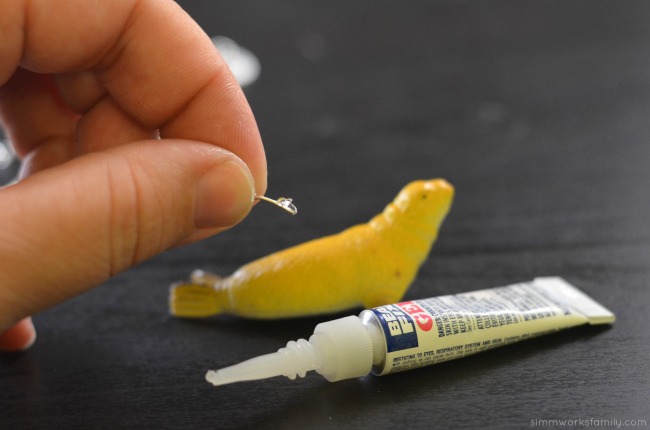
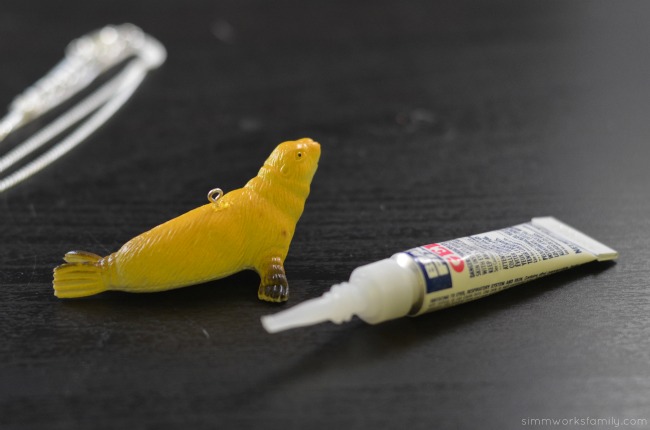
2.  Add a small amount of glue onto the pointed end of the eye pin. Place eye pin in the toy and make sure it’s secured with glue. Let set. 

Toy Animal Necklaces - glue eye pin to animalToy Animal Necklaces - glued on

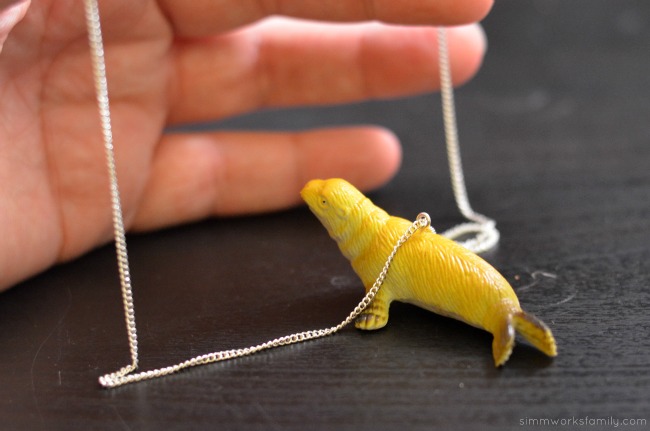
3. Grab the necklace. If the top circle of the eye pin is too small for one end of your necklace to go through, you may need to remove the link of the chain attaching the chain to the clasp. Once you can fit the necklace chain through the round eye of the eye pin, re-secure chain to necklace and clasp. 

Toy Animal Necklaces - necklace threaded through

That’s it! How easy is this project? For the next batch I’m going to spray paint the animals before I put them on the chains. And I’m going to try and dig around and find smaller animals! 

HANDMADE HOLIDAYS hop - HORIZONTAL

I’m part of the 5th Annual Handmade Holidays. You can find some other great gift ideas, crafts, and more by visiting the awesome blogs linked up.

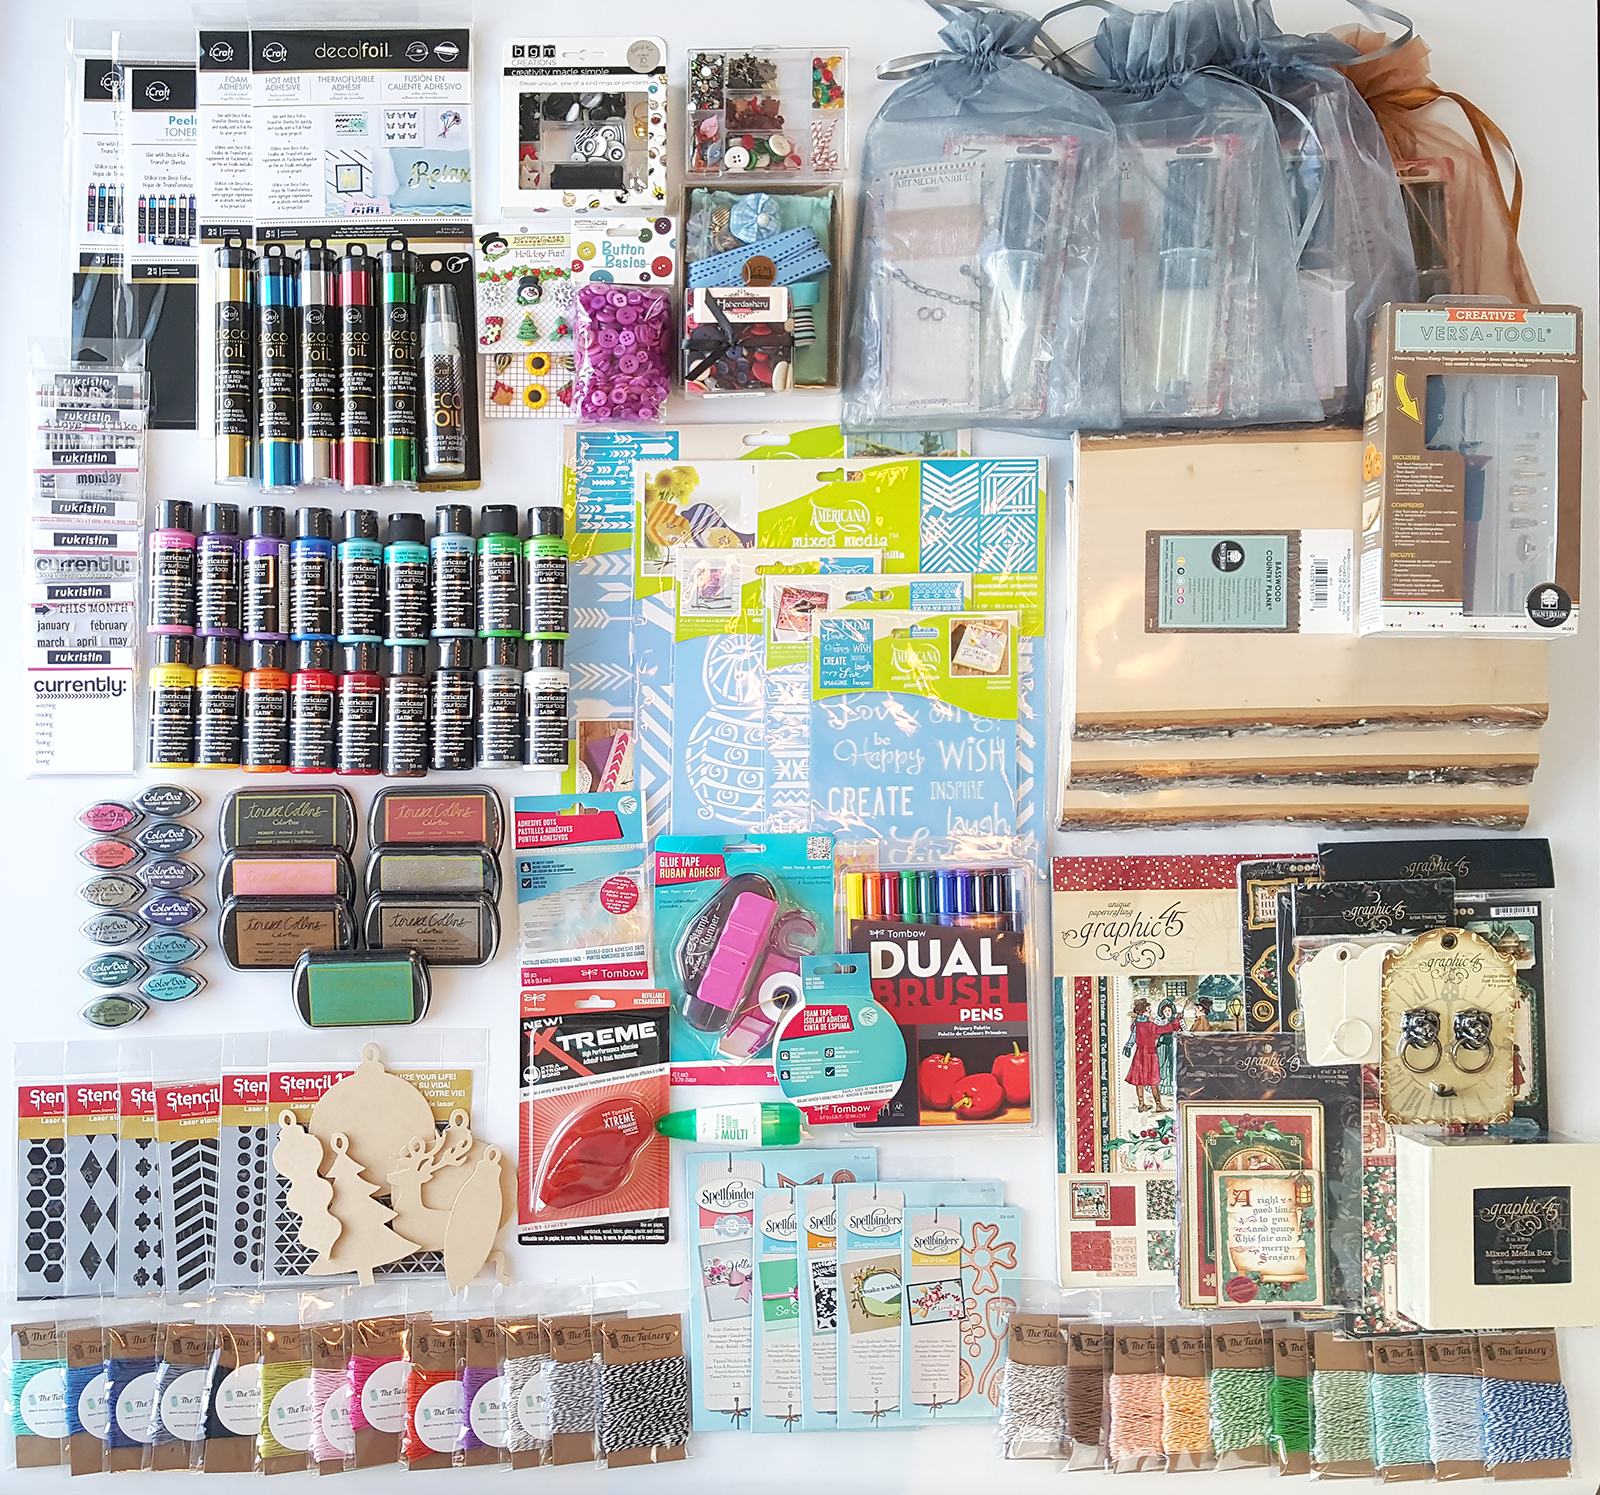
We are having a giveaway of over $600 in craft supplies to help you make this holiday handmade. Enter to win using the widget below:

Handmade-Holidays-2015-Prize-Pack-1600-wide

a Rafflecopter giveaway

Toy Animal Necklaces - an easy DIY upcycled necklace


© A Crafty Spoonful - All Rights Reserved
It is OK to use one of my photos provided a link back and/or proper credit is given. It is NOT ok to copy and paste a whole post including instructions. Please do not remove watermarks or alter images in any way. Please contact me with any questions at danielle@acraftyspoonful.com

.