Homemade Green Bean Casserole {Side Dish Recipe}

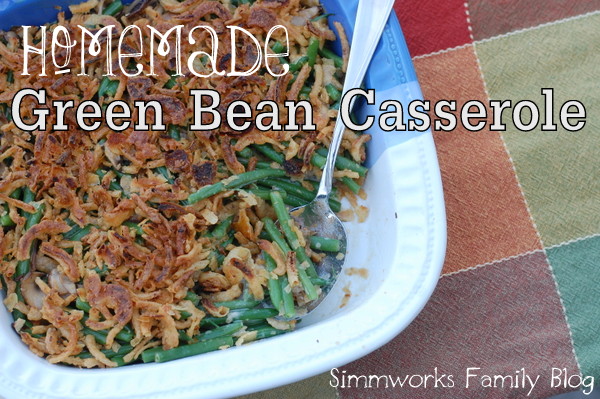
Homemade Green Bean Casserole

My family was (and still is) absolutely obsessed with green bean casserole growing up. I have so many memories of Thanksgiving dinners of the past where my mother and aunt fought over who would get the first serving as soon as we were done praying.

And sometimes we’d see them munching on the french fried onion topping before we even sat down at the table.

I shook my head wondering how the heck someone could like a dish that included some of my least favorite things: onions, green beans, and mushrooms. Ick! Then I grew up.

It took a Costco sampling this year to make me realize how much I’ve been missing out this whole time. So I decided I’d attempt my own homemade green bean casserole this year. And you know what? I love it!

Homemade Green Bean Casserole

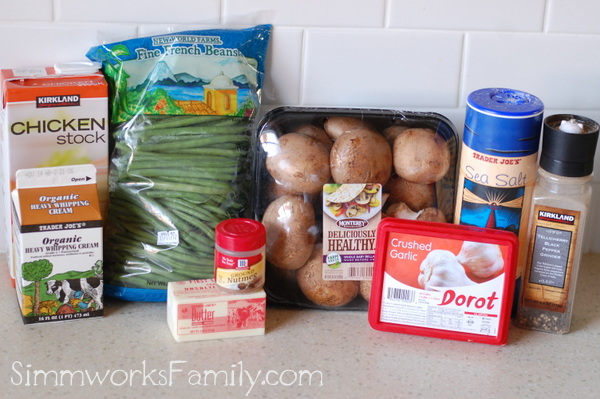
Ingredients:

  • 1lb green beans
  • 6 ounces crimini mushrooms, sliced into 1/2″ pieces
  • 2 tablespoons butter
  • 1/2 teaspoon nutmeg
  • salt and pepper
  • 1 clove garlic
  • 1 tablespoon all purpose flour
  • 3/4 cup chicken stock
  • 1/2 cup heavy cream
  • 1 cup french fried onions + 1 cup reserved for topping


Homemade Green Bean Casserole

1. Preheat the oven to 400 degrees. Boil a pot of water and add salt. Cut green beans into 1-2″ pieces and cook for 5 minutes in boiling salt water.

Homemade Green Bean Casserole

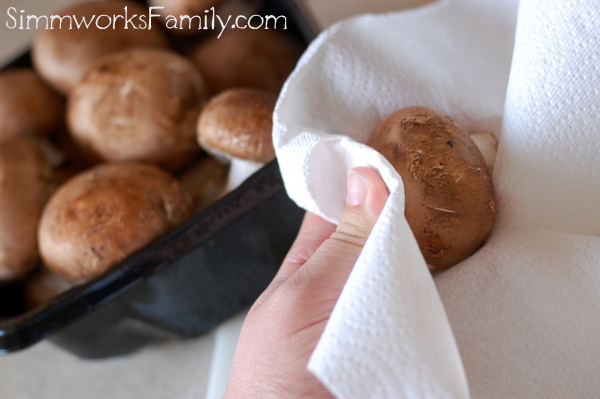
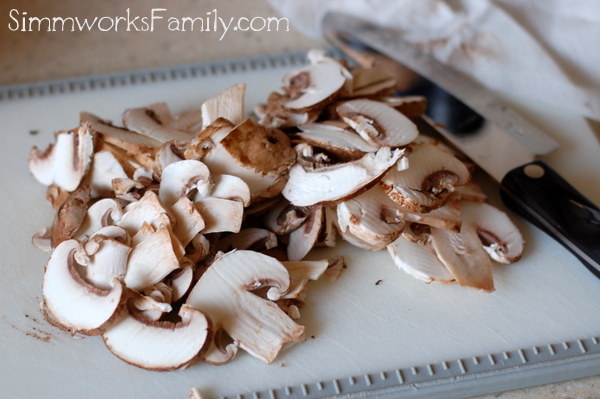
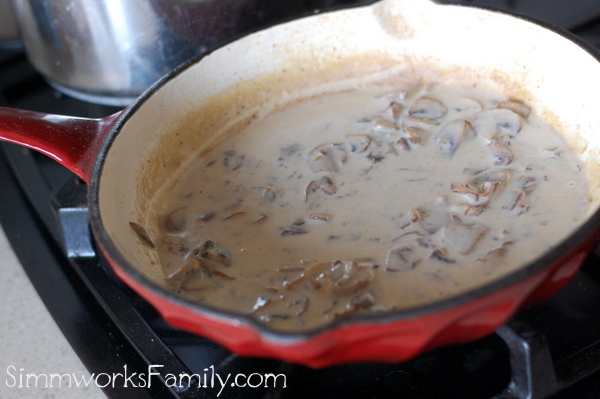
2. Heat butter in a cast iron skillet on medium. Clean your mushrooms off with a towel and slice thinly. Then chop into 1/2″ pieces. Cook mushrooms and salt and pepper in butter until they release their liquid, about 5 minutes.

Homemade Green Bean Casserole

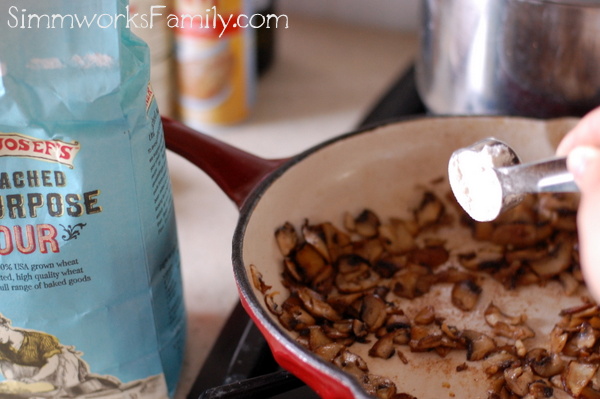
3. Add garlic and nutmeg to the mushrooms and cook an additional minute. Sprinkle with flour and cook another minute.

Homemade Green Bean Casserole

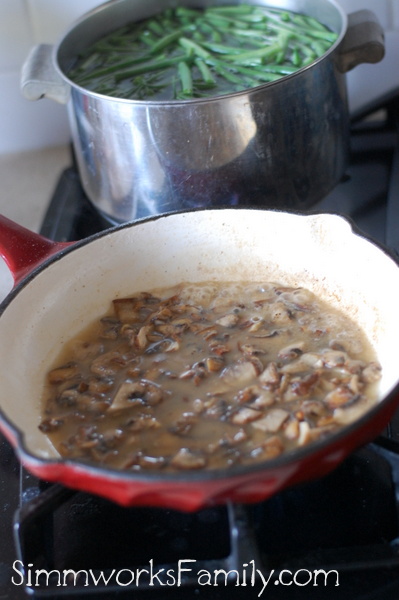
4. Add chicken stock to the pan and scrape up all of the bits on the bottom. Reduce heat and let simmer for a few minutes until thickened.

Homemade Green Bean Casserole

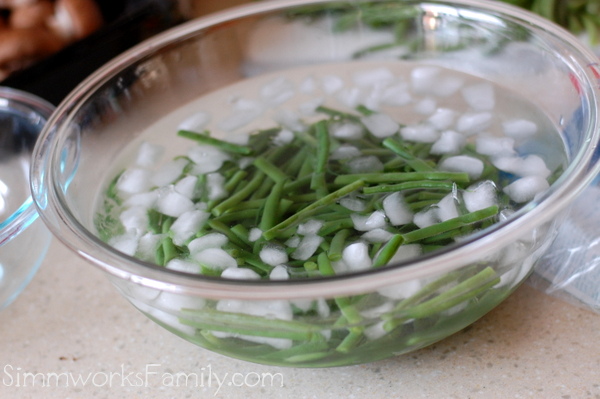
5. Once green beans are done cooking, transfer them to an ice bath to quickly stop the cooking process.

Homemade Green Bean Casserole

6. Add the cream and stir. Let simmer another 2-3 minutes until creamy and fragrant.

Homemade Green Bean Casserole

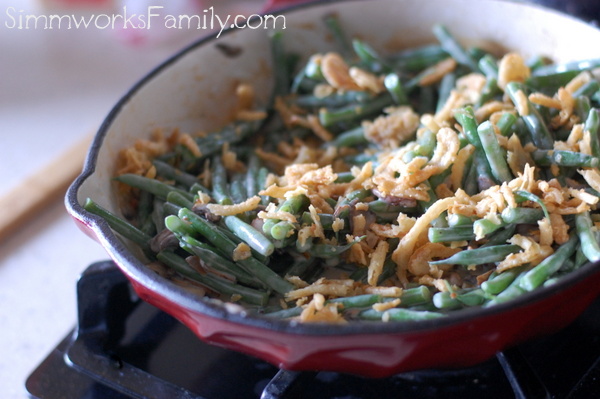
7. Add the green beans and a cup of french fried onions to the mushroom sauce. Mix well until combined.

Homemade Green Bean Casserole

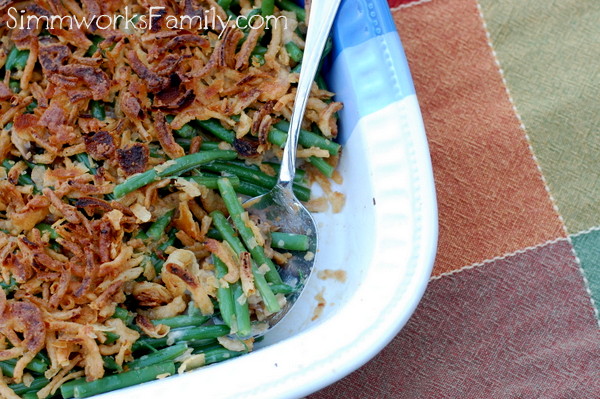
8. Add the green bean mixture to a 9×9 casserole dish and top with remaining cup of french fried onions. Bake for 15 minutes or until bubbly. Let cool 5 minutes and enjoy!

Homemade Green Bean Casserole


Do you serve green bean casserole at Thanksgiving?

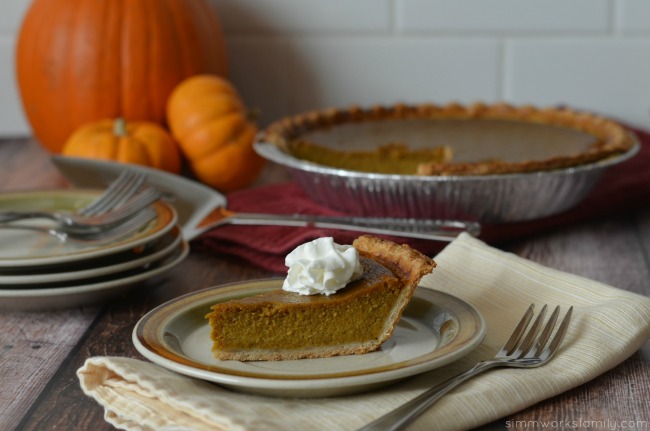
Don’t forget the pie! 
Fall Harvest Party Ideas - Mini Pecan Pie Bites

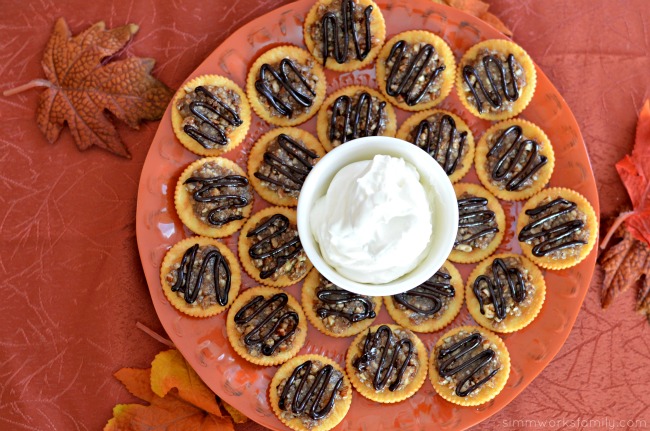
Mini Pecan Pie Bites

pumpkin pie with coconut milk close up

Pumpkin Pie with Coconut Milk

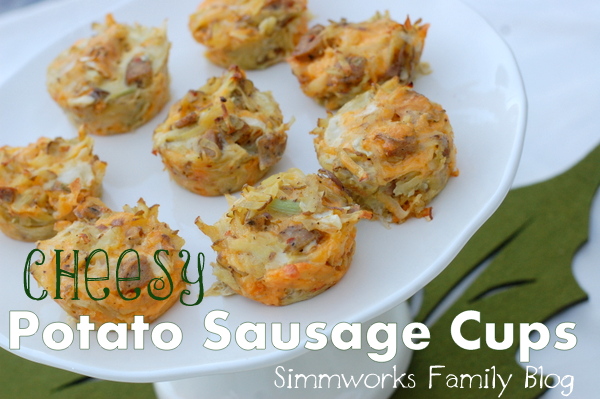
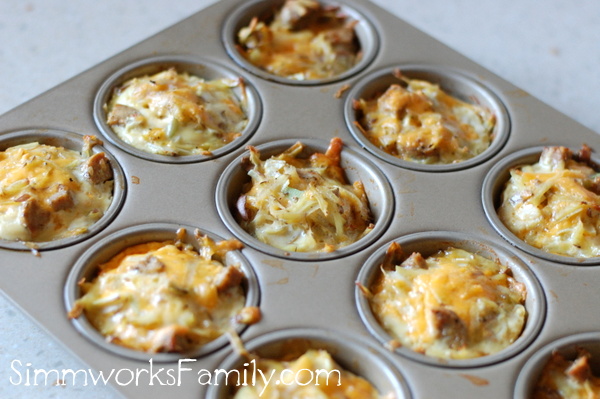
Cheesy Potato Sausage Cups {Appetizer & Sides Recipe}

Cheesy Sausage and Potato Cups recipe

I’ve tried to brainstorm what I’ll be bringing with me to Thanksgiving dinner for about a week now. And I have a few ideas for what I want to make. But I’m not 100% sure.

So I’ve put a few of the recipes to the test before the big day and will be blogging about the ones that turn out tasty!

These cheesy potato sausage cups are jam packed with flavor in every bite. And I love how easy they were to throw together.

Like my kitchen sink egg cups, these potato sausage cups are made up of things I found in my fridge and freezer. And they only took about 30 minutes to make.

The best part is they taste amazingly good the second time around. So I could make them the morning of, bring them over to my brother-in-law’s house and simply re-heat them before dinner! They’d make the perfect side or appetizer dish.

Cheesy Sausage and Potato Cups

[Read more…]

Hiking with Toddlers and the @Boba Air Baby Carrier

One thing I’ve come to realize more and more with two children is the necessity of baby wearing. Not only does it allow me to do more activities with my kids, it also allows my family the opportunity to explore and create new memories in places that a stroller just can’t go. Including hiking with toddlers.

This Summer my family and I made the trek up to Mammoth Mountain for a mini vacation with just the 4 of us. Not only is Mammoth gorgeous this time of year, there are so many things to do out there! We took this opportunity to take the kids camping in Yosemite this time around. And while our camping trip was definitely memorable, it isn’t one I’d like to repeat any time soon.

Not only did I end up needed emergency dental work due to the altitude pushing up a crown of mine (abscess under the crown), but the mountain air was just too cold during the night for little ones.

But we did get to take advantage of some great hiking and exploring while we were in Yosemite and Mammoth! So ignore my puffy face and enjoy the gorgeous views we were able to take in. I wouldn’t have been able to enjoy all that we did without the help of our Boba Air.

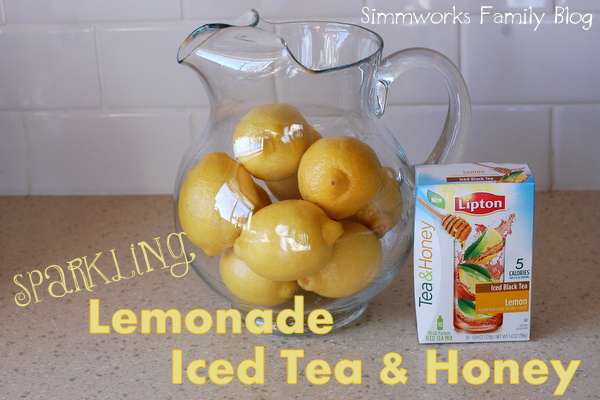
Sparkling Lemonade Iced Tea and Honey Recipe

Sparkling Lemonade Iced Tea & Honey Lipton #FamilyTeaTime

Sparkling Lemonade Iced Tea and Honey

Our family has one passion and that’s tea! Yes, I’m known to have a love of coffee, but my roots have always been with tea. So when I saw these Lipton Tea & Honey iced tea mixes on the shelves of Walmart I knew I wanted to try something new and test them out.

But it wouldn’t be fun to simply mix the Tea & Honey packets with just plain water. No… I wanted to make something that would be tasty and fun for the whole family!

So I started thinking about some of my families favorite flavors and two things immediately emerged… lemons and iced tea! How perfect is this combination? Simple, classic, and refreshing. Instead of simply mixing the iced tea with lemonade, I decided to kick it up a notch and add a little sparkle to the mix.

What I love about this recipe is how versatile it is! With so many Lipton Tea & Honey varieties, there are so many combinations of flavors you can make with this one recipe.

I served this pitcher to my family as a taste test first and then served it at my My Favorite Things Spa party. It was the perfect refreshment for the mamas-to-be who attended and were looking for something fun and bubbly to enjoy.

[Read more…]

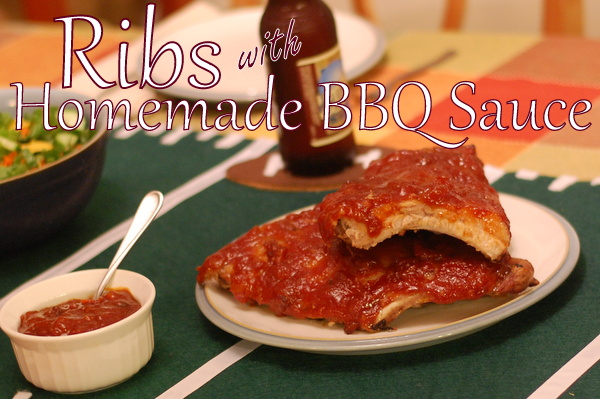
Baby Back Ribs with Homemade BBQ Sauce

Ribs with Homemade Barbecue Sauce

There’s one meal that I wish I could cook better. And that’s baby back ribs with bbq sauce. I absolutely love ribs. Love the taste, the mess, and the pile of bones left over at the end. I know, I know… I’m weird. But a good plate of ribs just hits the spot.

And they’re the perfect dish to make for tailgating! So when I was planning my menu for my tailgating party I knew we had to serve ribs. Not only can they be made at home, but they can also be made on the grill and in the crock pot. So many different ways to make one delicious dish!

These ribs are even tastier because of the homemade barbecue sauce I made to go with them. And I have two surprises… my secret ingredient! Total Iron Chef moment here.

We headed out to Smart & Final for our ingredients and I knew I wanted to pick up some flavored preserves. As soon as I saw the First Street apricot pineapple preserves I knew I needed them for my sauce. And it was the best choice I made! While you can use peach, apricot, or even raspberry preserves in this recipe, the combination of the apricot and pineapple gave this sauce an amazing flavor.

You can check out my whole shopping experience by checking out my Smart & Final Tailgating Google + Album.

[Read more…]

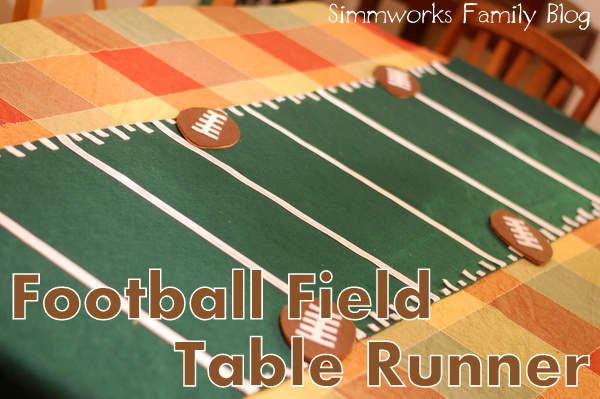
DIY Football Field Table Runner

DIY Football Table Runner

As I mentioned before, it’s football season! And that means one thing… my husband will not respond to a thing I say on Sundays unless we’re coming out of church or it’s during a commercial. So I do what I do best when I have no one to talk to… I craft! And this weekend I made this awesome football field table runner for our dining room table.

Not only is this a festive and fun piece for the house, it can also be brought to the game to spice up a boring folding table or a truck bed. Why not make tailgating fun with a little crafty decor, right?

This table runner is quick, easy, and the best part is there’s no sewing involved! So grab your glue, get some felt, and lets make a table runner! Then grab the scraps and make the football coasters to go along with it.

[Read more…]

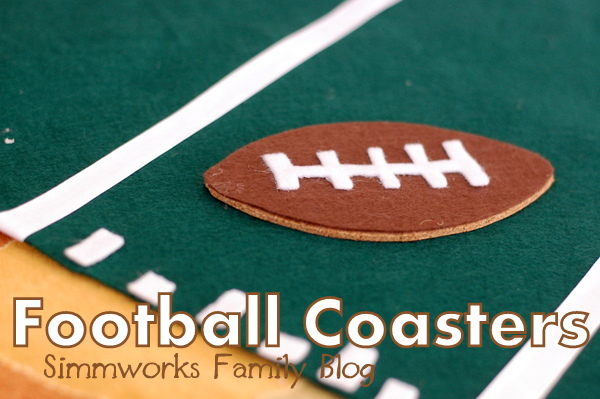
How to Make Football Coasters

Football Coasters


Everyone in America knows that football season is upon us. Why not make watching the game a little more enjoyable with these fun DIY football coasters? With a little bit of felt, corkboard, and glue you can create these awesome coasters that are perfect for protecting your tables and properly holding your beer as you watch the game.

What’s even more awesome about these coasters is the fact that they take less than 10 minutes to make. No… seriously. All you do is cut, glue, and use!

We used these coasters for our tailgating party this weekend to go along with the football field table runner I made. Both paired perfectly together and made our game-time meal more enjoyable. These would also be perfect to pack up and take to the game for a proper tailgating party.

[Read more…]

Better than Panera Chocolate Chip Cookies Recipe

There’s one thing my family is obsessed with. And that’s cookies. Our favorite cookie? Chocolate chip cookies!

There are many nights that my husband comes home and, after eating dinner together, heads to the  kitchen to start a batch of homemade chocolate chip cookies. You can understand now why it’s so hard to stick with a diet plan in this house.

One cookie we absolutely love are the Panera chocolate chip cookies. Every bite is filled with chocolate and they’re super soft with the perfect crunchy outer layer. So when we heard of a chocolate chip cookie recipe that was deemed better than Panera we had to try it out.

The results? Oh, these cookies are definitely better. And worth making again and again!

Better Than Panera Chocolate Chip Cookies

  • 2 cups all-purpose flour
  • 1/2 teaspoon baking soda
  • 1/2 teaspoon salt
  • 3/4 cup unsalted butter, melted
  • 1 cup packed brown sugar
  • 1/2 cup white sugar
  • 1 tablespoon vanilla extract
  • 1 egg
  • 1 egg yolk
  • 2 cups mini semi sweet chocolate chips

Preheat the oven to 325 degrees. Line cookie sheet(s) with parchment paper.

Sift together flour, baking soda, and salt. Set aside.

In a stand mixer, cream together the melted butter, brown sugar and white sugar until light and fluffy. Beat in the vanilla, egg, and egg yolk until mixture is creamy.

Mix in the sifted dry ingredients until just combined. Using a spatula, fold in the mini chocolate chips.

Using a cookie scoop, drop cookie dough (about 1/4 cup) onto the prepared chookie sheets. Cookies should be about 3 inches apart.

Bake for 15-17 minutes or until edges are golden brown. Cool on cookie sheet for 1-2 minutes before transferring to a wire cooling rack. Cool completely before serving.

Makes about 18 large cookies.

What’s your favorite cookie?

5 Alternatives to Carving Pumpkins {Fun Kids Crafts}

Having small children can sometimes make pumpkin carving a bit difficult. So this year we went with something a little different and let the kids make a few varieties of pumpkins. Grab some glue, your potato head pieces, and even the paint and see what your kids do to create their Fall masterpieces!

If you’re in the same boat and are looking for great alternatives to carving pumpkins this year, here are our suggestions.  [Read more…]

How to Make a Spider Web Pumpkin

Each year we take the time to cut, gut, and carve out a few pumpkins. And every year we complain about the mess, the time, and the clean up. So this year we went simple! We let the kids paint pumpkins and we took an alternative approach.

We also used paints but used different kinds to make these spider web pumpkins. With the help of some spray paint and puffy paints we were able to make these super cool spider web pumpkins for our Amazing Spider-Man party and for our Halloween display.

It was super easy to do and I’m sure you’ll find it just as simple to create a pumpkin masterpiece of your own! Here’s what you do:

Spider Web Pumpkins

What you’ll Need: 

  • Pumpkin
  • Spray Paint
  • Puffy Paint

What you do: 

1. Paint your pumpkin with your base color. We chose to go with black.

2. Using the puffy paint, make lines going down and across the pumpkin to create your web.

3. Add a spider to the web with puffy paint and let dry completely. 

Once the pumpkin is completely dry set it outside your door for everyone to enjoy!

How do you decorate pumpkins for Halloween? 


© A Crafty Spoonful - All Rights Reserved
It is OK to use one of my photos provided a link back and/or proper credit is given. It is NOT ok to copy and paste a whole post including instructions. Please do not remove watermarks or alter images in any way. Please contact me with any questions at danielle@acraftyspoonful.com

.