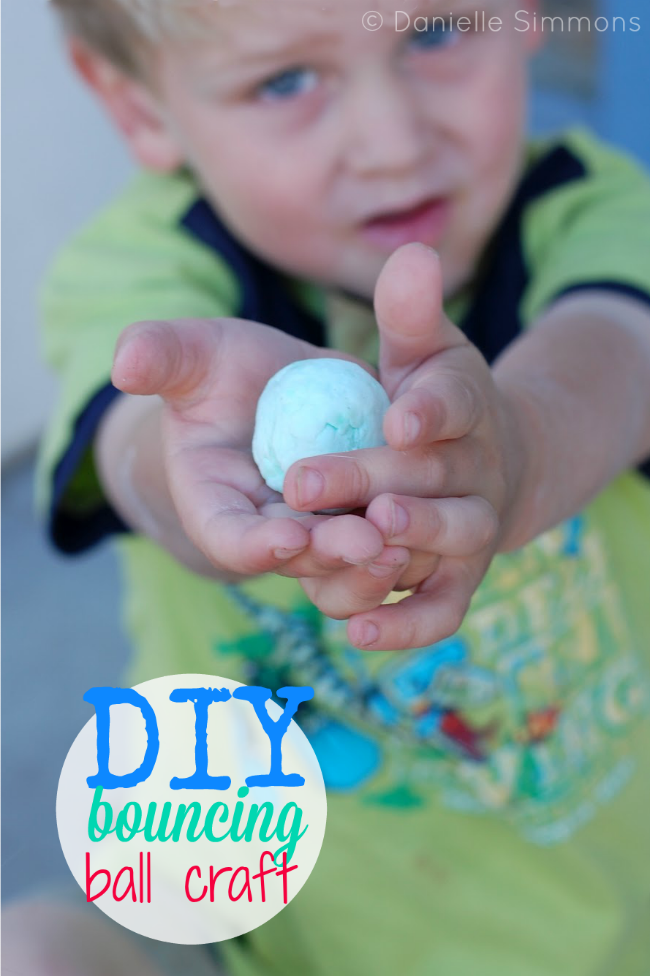
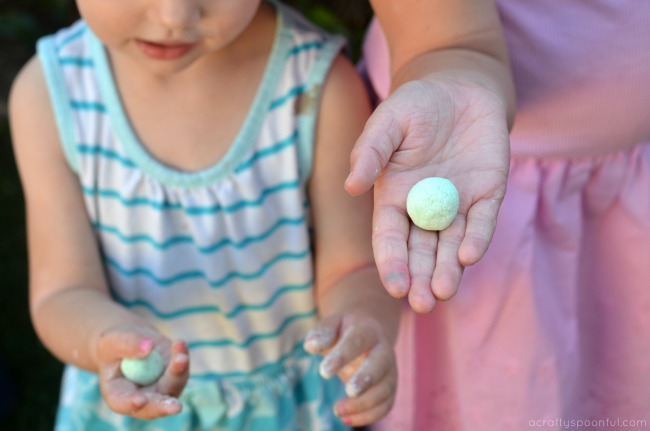
Make DIY bouncing balls with your kids and share the fun of science in the process!
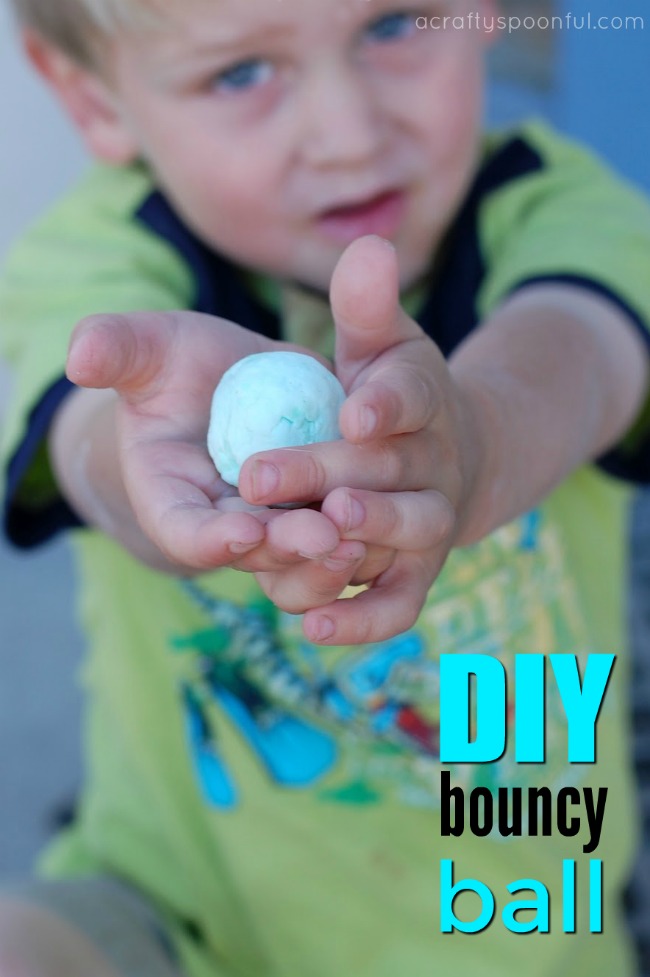
Have you ever wanted to make your own toys? See your creation unfold from idea to reality? My kids absolutely love balls. They always ask to buy more and our front yard is filled with them. So when I saw this tutorial on About.com on how to make polymer balls I had to give it a try.
Result? A pretty fun experiment and toy all in one! And while the ball doesn’t bounce quite as high as the ones you buy from the machine outside of the grocery store it still provides hours of entertainment for children and adults alike. Whether you are looking to teach your kids about a little chemistry or just ready to make a fun toy, this is the perfect craft for a lazy afternoon.
This post contains affiliate links.
DIY Bouncing Balls
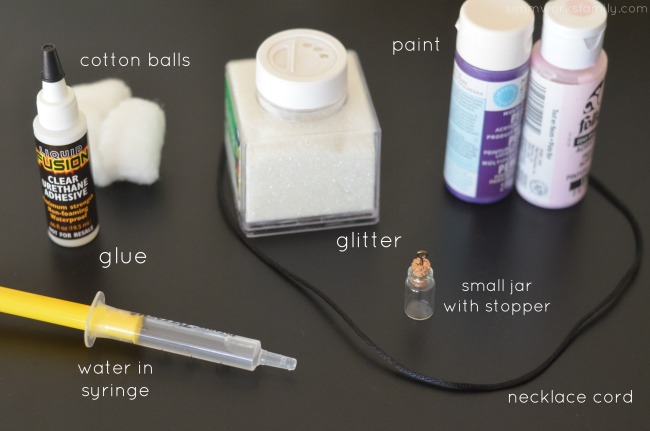
What You’ll Need:
- borax (found in the laundry section of the store)
- cornstarch (found in the baking section of the store)
- white glue (makes an opaque ball) or blue or clear school glue (makes a translucent ball)
- warm water
- food coloring (optional)
- measuring spoons
- spoon or craft stick to stir the mixture
- 2 small plastic cups or other containers for mixing
- marking pen
- watch with a second hand
- ruler
- ziploc bag