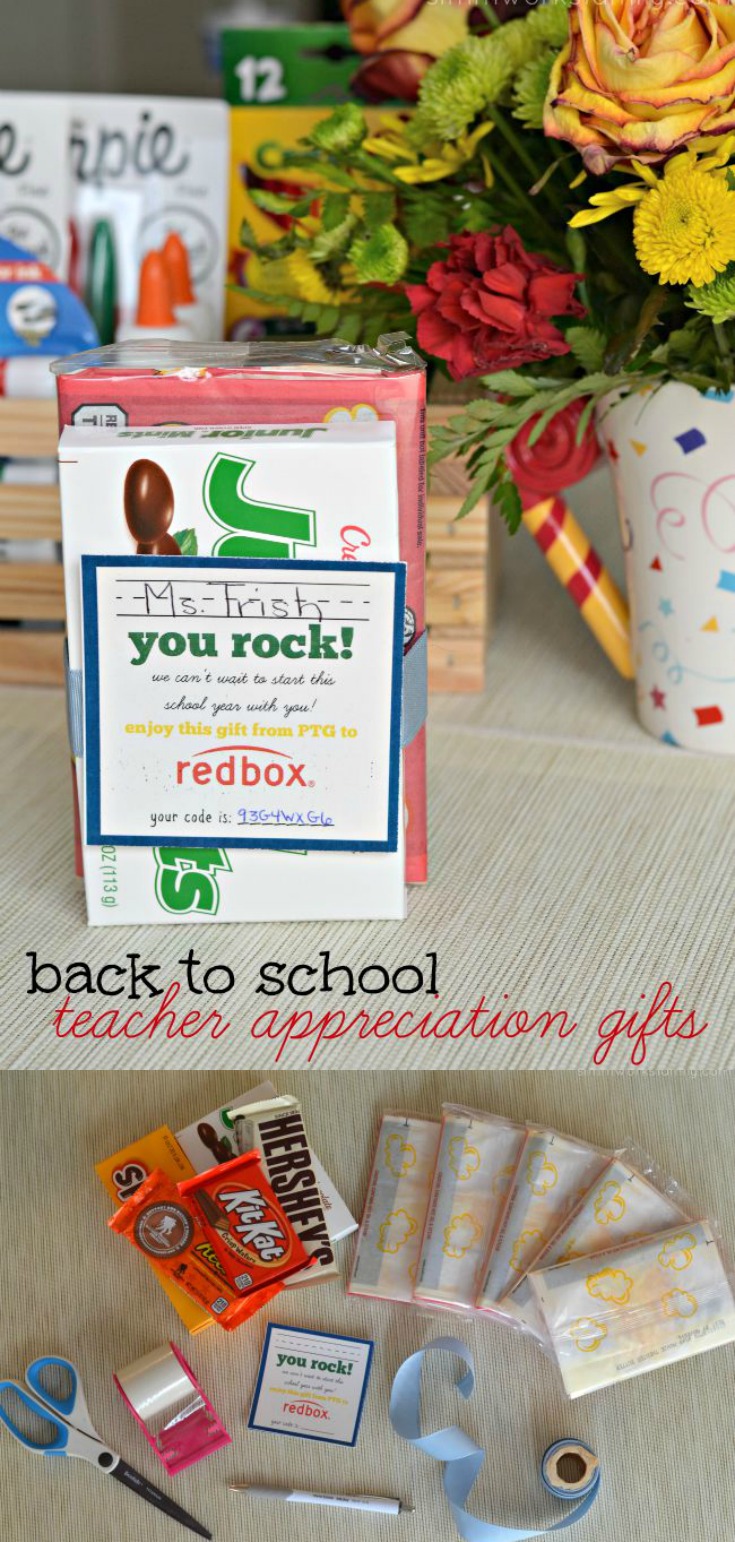
It’s the start of a new school year and to show our teachers some back to school love, we’ve created this simple back to school teacher appreciation gift!
Ahhhh! The most wonderful week of the year. Back to school week. Where the kids head back into the loving arms of their teachers and mama gets some time to work uninterrupted (well… with the baby). While they enjoy learning and playing and being taught by someone other than me, I can get things done and FINALLY get back to a semi-normal schedule working from home.
And because of that, I felt the need to thank the teachers. Thank them for being there for my kids, taking them under their wings, and actually getting them to listen when you teach them fun things like sight words, money, reading, subtraction, getting along with peers and everything else they’ll be learning this year.
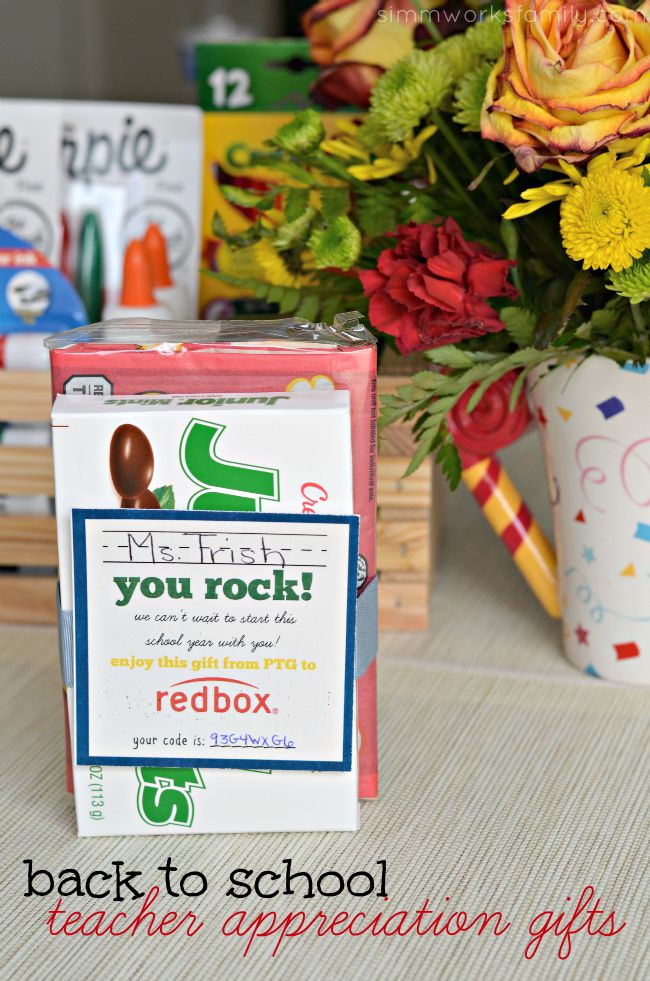
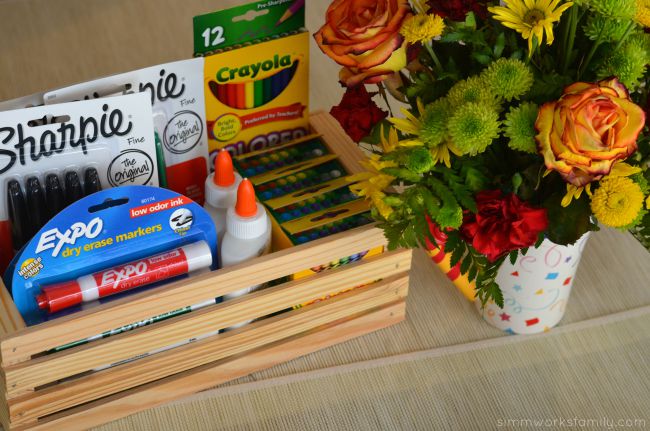
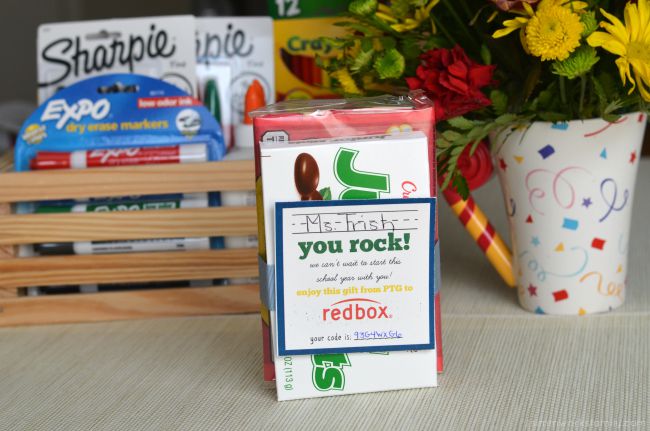
What better way to thank them than by giving them a small token of appreciation. Or a large token. So as part of the school’s PTG, I proposed a gift idea for the teachers. A simple thank you in the form of some candy, popcorn, and a Redbox gift code. Plus some extra school supplies for them to take as needed and some gorgeous flowers for the Teacher’s Lounge.
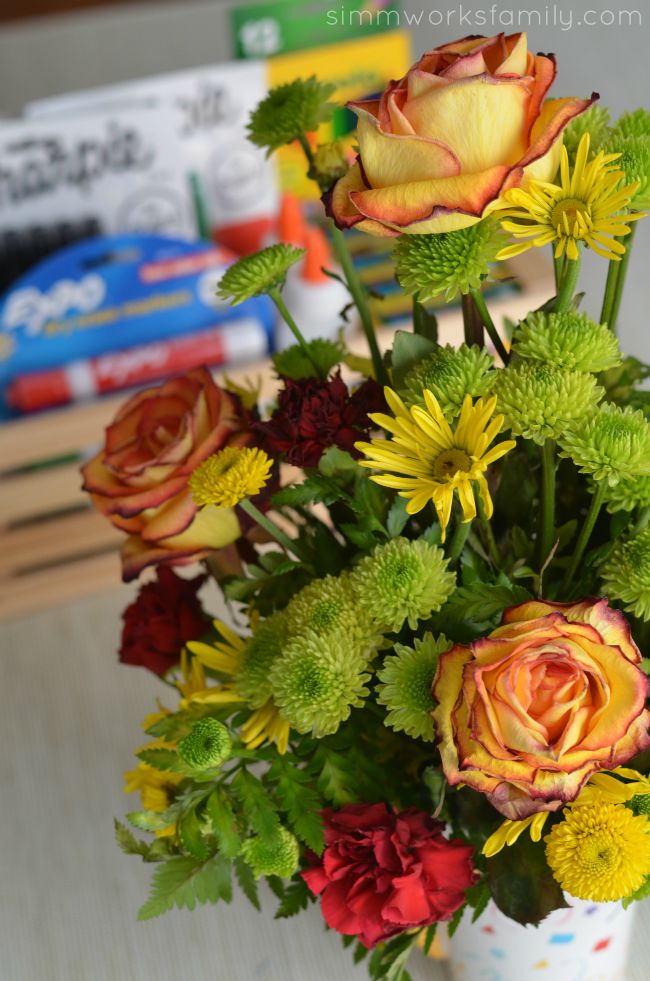
I don’t know about you but receiving a flower delivery just brings a huge smile to my face. It makes me feel good. And always brightens up the house or office. So one of my favorite things to give when it comes to a gift giving occasion for a birthday, celebration, anniversary, etc is flowers. And most of the time I’m sending them to my mom out of state. But this time around I decided to send them to my son’s school as a thank you to his teachers before the beginning of the school year.
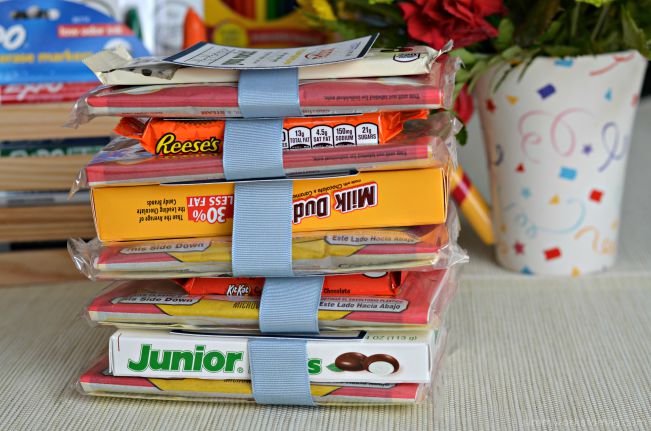
With them I paired some extra school supplies I purchased throughout the summer when back-to-school sales were going on and supplies were dirt cheap. Why not stock up and spread the love with extra supplies when you know at least one teacher will need the extras? Then I figured it’d be nice to create an individual gift for each teacher from the PTG. So I threw together this cute little package and purchased some Redbox codes for each teacher. These came together in a few short minutes and were so easy to make!
Here’s how:
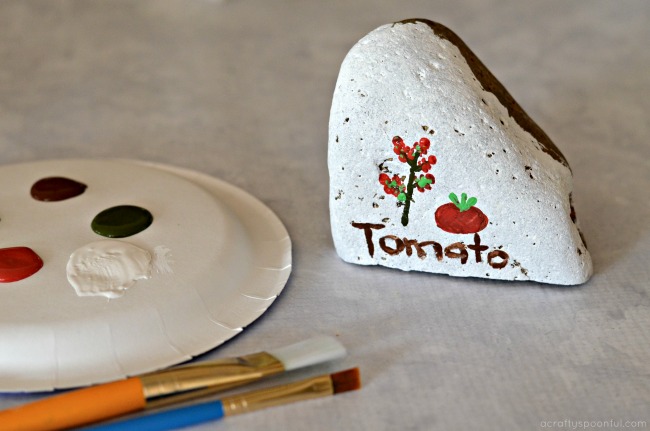
Teacher’s Rock Back to School Gift
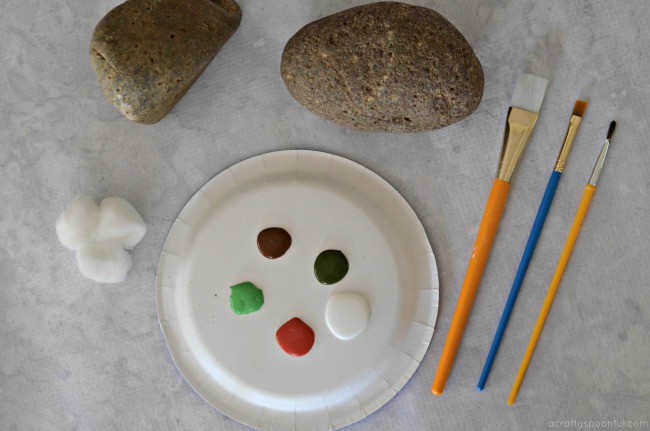
What you’ll need:
- Redbox codes (you can purchase them in batches of 5, 10, or 20)
- individually wrapped microwavable popcorn
- Full-size candy
- ribbon
- clear packaging tape
- scissors
- pen or fine point permanent marker
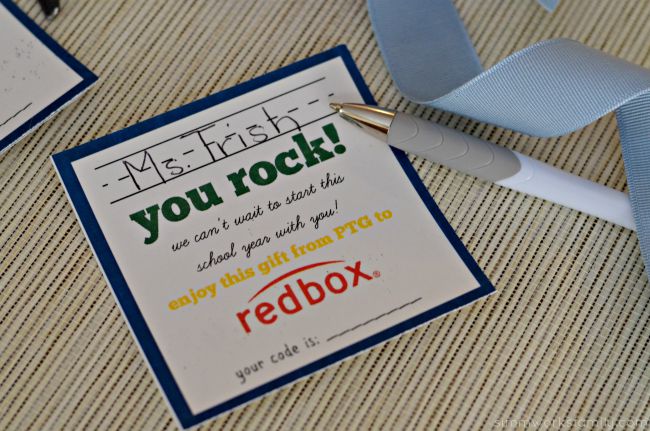
- Teachers Rock PTG printable
Download the PTO printable here | Download the PTA printable here

What you do:
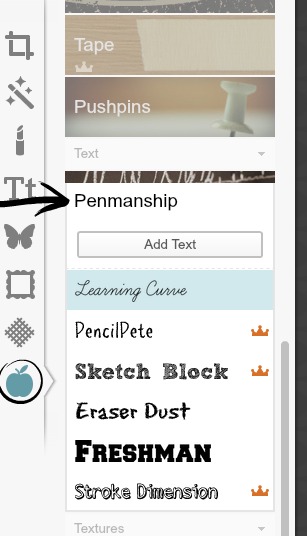
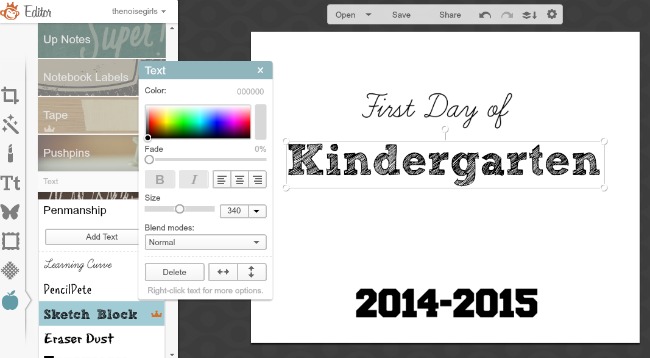
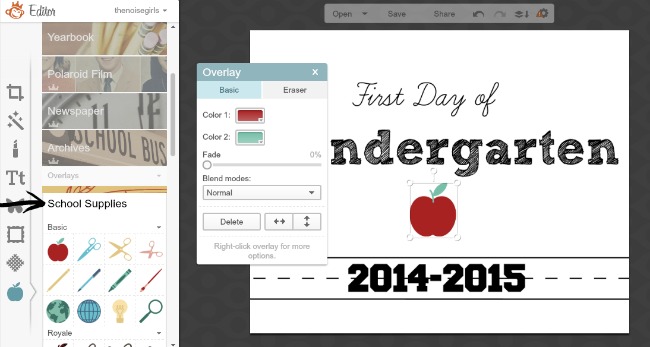
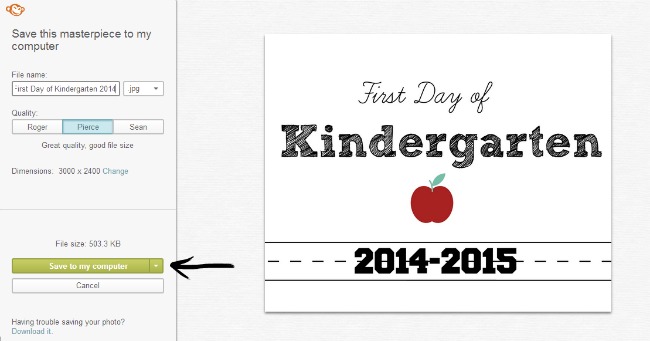
1. Print out this printable. Cut to size and write in the teacher’s name and Redbox code. Remember that each code is unique so keep track of which codes you’ve already used.
2. Grab a popcorn package and a candy along with your ribbon and scissors. Measure out how much ribbon you’ll need to wrap around the candy and popcorn and cut the ribbon to size.
3. Grab a large piece of mailing tape (a little smaller than the size of the square printable) and place in the middle of the candy sticky side up. Bring the ribbon edges over to adhere to the center of the tape so each side of the ribbon sticks to the tape.
4. Place the printable on the tape and ribbon and press down gently to make sure that the tape adhere’s to the back of the printable.
5. Pass out to the teachers!
What is your ‘go-to’ gift for others?
This post was originally published on August 30th, 2015
Love what you read? Read more!
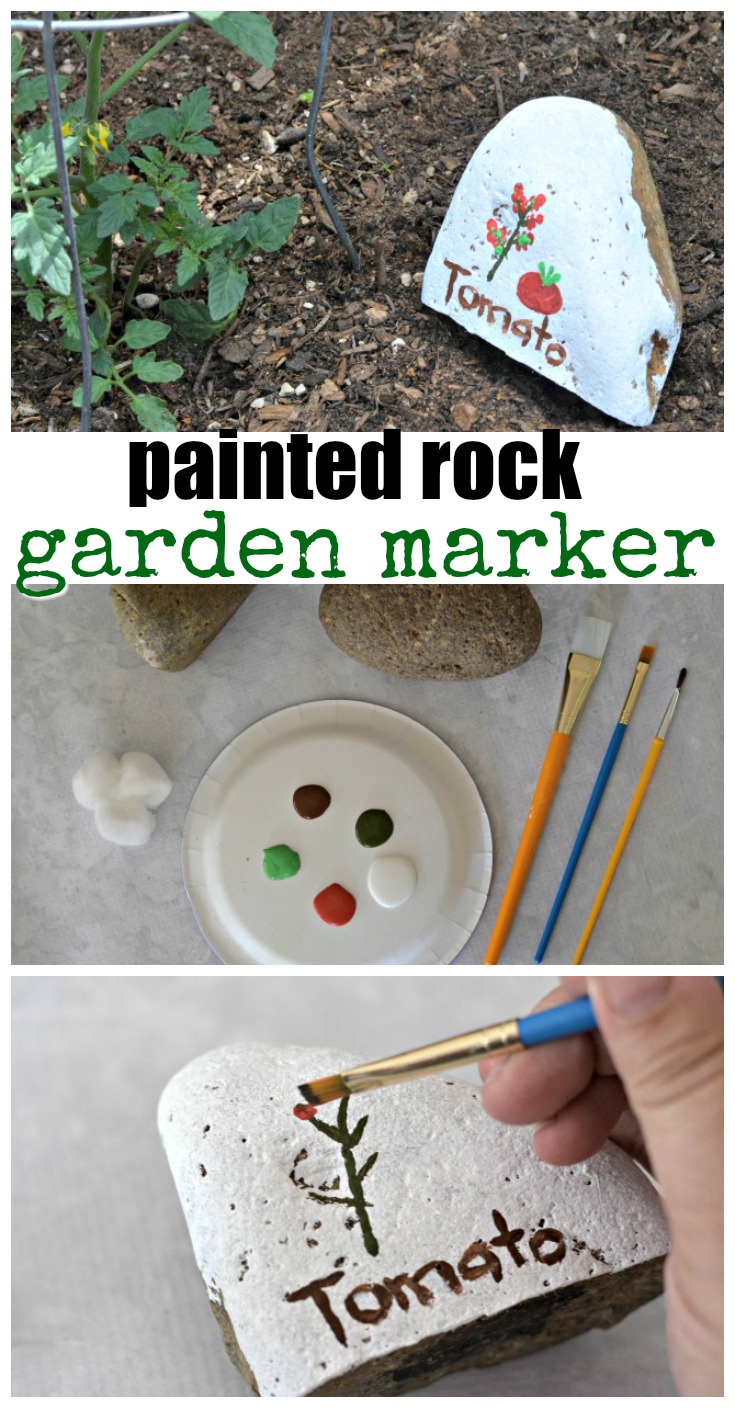
Pin this article for later!
Click the Pin button on the image below to save for later.