How to Make a Pool Noodle Boat + Pirates of the Carribean: Dead Men Tell No Tales on BluRay!

Looking for some fun STEM crafts for your school-aged child? Why not make these fun pool noodle boats and challenge your child to find a design that will float and race! This post contains affiliate links. By clicking on the link, I will receive a small amount of money back if you purchase anything. 
This summer we spent a lot of time outdoors. Whether we were playing, exploring on our own, or making updates around the yard at the house, it just made sense to stay outside as much as possible. And with that, we also wanted to spend time with friends so we made sure we didn’t miss the movie night hosted at our kids school. 

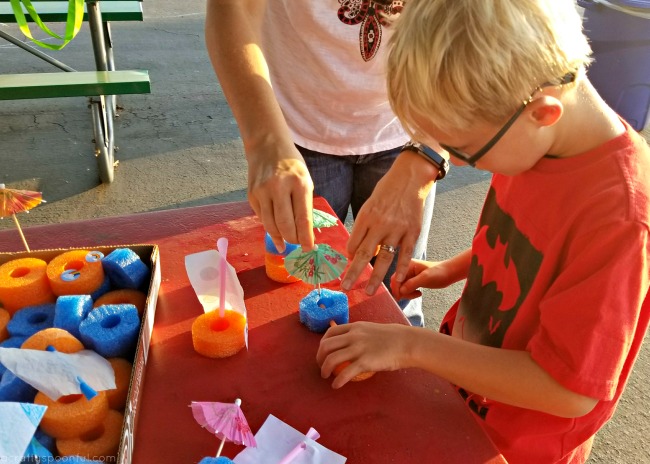
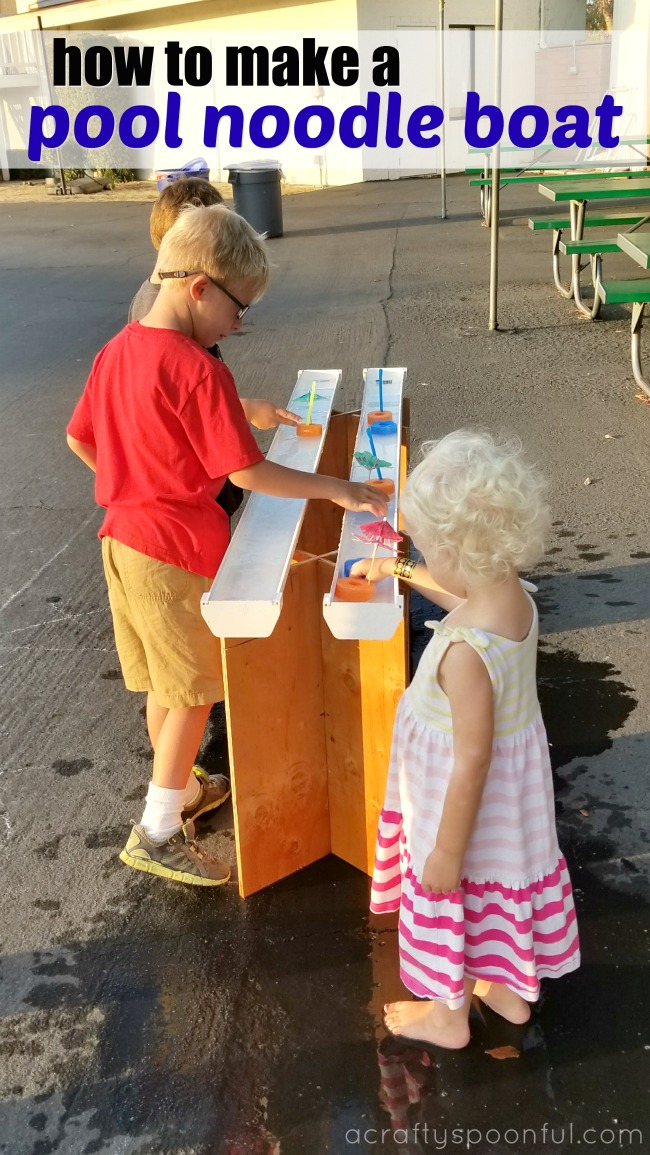
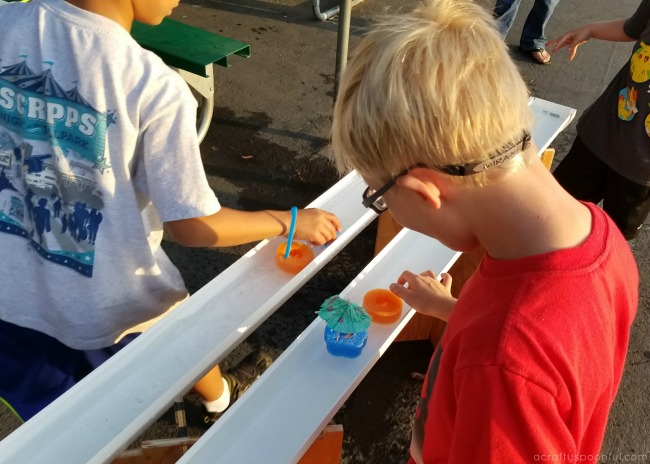
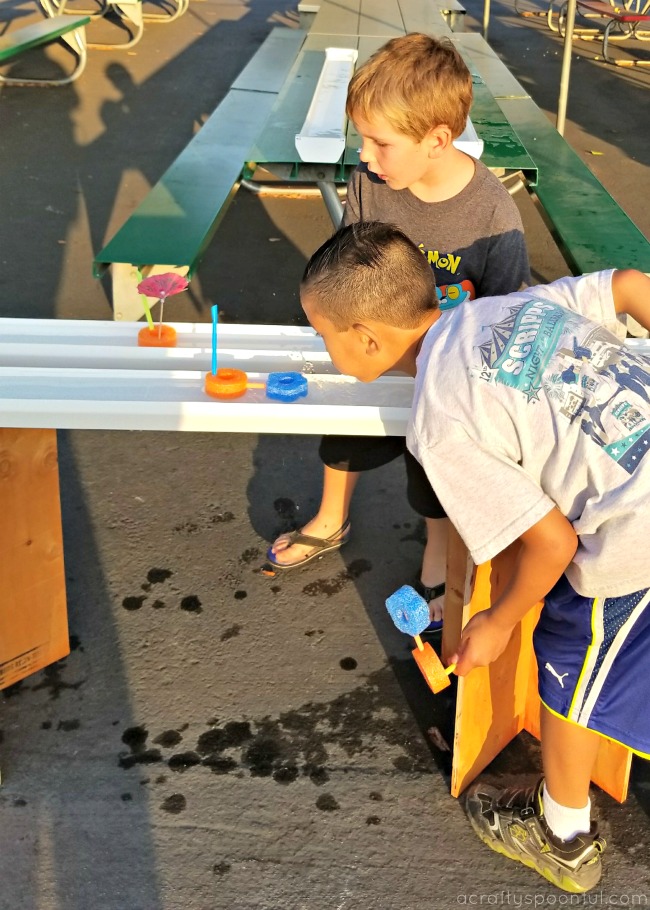
In celebration of the great weather and being outside, we put together a cute pool noodle boat station where kids could come up and design their own boats and race them against their friends. It was a great activity to share before the movie started and kept the kids active as it became dark. 

What we loved was how easy it was for the kids to “get” it and start to create their own designs with little to no help from us. And I loved seeing all of their final designs once they were done decorating them. If you’re looking for a great outdoor STEM activity for the kids to try, grab some pool noodles, straws, and parchment paper and make a pool noodle boat to race! 
How to Make a Pool Noodle Boat

What you’ll need: 

  • pool noodles (we preferred having 2 colors/shapes)
  • straws
  • parchment paper
  • hole punch
  • stickers/markers/crayons to decorate
  • drink umbrellas
  • Rain gutter with end caps

What you do: 

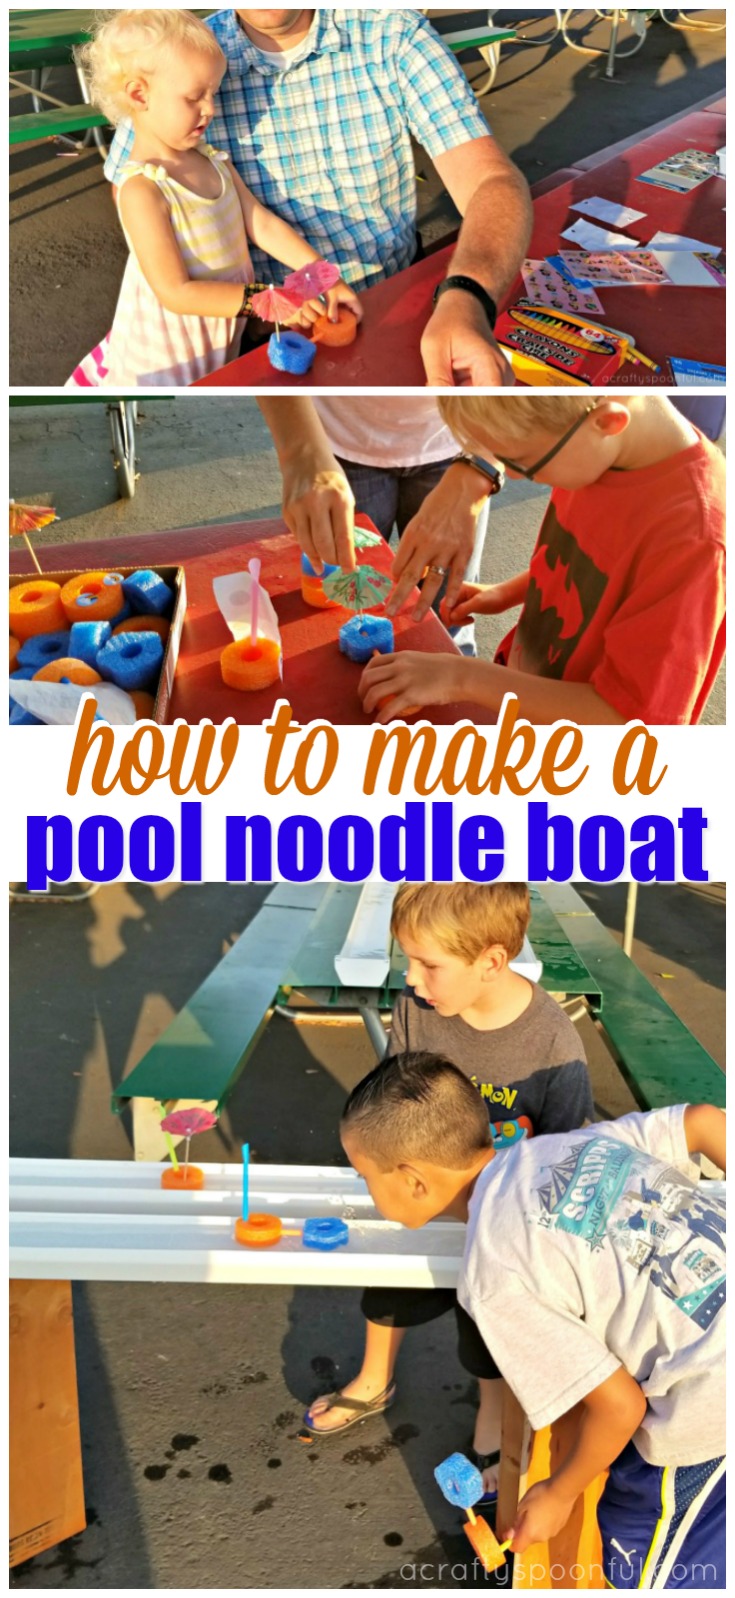
Cut the pool noodles into 1″-1.5″ rounds. Place in a shallow container. 

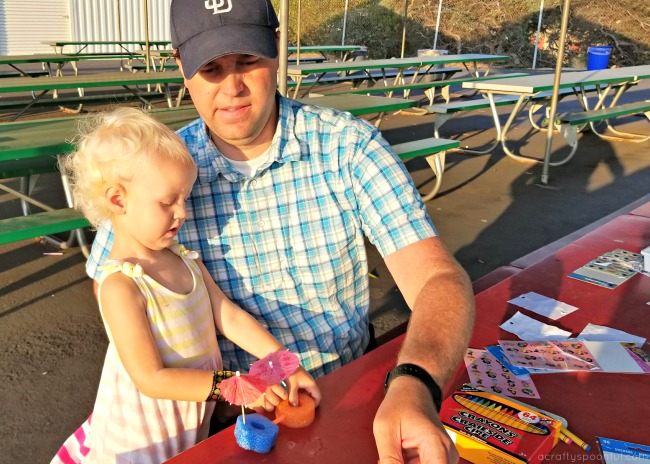
Taking the parchment paper, cut out sails in trapezoid shape. Punch a hole on the top and bottom that fits a straw. Place sails in container with cut pool noodles. 

Place straws in a cup with drink umbrellas and set next to cut pool noodles and sails. 

Let kids put together their boats using their own designs and then have them decorate them to make them unique. 

Fill rain gutter (with end caps secure) with water and let the kids race their boats. Try using extra straws to blog into the sails unless you already have a natural wind going. 

Did the boats float? Did they sink? Did they move down the rain gutter with ease? 
Pirates of the Carribean: Dead Men Tell No Tales on BluRay

Did you know that Pirates of the Carribean: Dead Men Tell No Tale is coming out on n 4K Ultra HD™/Blu-ray™ Combo Pack, DVD and On-Demand tomorrow? YUP!! This activity would be a fun way to celebrate this new release. Just set up a movie night with your family or invite friends over for some fun, grab a copy of Pirates of the Carribean, set up an outdoor movie night and enjoy a fun time outdoors! 
What’s your favorite outdoor STEM activities for kids? 

Like this post? Read more! 

Pin this article for later! 

Click the Pin button on the image below to save for later. 
DIY Lucy van Pelt Costume + Movie Themed Halloween Ideas

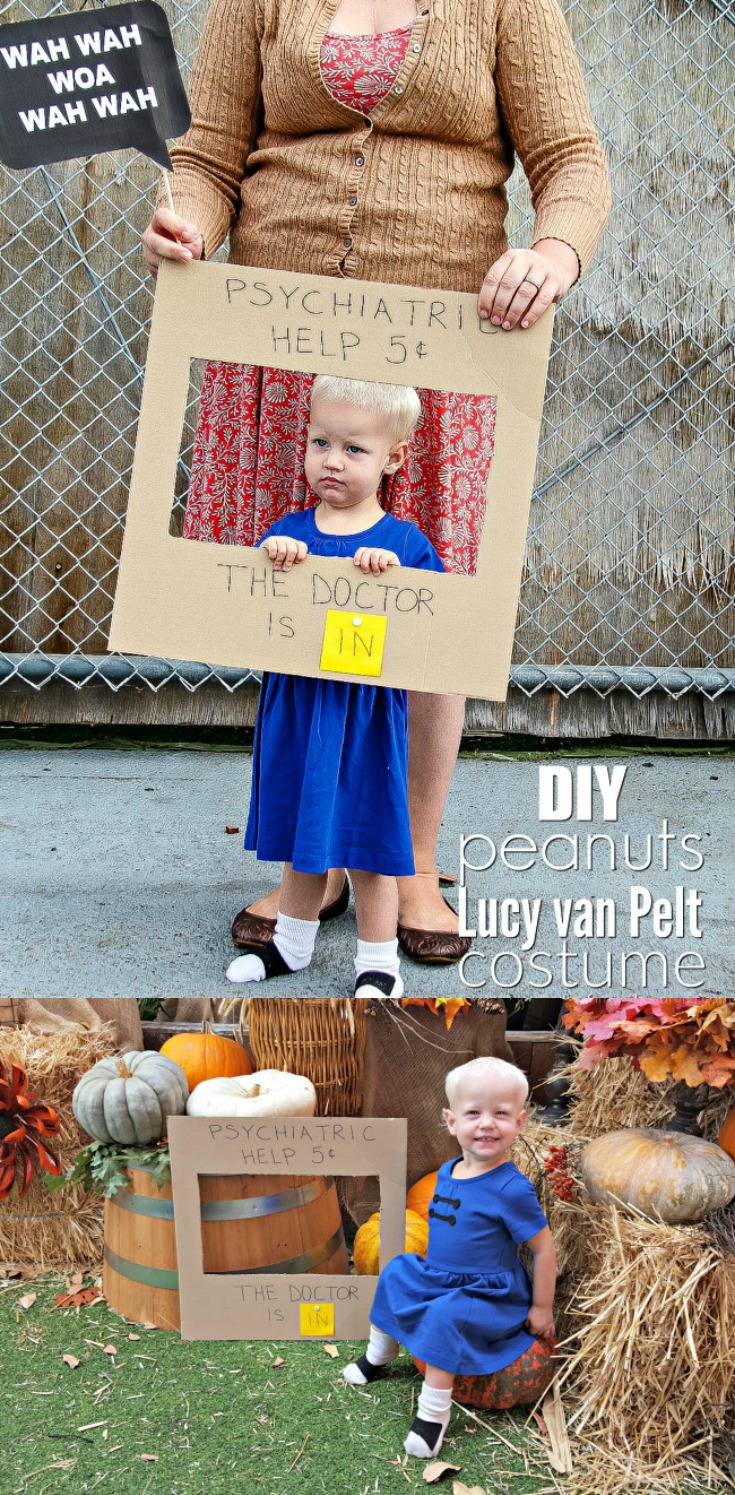
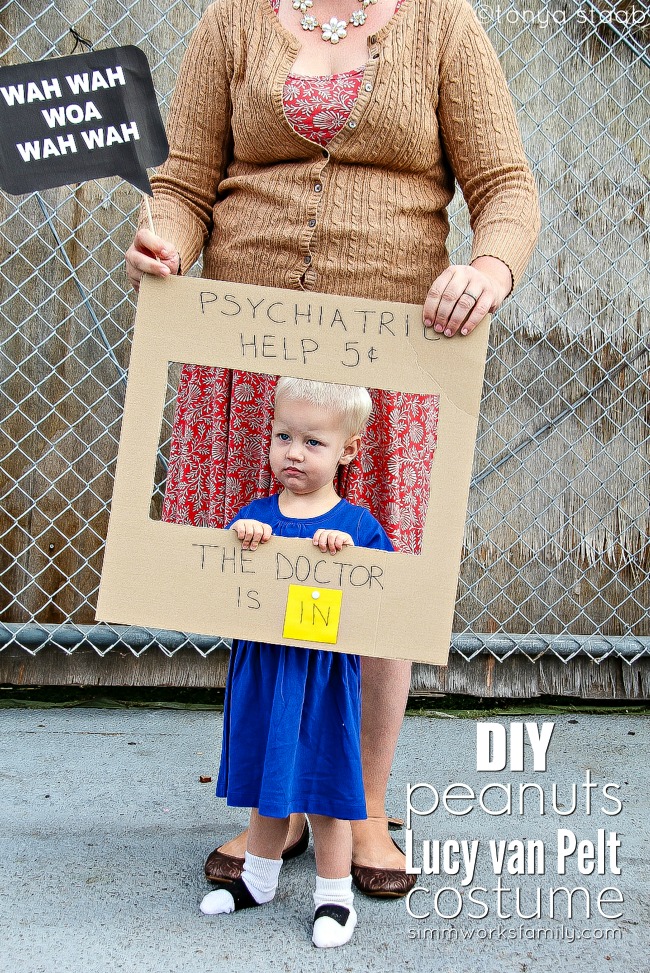
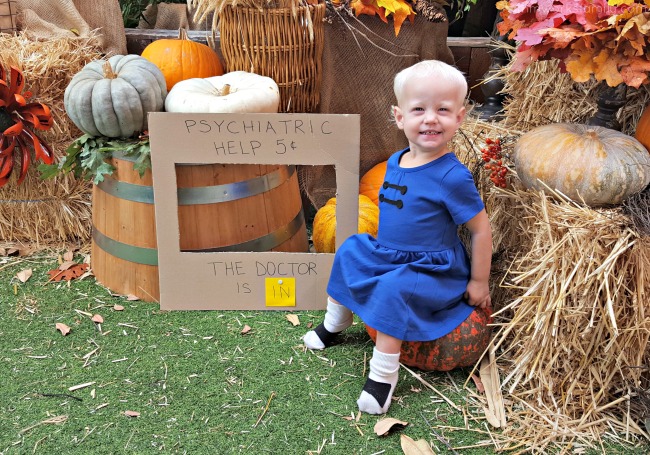
If you’re in need of a simple DIY costume for your child (or yourself) look no further then this DIY Lucy van Pelt costume! With a simple blue dress, some black felt, and some glue, you can have a costume put together in minutes.

diy-lucy-van-pelt-costume

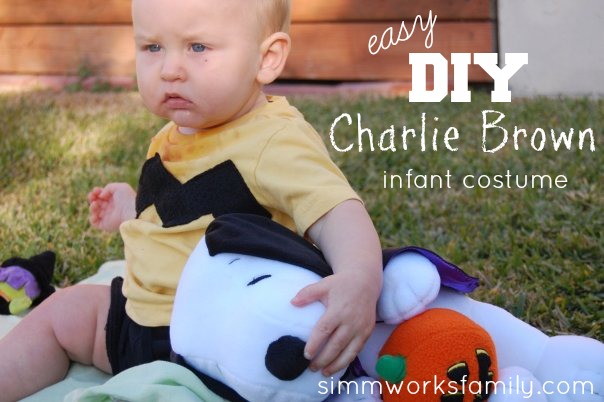
I love Halloweentime. The change of the weather, the fun excitement of choosing and making a costume, and the fun parties and treats that come out at this time of the year. I feel like it kicks off the whole holiday season with a bang! When trying to figure out what to dress my youngest as this year (the other two are choosing their own costumes) I thought back to my oldest’s first Halloween when we dressed him up as Charlie Brown. And I wanted to recreate the simplicity of his costume for my youngest.

Just like her siblings, Norah does not like confining clothes or “dress up” costumes. So we are always cognizant of this when choosing costumes for Halloween. By turning normal clothes into a costume, she’s none the wiser that she’s dressed up and it’s a lot easier (and cheaper) for mama! This DIY Lucy van Pelt costume cost less than $20 and most of it was spent on the dress that we can reuse again.

diy-lucy-van-pelt-costume-on-set

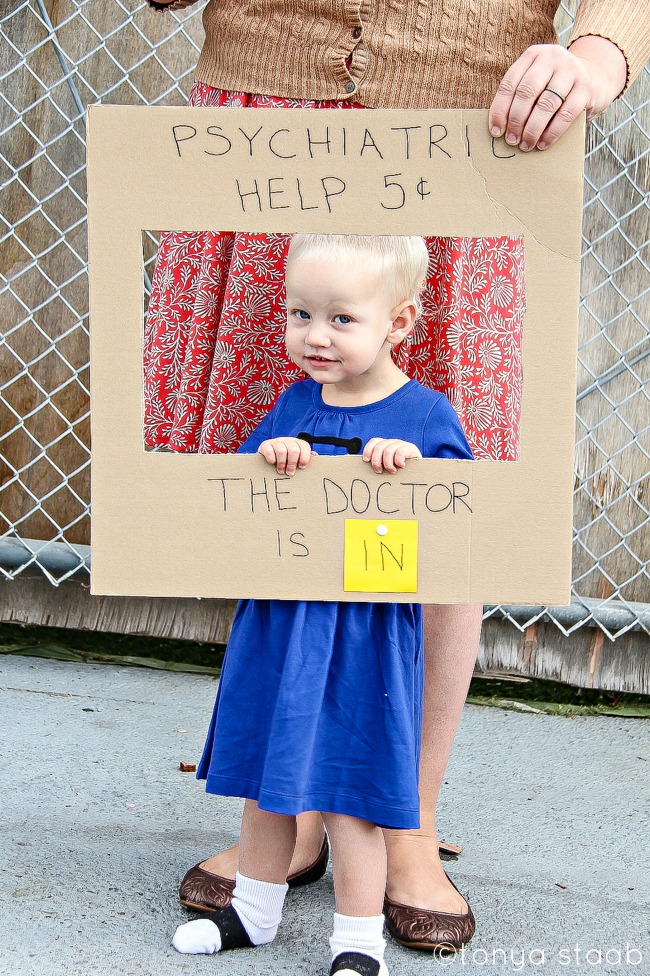
I was able to pair up with Norah’s costume and created a Peanuts Teacher sign to carry around so I was “in costume” as well as the Peanuts Teacher. My husband made a shirt for himself when Ethan was Charlie Brown and simply wrote Wah Wah Wah Wah all over it. It was the perfect pairing for a child/parent costume.

If you’re looking for a great base for a DIY costume, check out Primary.com’s selection of dresses, shirts, skirts, pants and shorts in solid colors that will match whatever you’re trying to put together! We were able to grab a blue dress for Norah and a yellow shirt for my son to recreate his Charlie Brown costume for our on-air appearance on The CW Channel 6’s San Diego Living segment yesterday.

diy-lucy-van-pelt-costume-for-halloween

DIY Lucy van Pelt Costume

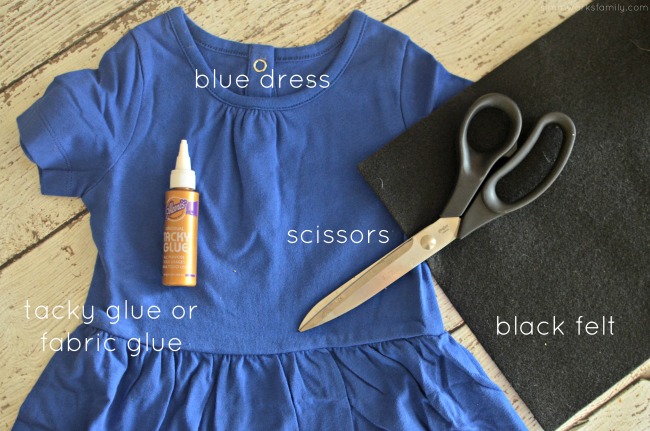
What you’ll need:

  • prewashed blue dress
  • white socks
  • 1 sheet black felt
  • no sew glue
  • cardboard square
  • black sharpie

diy-lucy-van-pelt-costume-materials-needed

What you do: 

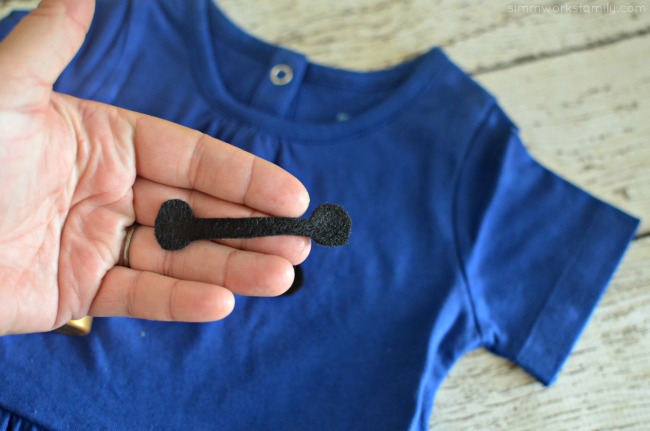
1. Grab your felt and scissors and cut out two small circles with a line connecting them similar to the photo below (or you can do what we did for our Baymax sock rice packs and grab some buttons and felt).

diy-lucy-van-pelt-costume-cut-out-felt-details

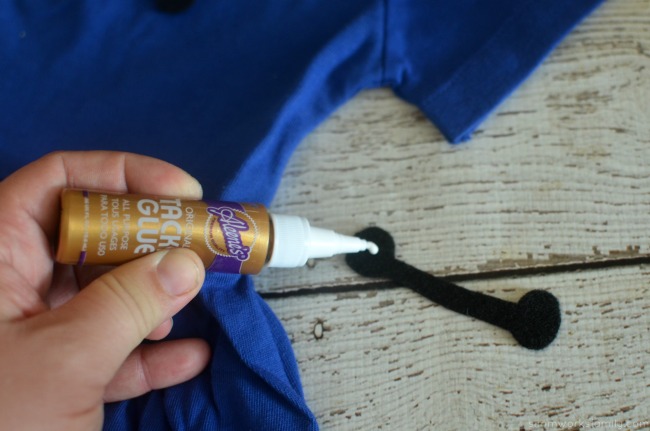
2. Add glue to back of felt making sure to get close but not on the edges.

diy-lucy-van-pelt-costume-add-glue-to-felt

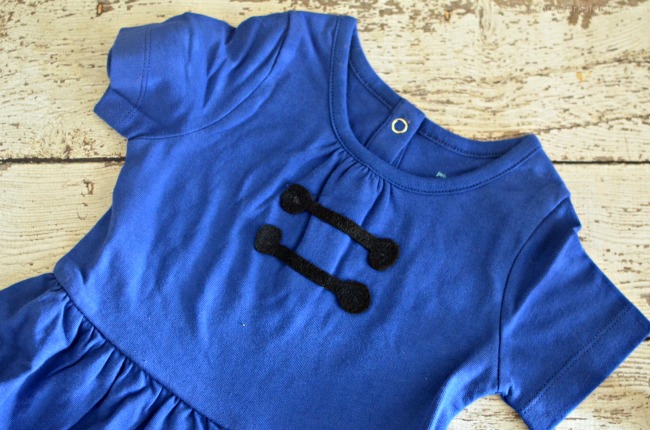
3. Glue felt pieces to middle of shirt and let dry completely. Secure with 1-2 stitches in either circle if you plan on washing the dress afterwards.

diy-lucy-van-pelt-costume-add-details-to-dress

4. If you don’t have saddleback shoes for your little one, re-create Lucy’s look by cutting out a black felt strip and gluing to white socks to give the appearance of saddleback shoes. Or, if you have white shoes, use a sharpie or felt to cover and look like saddleback shoes. If you’re wearing shoes, pair with white socks.

diy-lucy-van-pelt-with-cardboard-sign

5. Make an Advice sign similar to what Lucy uses in the cartoon by cutting out a small rectangular hole in a square cardboard piece and writing on it in sharpie.

Enjoy!

san-diego-bloggers-on-san-diego-living-cw-channel-6-for-halloween

affiliate link disclaimer

Movie Themed Halloween Ideas

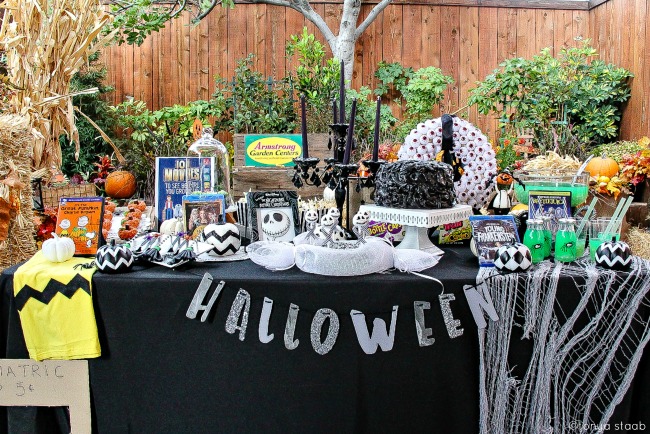
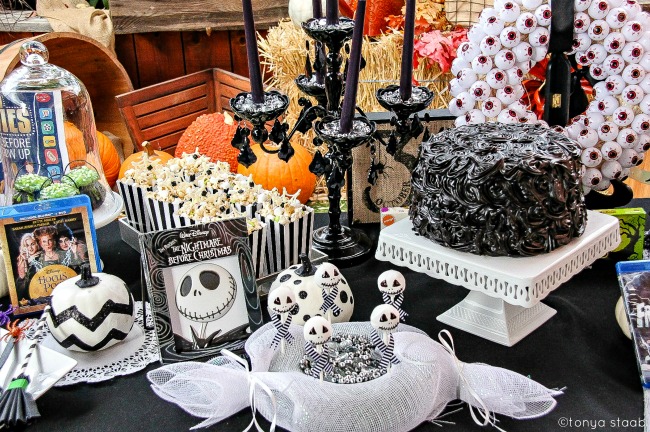
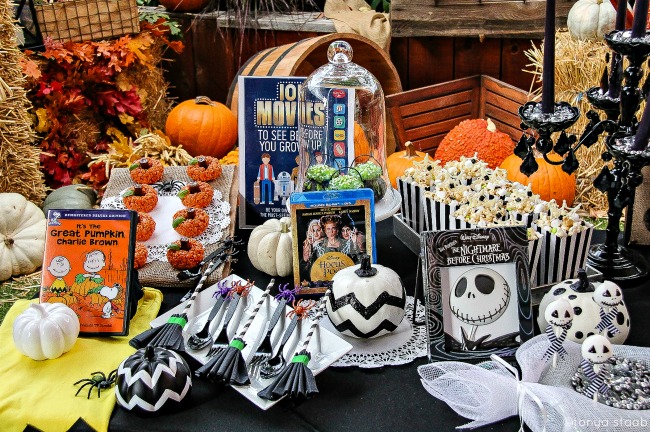
Looking for more great Halloween-movie themed ideas for this Halloween? Check out these amazing San Diego blogger creations featured on the same segment:

san-diego-bloggers-on-san-diego-living-san-diego-featuring-halloween-movie-based-treats-and-craftssan-diego-bloggers-on-san-diego-living-halloween-segment

For more great movie ideas for the holidays and beyond, please check out my friend Suzette Valle’s book, 101 Movies To See Before You Grow Up. It’s a great place to start when thinking of great movies for the kids to see. And to find out what you’ve missed and need to catch up on!

Charlie Brown Halloween Costume for Baby

You can find our original DIY Charlie Brown Costume post here. Perfect for a family costume idea – Charlie Brown, Lucy, and parents as teachers! You can print your own Peanuts Teacher Wah Wah sign here.

diy-lucy-van-pelt-costume-with-peanuts-teacher

Who is your favorite Peanuts character?

Looking for more movie night ideas? Check out these great posts!

movie-night-popcorn-bark-with-dark-chocolate-drizzle

Movie Night Popcorn Bark

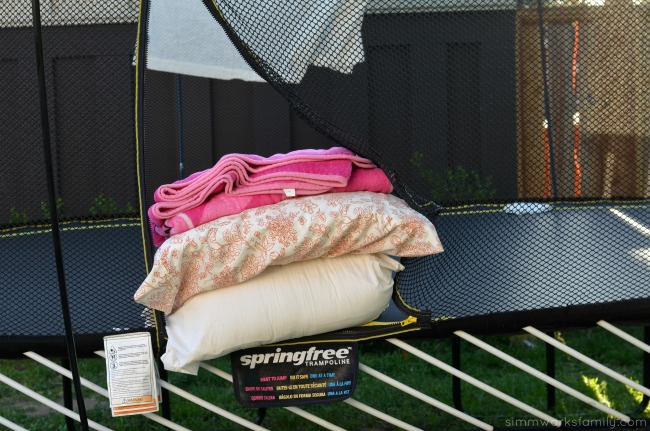
5 Reasons To Be Thankful For Summer + an outdoor movie night idea on a trampoline with blankets and pillows

Outdoor Movie Night On A Trampoline

Family Movie Night Snack Recipes and Superhero Spread

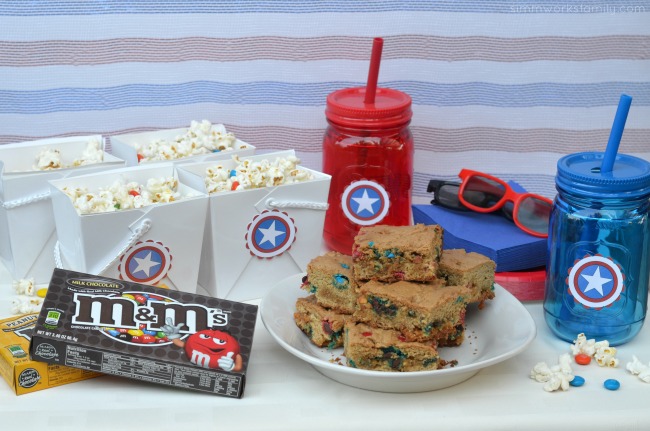
Family Movie Night Snack Recipes

Homemade Microwavable Ranch Popcorn in a Bag ready to enjoy

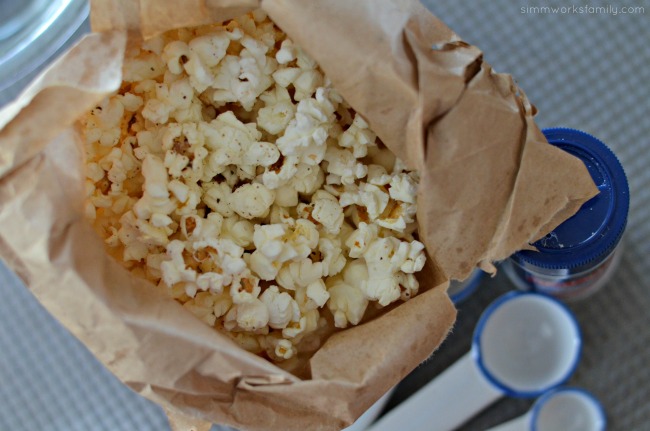
Homemade Microwavable Popcorn

Pin this article for later! 

Click the Pin button on the image below to save for later.

This post was originally featured on October 12th, 2016

10 Best Kids Costumes to Make On A Budget

So you want to make your child’s costume this year but you don’t want to spend a whole lot? Don’t worry! We have you covered with these 10 best kid costumes to make on a budget! 

Making your child’s costume does not have to be a daunting task. In fact, I’ve made at least one homemade or semi-homemade costume for each of my kids every year. Now that doesn’t mean that they always end up wearing it, but it does mean that I’ve had at least 8 years experience in DIY halloween costumes for kids. And I’ve found that the less expensive costumes tend to end up being the easiest and more fun costumes of the lot! 

Below are a few great tutorials on the 10 best kid costumes I’ve found including two of our top costumes for my oldest. But I’ve also included a link to the other DIY homemade costumes we’ve done in years past at the end of this post in case you don’t see something you want below. 

The biggest thing to remember when tackling a DIY costume is to keep it simple. If you don’t sew regularly, don’t choose something you’ll have to sew! That’s why they created no sew glue. And if you don’t have a huge budget, or no budget at all, rest assured that there are a ton of different supplies you can find right inside your home (or closet) already! Ok, enough of that… here are some awesome DIY kid costumes for you to check out! 

Now to get my kids to actually decide on a costume idea without changing it 10 times after I already start in on it…

10 Best Kids Costumes to Make On A Budget

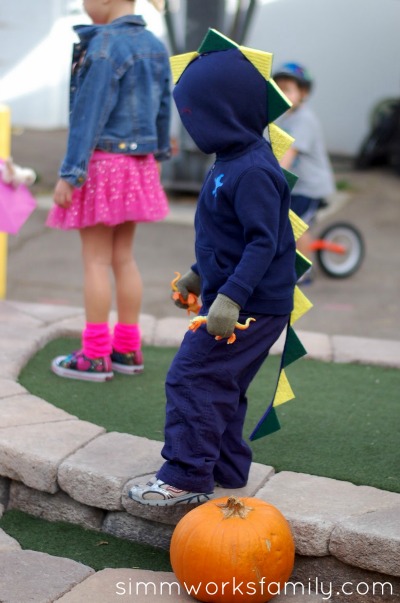
DIY Dinosaur Costume from Simmworks Family

DIY Inexpensive Octopus Costume from Simmworks Family

DIY Star Wars Costumes – Jedi and Princess Leia from Mission to Save

Dr. Seuss Cat in the Hat & Thing 1 and Thing 2 Costumes from Mission to Save

Football Themed Family Costumes from Bare Feet on the Dashboard

Easy Greek Goddess Costume from Uncommon Designs

Easy $3 Medusa Costume from SlapDash Mom

DIY Peacock Tutu Tutorial from 365 Days of Crafts

Mermaid Costume (with a No-Sew Version) from Creative Green Living

No-Sew Pirate Costume from Artsy Momma

What are the best kids costumes you’ve seen recently? 

Like this post? Read more! 

Pin this article for later! 

Click the Pin button on the image below to save for later. 
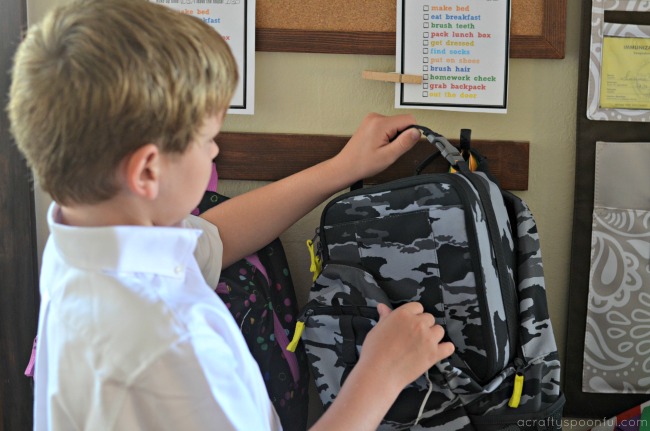
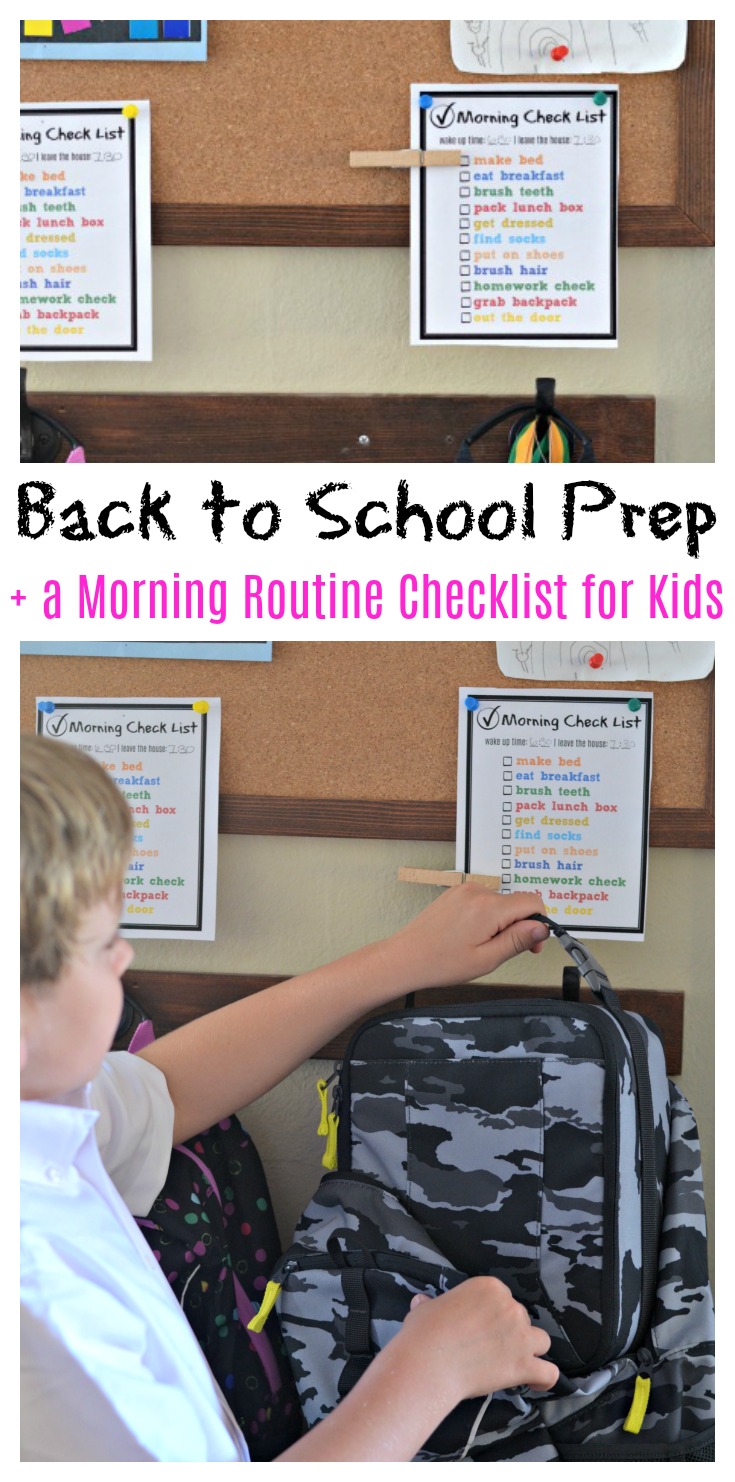
Back to School Prep + a Morning Routine Checklist for Kids Printable

It’s 3 weeks until the kids get into the back to school grind and we’re in full on prep mode over here. Making lists of all the things we need to still grab off of the teacher’s school supply lists, digging out the old meal plan ideas and calendars we put away over the summer, and doing all of our back to school clothes shopping. Luckily, with the help of our sponsor, Sears, we were able to grab new backpacks, lunch boxes, shoes, and outfits for each of the older two in one painless trip! 

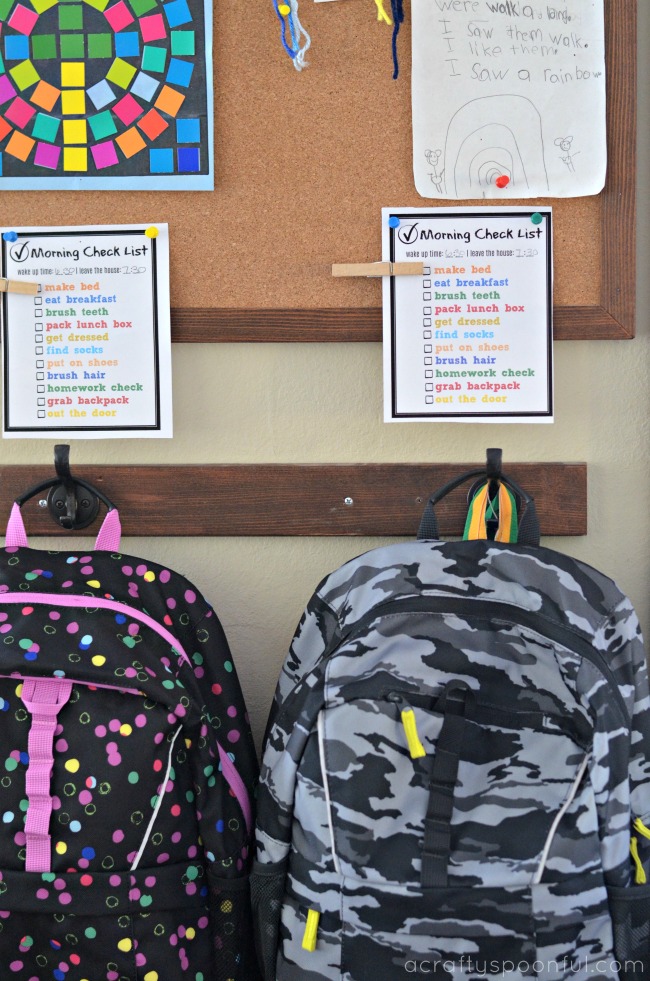
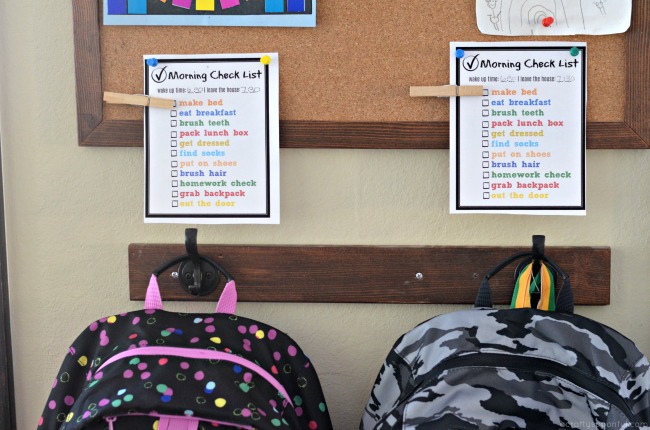
By the time summer ends, we are all ready to get back to the grind and welcome the structure that school brings to our family. But sometimes it can be hard to jump right in. So in an effort to help the kids find their routine again, we’ve created these simple morning routine check list reminders to remind them of what to do next once they get up in the morning. 

Not only do these check lists help us prep for waking up earlier, and getting ready in a short period of time instead of having all morning, it also helps get the kids in the school mindset instead of the summer mindset. And by starting a few weeks before school starts, they don’t go through the initial shock of transitioning from summer schedules to fall schedules. 

Back to School Prep

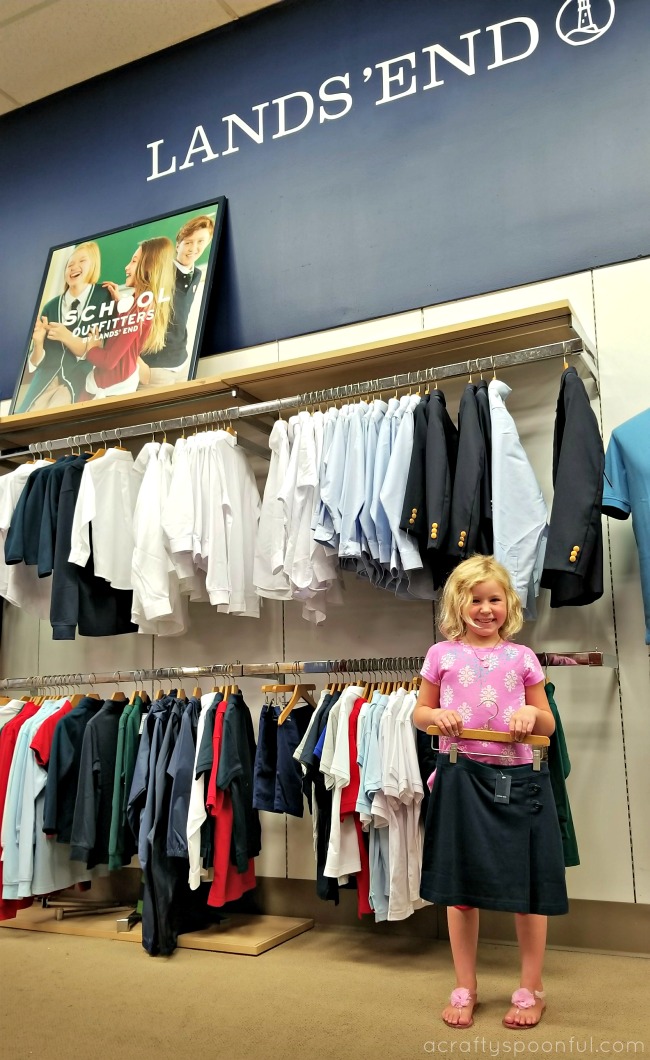
With this transition also comes the hassle of getting everything ready for school as well. Each child has a school supply list that includes the easy and not so easy items to grab plus they have each grown like weeds this summer (2 shoe sizes!!!) and needed a bit of a revamp in their school uniform wardrobe. To make things easier we headed to Sears for a one-stop-shop solution for our back to school clothes needs. 

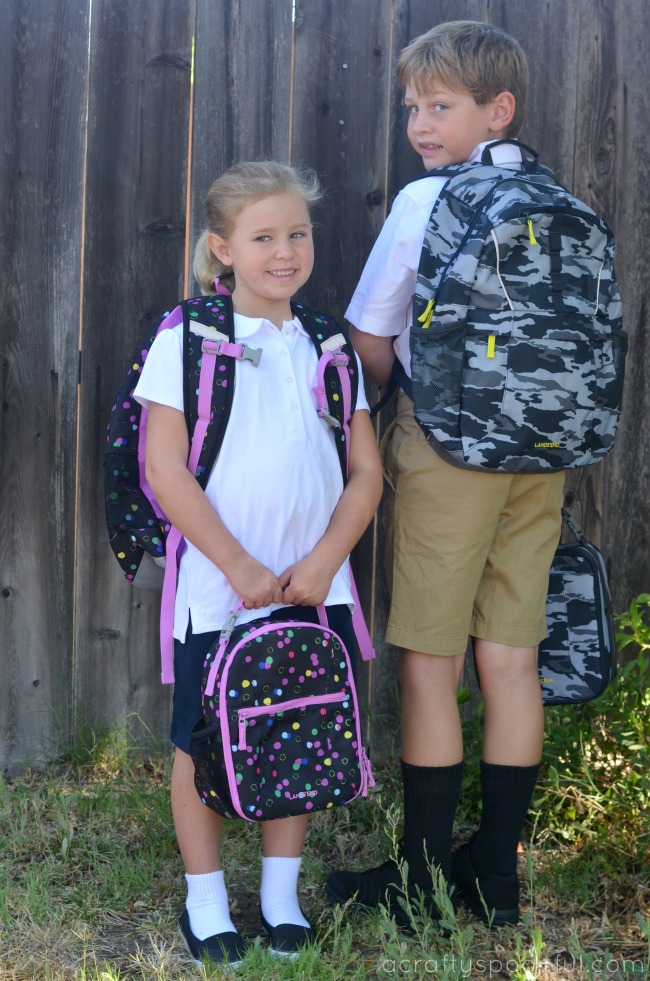
Even though the kids wear uniforms, we do like to let them pick out their own back packs and lunch boxes. So before jumping into the hassle that is trying on clothes, we headed over to the Land’s End backpack and lunch box selection in our local Sears store. Both kids were happy to be able to have the option of choosing their own set and it got them in the right mindset for our next stop… clothes! 

Uniform shopping is pretty easy. We grab some tops and some bottoms, then try everything on to make sure that everything fits well. When we settled on the right number of shirts and bottoms, we headed over to the shoe department. We can only wear all black or all white shoes so sometimes this can be a challenge. Luckily we were able to find exactly what we needed and scored 2 pairs of shoes for each of the kids. My fashionista daughter insisted on the slightly sparkly flats in addition to her tennis shoes because, “I need choices, Mom!” Sears is here to help you gear up with all kids’ shoes on sale starting at $9.99.

Here are a few things to note when heading out for your Back to School shopping: 

1. Try Everything On

I know it’s something that I hated doing as a kid but that time spent in the store trying things on and making sure they fit will help out in the long run! 

2. Get Fitted for Shoes

We would have never known that my son grew 2 shoe sizes over summer if we hadn’t gotten his feet measured. He was still trying to cram his shoes into the same size he came into the store with. 

3. Print Out Your List

So you don’t forget anything, make sure to print out your school supply lists and a list of clothes, gear, and accessories that you’ll need to pick up. I don’t know how many times we thought we were done with back to school shopping when we realized we needed that one other thing. 

Morning Routine Checklist for Kids

Now that the back to school shopping is all wrapped up, thanks to Sears, we’re working on our back to school morning check list to prep the kids for the first week back at school. You can grab this free printable by clicking here and printing it off! We suggest laminating each check off so your kids can add a clothes pin and move it down each step as they go in the mornings. 

Another great option is using the colors of each step and color coding the time on a basic wall clock in each of the kids’ rooms to keep them on schedule! We use this idea for our afternoon schedule to make things run smoother once we get home from school! 

Click here to print Morning Routine Checklist for Kids

How do you prep the kids for the back to school transition? 

Shop at Sears in-store for your back to school apparel, footwear, and gear! Plus get an extra 20% off when you spend $50 or more thru 8/12 to gear up on all the back to school necessities to make this year amazing. And don’t forget to check out the Sears shoppable back to school digital catalog for fun looks and outfit inspiration.

I participated in this sponsored campaign for SEARS. All opinions stated are my own.

Like this post? Read more! 

Pin this article for later! 

Click the Pin button on the image below to save for later.  
Inspire Your Child’s Independence Through Potty Training + a First Day of Preschool Printable


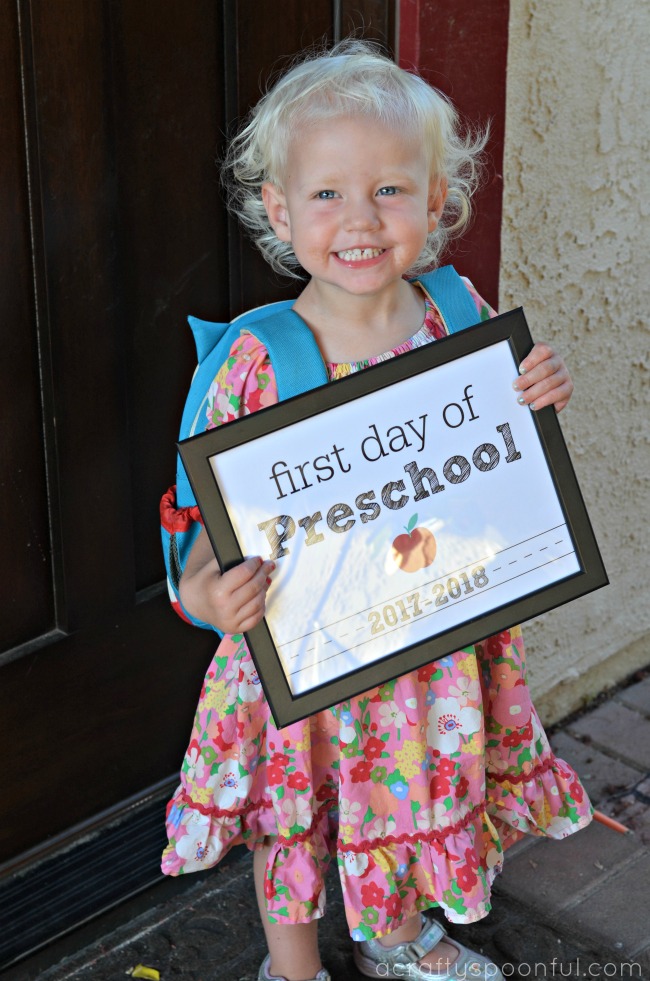
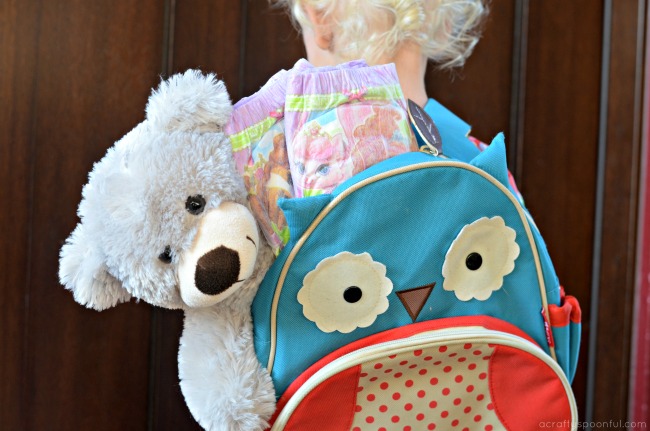
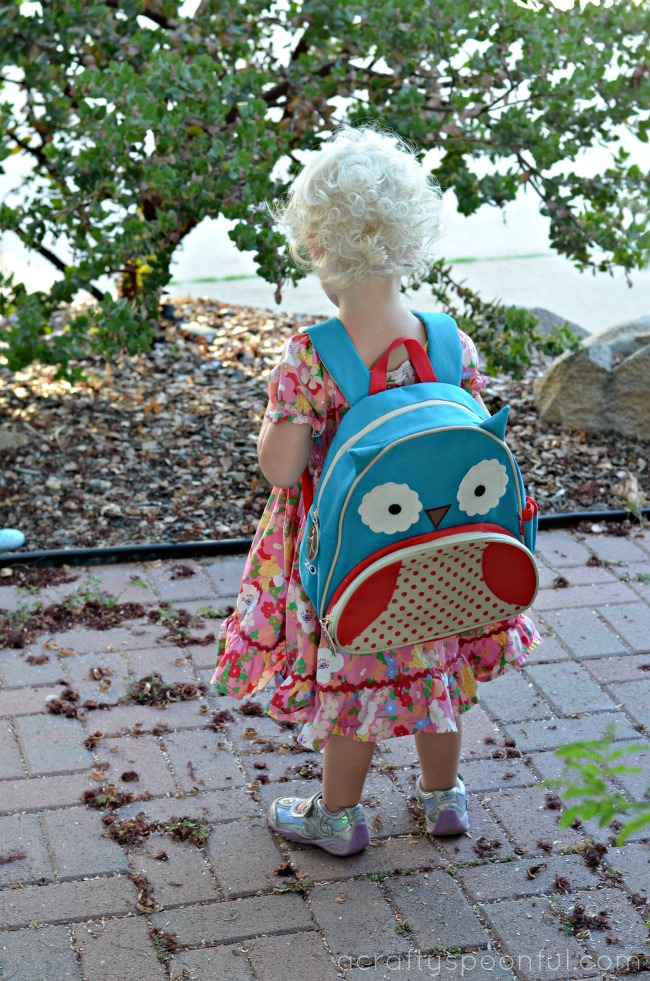
From picking out her clothes in the morning (always requesting a “pretty dress” to wear), to telling us when she has to go to the potty, to expressing a desire for learning, the time has come to countdown to our youngest child’s first day of preschool. She may only be 2, but she is more than ready to start in the fall when her big brother and sister start back again. And lucky for us, there’s a preschool right on campus next to the kids’ elementary school. How convenient is that?

As Norah shows us her desire for independence, I’m reminded of how much independence potty training gives our little ones. As we pass through our potty training readiness check off  and move towards our preschool check off, I’d love to share a few ways you can inspire your child’s independence through potty training in this post sponsored by Pull-Ups Training Pants.

Inspire Your Child’s Independence Through Potty Training

Just as our kids find it important to make choices like what they are going to wear and what they want for breakfast, learning how to go potty is a big step in independence. If you’ve ever heard a child insist that “I do it!” then you know that if their desire to do something is strong, there’s more of a likelihood of them succeeding. This plays a lot into the potty training journey once your child has shown signs of potty training readiness.

There are a few things you can do to help inspire your child’s independence through potty training: 

  1. Teach your child how to slide their pants and Pull-Ups on and off Pull-Ups Training Pants provide an award-winning design specifically to help teach potty training skills. They look and fit more like underwear, giving your child the independence to slide their pants on and off, while also providing consistency for any learning style throughout their potty training journey.
  2. Share how your child can tell if they’ve had an accident – Pull-Ups Cool & Learn Training Pants provide a brief and gentle wetness that mimics the feel of real underwear to help teach your child the signs of when they need to go.
  3. Offer other ways your child can express their independence – let your child pick out their own Pull-Ups at the store and purchase them. This gives them the power to choose what they’ll wear and what design they love. My daughter goes crazy over her Princess Sofia and Palace Pets designs.

Pull-Ups is more than just a training pant. Pull-Ups has simple ways to make potty training easy and fun for parents and children to start together, with guidance on how to tailor the journey based on your little one’s unique personality. In fact, 3 out of 4 moms prefer Pull-Ups vs. Pampers® Easy Ups® – including product, packaging and in-pack prizes and activities. When we have a dry day, we put one of the special stickers inside my daughter’s favorite package of Pull-Ups on her potty training progress chart.

First Day of Preschool Printable

We’re hoping Norah is on her way to potty training success before her first day of preschool. But just in case she’s not quite there yet, I am confident in the independence we’ve inspired through our potty training journey. Every child is different and every child learns and adapts at their own pace, so we’re in no rush!

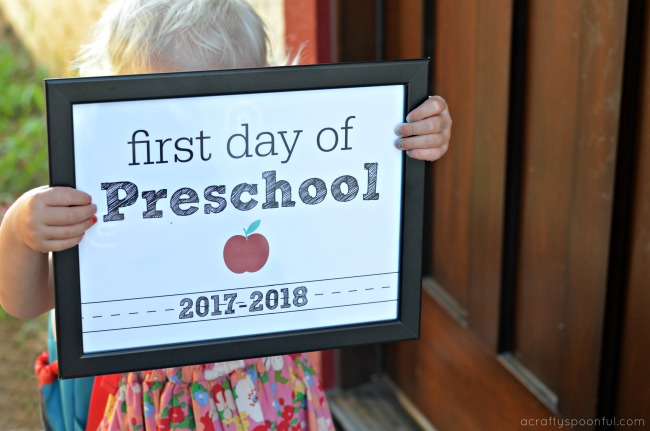
If your child is about to start their first year of preschool too, celebrate by printing out this First Day of Preschool sign.

Click to Print First Day of Preschool Sign

Click to Print First Day of Preschool Sign with no dates


Think you might be ready to start potty training? Share your Big Kid’s Big Moments on Instagram or Twitter using #DisneyAndPullUpsSweepstakes for a chance to win a vacation to Walt Disney World with your family! Hurry though – the sweeps ends on August 4 and you don’t want to miss a chance for a FREE trip to Disney!

How does your toddler show their independence? 

Teaching Kids to Program with the Sphero SPRK+ Robot

There are a lot of robots available today that target grade school children with the intent of getting them excited about programming. Having worked in the past with low-level hardware (motors, switches, LCD Displays, and even thermal printers to name a few) it is really cool to see these kits simplify the pain I had to endure trying to wire up and troubleshoot components. These kits let you focus on the fun stuff right away. It is very gratifying once you get your program figured out and see it all working.

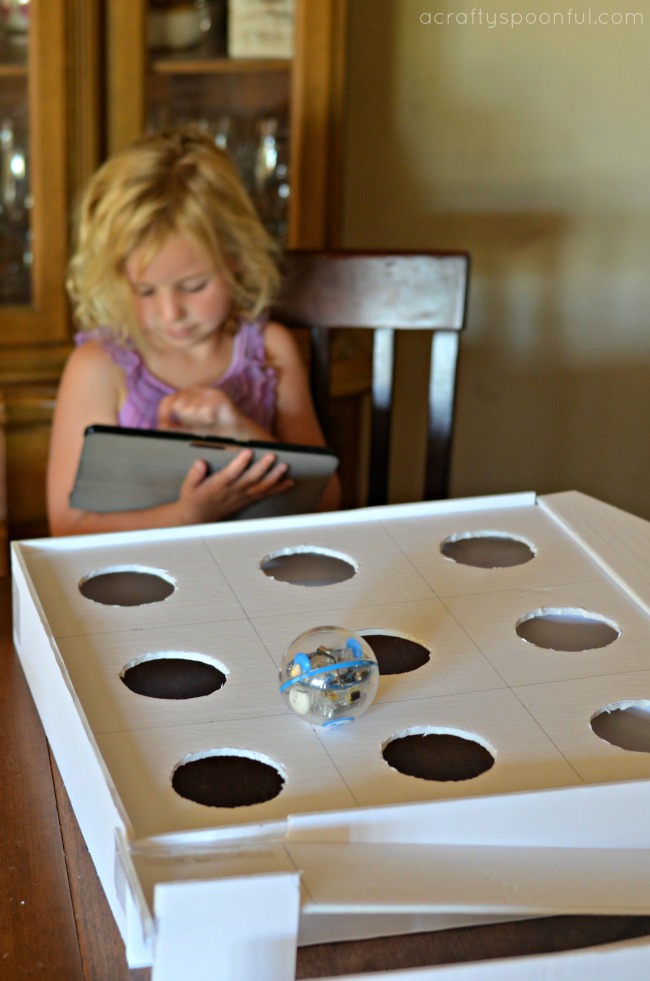
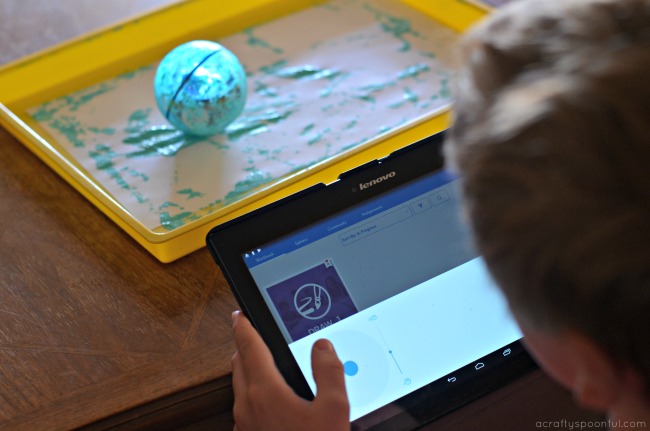
As part of a sponsored partnership with Best Buy, we tested out Sphero SPRK+ robot. The robot is a waterproof ball with no exposed components to damage. We started out by downloading their app onto an Android tablet. While it was downloading we set the robot on its charging cradle. The cradle is cool as it charges without physically plugging anything in (remember it is waterproof). The robot feels pretty solid and tough/durable. It has a clear body so you can see the motors and circuit board.

With the app installed we attempted to connect to the robot. We stumbled here as there are multiple robots that the app supports. Two of the robots listed visually look the same, but do have different names. After trying to connect for a whole day unsuccessfully we finally figured out that we were choosing the wrong robot! 

With that figured out the app and the robot were connected. Our first time in the app was also a bit confusing. After a while we finally kind of figured out how to walk through the program tutorials. Before we figured the tutorials out we tried driving the robot around manually using a joystick like user interface on the app. This was mildly satisfying, but proved hard to control. Because the robot is a ball it is easy to get disoriented. For example when you want to go straight ahead you might not be pushing up on the control as the ball/bot was facing a different direction causing it to go to your right. The kids however loved adjusting its LED light color hue. It has a color picker control that lets you set just about any color you want.

The robot really shines with its programming abilities. We walked through the first tutorial which had us program a path the robot should follow. When creating the program it gave us three ways to write the program: Draw with our finger, drag and drop function blocks, or write with a traditional programming language (Typescript). The drawing method was great for our kindergartner. The drag and drop method was well suited to our second grader. 

Finally, the programming via “text” method was advanced enough for me, but I found the drawing method the most fun and instantly gratifying. We simply used our finger to trace out a route the robot should follow and then hit start. A moment later the robot was following the path of a heart, a spiral, and a triangle from several different program runs.

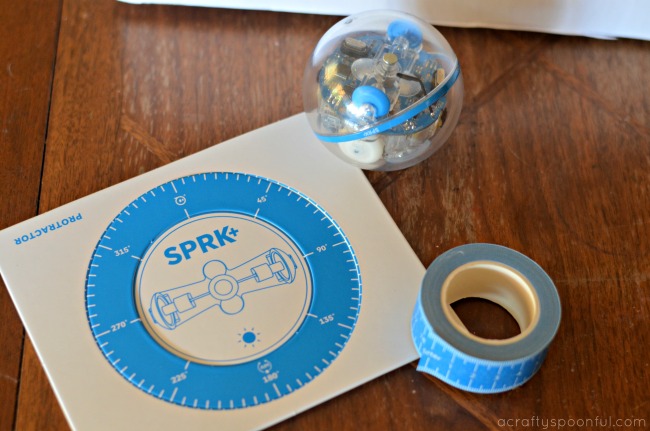
To facilitate writing programs that would have the robot navigate a maze or around obstacles the robot kit came with a roll of tape (similar to a tape measure) that you can use to calculate distance. You would use this, for example, to tell the robot to roll forward 10 centimeters. A protractor was also included to aim the robot and assist in calculating turns. These tools would come in handy while in the classroom setting where we would ask the kids to think about the procedure or steps the robot should execute to navigate through and obstacle course. This kind of thinking will have them on their way to programming.

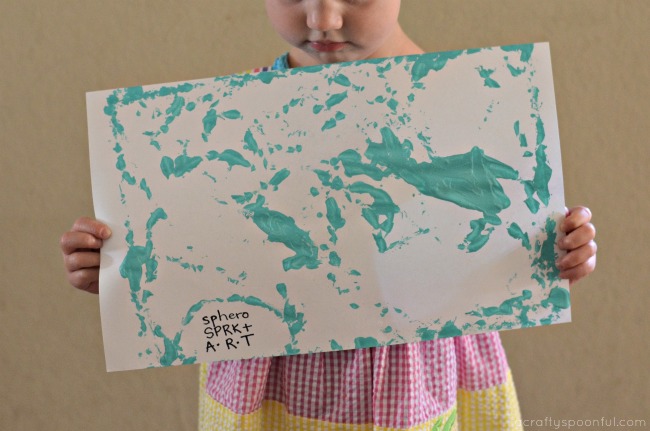
The Sphero SPRK+ strikes a good balance of fun and education. We had some fun with paint as the robot rolled through a puddle of green poster paint and proceeded to leave tracks all over the paper. If we had a pool I am sure we would have built the robot some water wings and zipped around. Overall once we figured out the app we really enjoyed using Sphero SPRK+.

Are your kids interested in learning how to program? 

If you are looking for a robot that’s perfect for teaching robotics and programming, Sphero SKRK+ is for you. This is a great STEM-based learning tool that kids 6-12 would love to get their hands on!

You can purchase Sphero SPRK+ at your local Best Buy or online at BestBuy.com

DIY Bird Feeder for Kids inspired by Americano

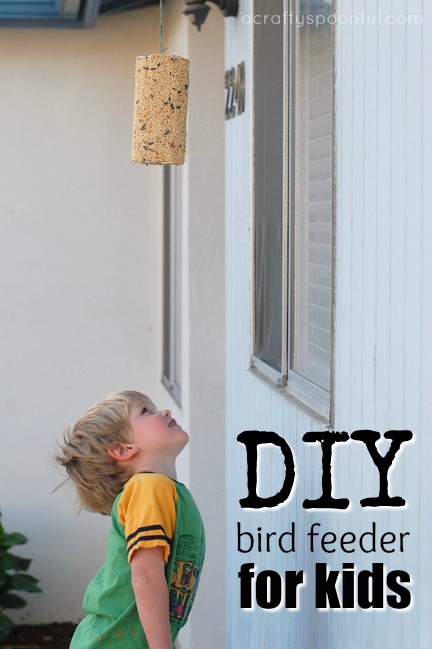
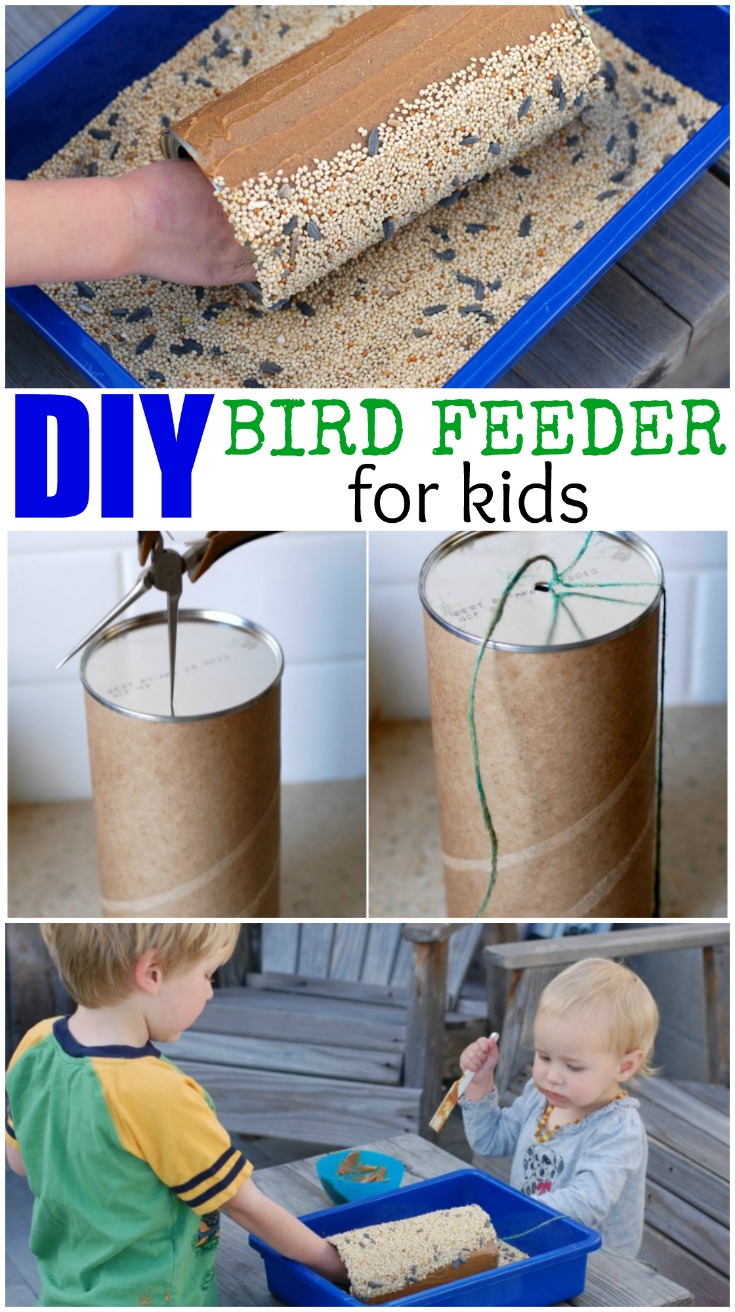
This DIY Bird Feeder for Kids is a fun and easy craft for kids to make. Once they hang it up they can enjoy the birds who come to eat from it and explore nature up close.

My kids love to be outside. Whether it be taking a walk, playing in the front yard or visiting the local wildlife trails, they are always able to spot the wildlife before me and enjoy pointing out the different birds and animals we have living around us.

For the past few mornings, we’ve been awoken by the wonderful sound of a neighborhood woodpecker. Upon discovering his location my son wakes up and asked if we could track him down. On our adventure to see what phone pole the woodpecker was pecking we started talking about birds. 

After hearing all the fun and wonderful things birds like to do and eat my son asked if we could make a bird feeder. So while I was at the local pet supply store picking up dog food later that day I grabbed a pound of bird feed and we got to work. It ended up being simpler than any of the crafts we’ve attempted so far.

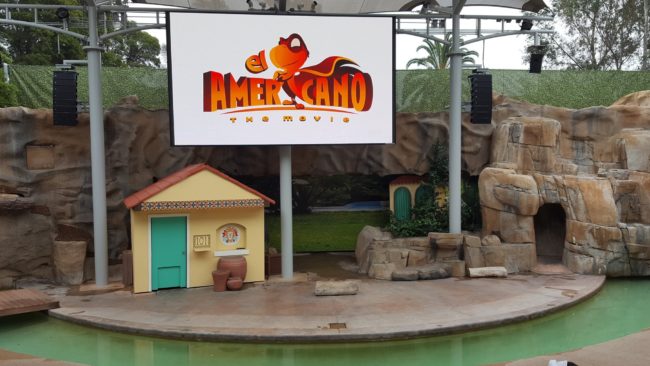
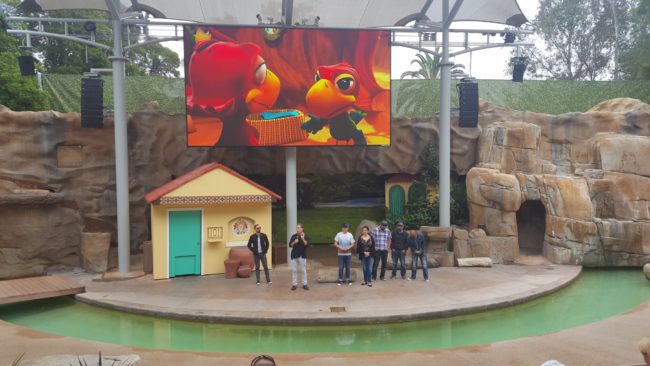
Plus, it was the perfect tie-in to teaching the kids about the wildlife around us. Since all of my children are animal lovers, I knew they’d love the new movie Americanocoming out on DVD and Digital HD on June 13th. We were invited to the San Diego Zoo for a fun outing to meet the filmakers behind the movie and hear a little bit about how the movie came to life on the big screen. The kids got to meet some animals up close and explored the zoo to learn other fun facts.

Americano is an animated film about a Mexican parrot named Cuco (voice of Rico Rodriguez) who gets bored with his family’s bird circus and tries to change things up. But when Cuco’s acrobat father, Gayo, gets hurt, rival bully bird Martin swoops in to take over the show. So, Cuco does what he has to do and heads for Hollywood, hoping to learn daring action stunts from his favorite TV star, El Americano. 

My kids enjoyed the film and connected with Cuco’s story and his quest to meet his hero in person. They were so inspired that they asked to make some bird feeders so they could see their own local birds up close in our back yard. We used the same method we did years ago when the two oldest were little. Such a fun and easy craft! 

DIY Bird Feeder

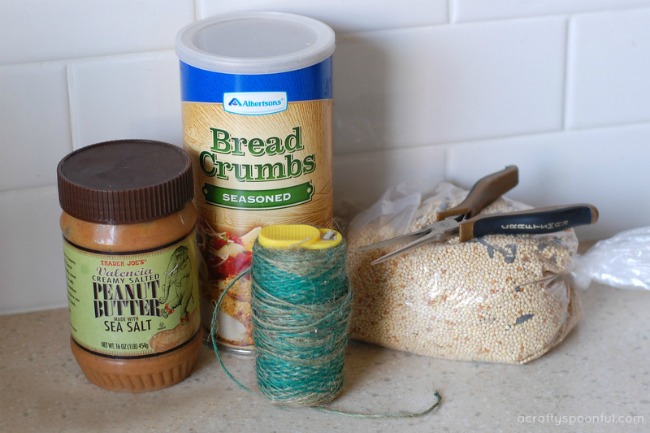
What you’ll need:

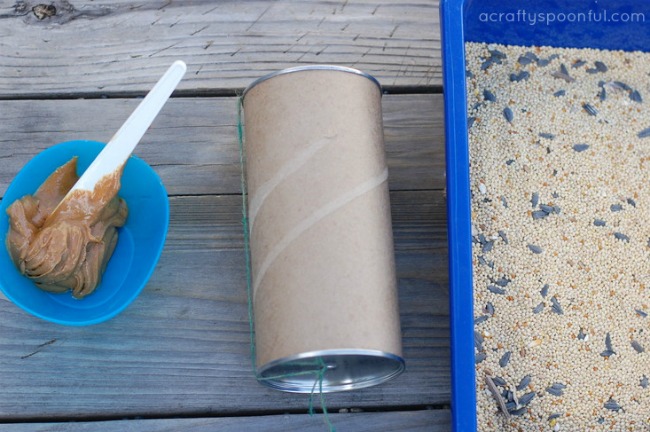
  • bird seed 
  • canister or paper roll 
  • peanut butter 
  • string/twine 
  • sharp pointed tool 

What you do: 

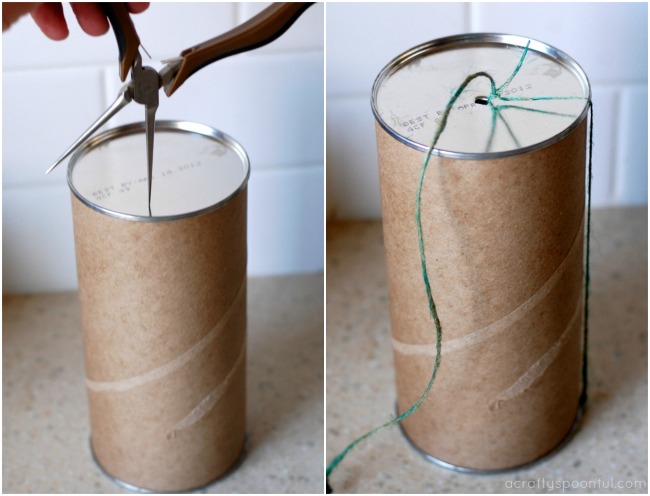
1. Remove paper from canister to expose the cardboard. Remove lid and discard. Using sharp pointed tool, poke a hole in the bottom of the canister.

2. Cut about a yard of twine and string twine through canister. Tie off at the top.

3. Set out the peanut butter and seeds so that it’s easy for your child to assemble the bird feeder. Grab a plastic knife or spreader for the peanut butter and place the bird seed into a container or on a paper plate.

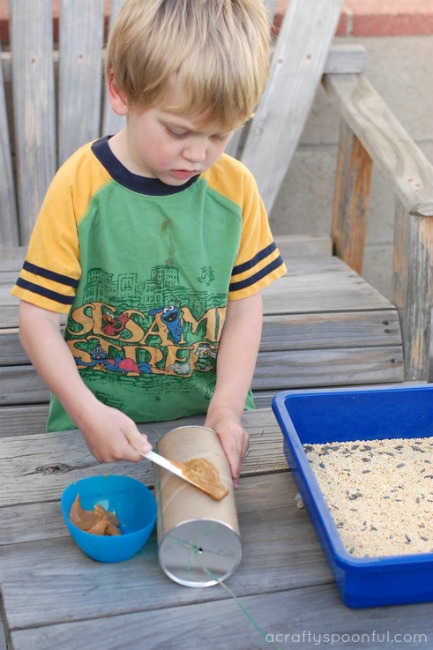
4. Let your child spread the peanut butter all over the canister sides. Be careful not to get covered in peanut butter by holding onto the inside of the canister on the open top.

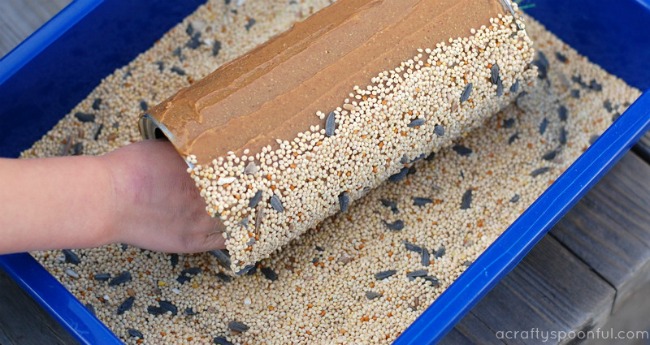
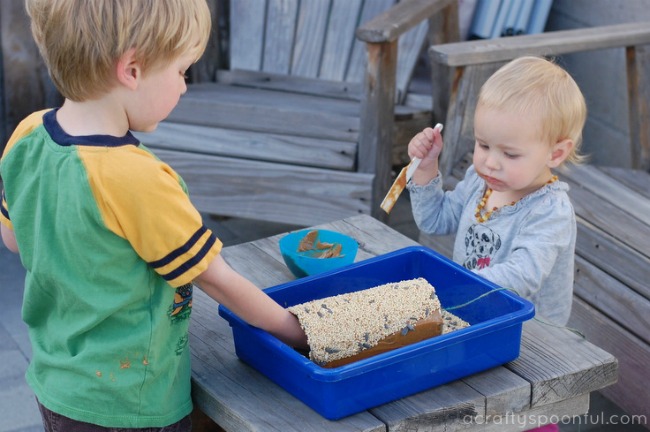
5. Once the peanut butter is covering all of the canister, roll the canister into the seed. Place your (or your child’s) hand into the container to apply pressure. This will maximize the amount of seed that adheres to the canister.

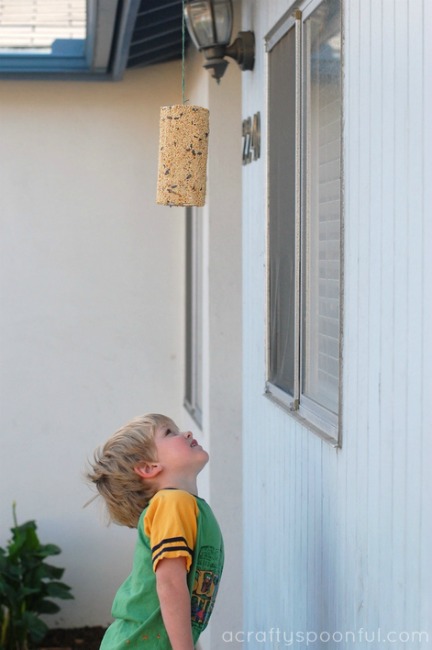
6. Hang the bird feeder up on a sturdy hook or post and wait for some feathered friends!

Do your kids love to pick out the fun birds they see? 

Love what you read? Read more! 

Pin this article for later! 

Click the Pin button on the image below to save for later. 
This craft was originally published on Apr 3, 2012

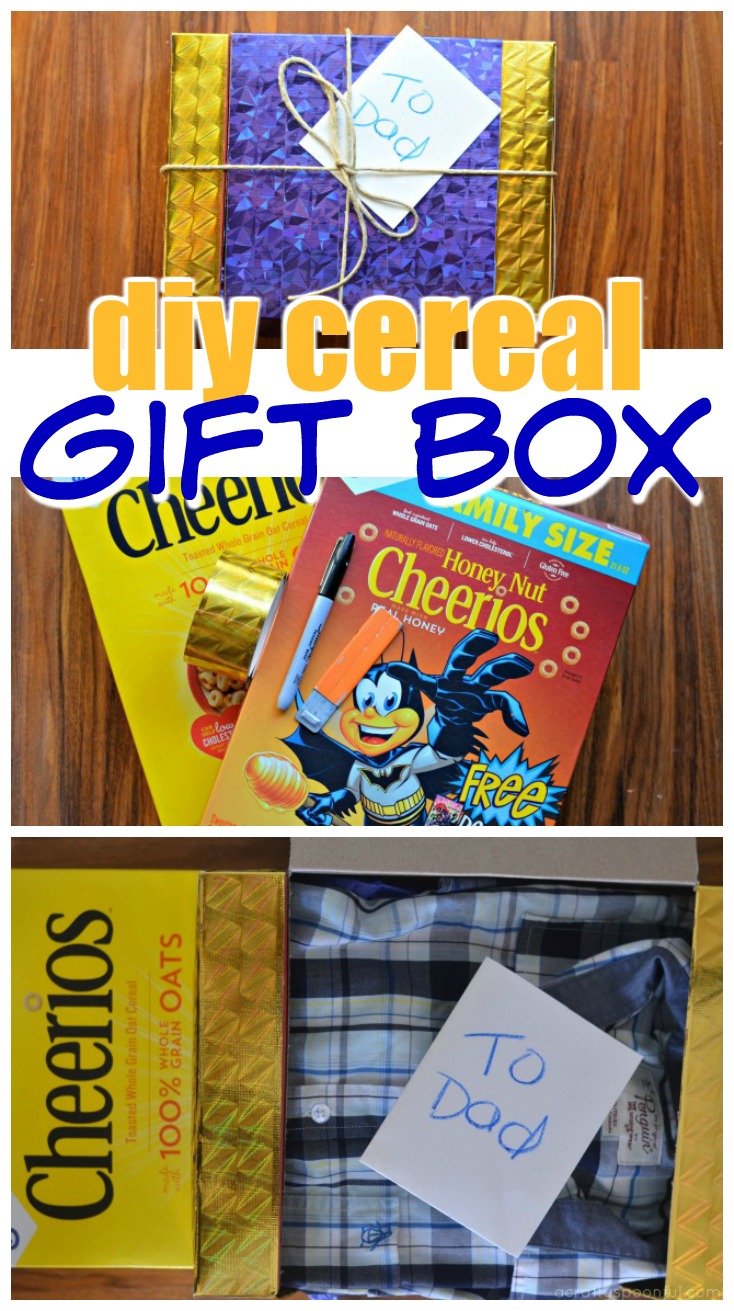
DIY Cereal Gift Box

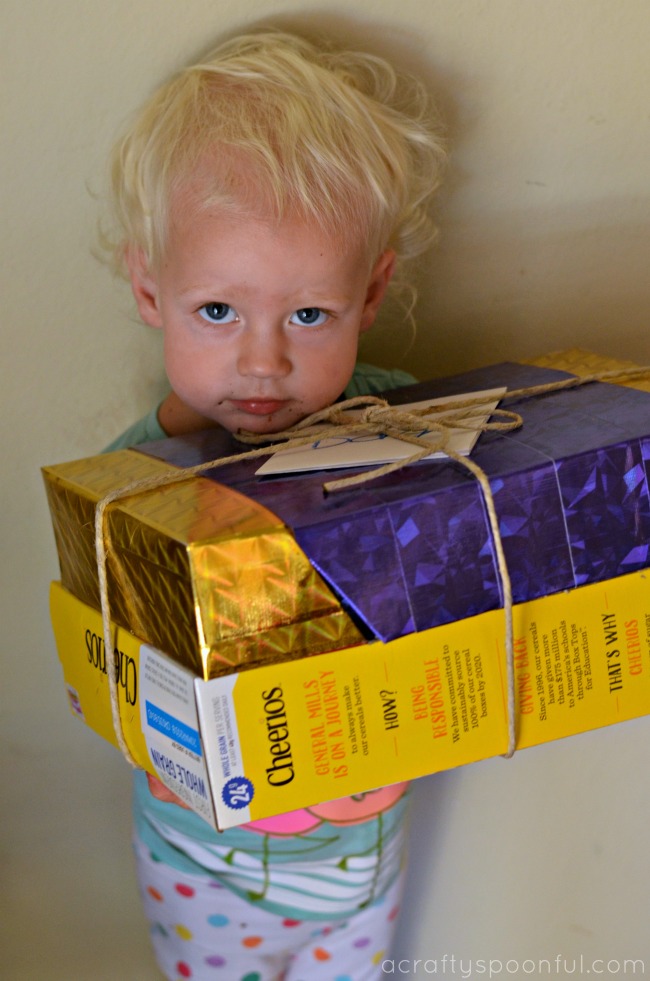
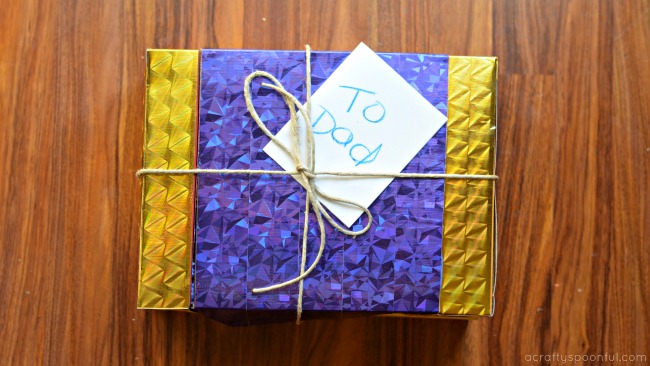
This DIY cereal gift box idea sponsored by Cheerios is a great way to wrap up any gift AND upcycle those cereal boxes you have laying around!

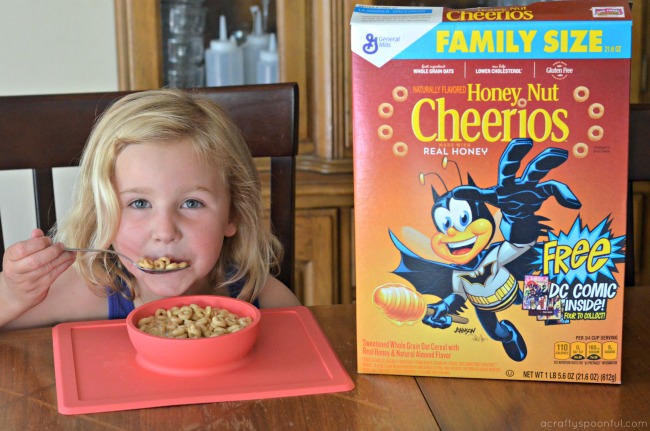
Father’s Day is right around the corner and the kids are happily making fun gifts for my husband at school. But since I know my husband, and know he needs more than just the cute gifts, I decided to pick up a few other necessities for him as well. Including his favorite Cheerios cereal and a polo shirt (his signature look). 

Since my husband does so much for us at home, I thought that we could shower him with a little more love all wrapped in a DIY cereal gift box we upcycled from our cereal boxes. Plus, in addition to making gift boxes out of our empty cereal boxes, we can also give back even more with the help of Cheerios


Making these gift boxes are easy! And with a few simple supplies found around the house, you can make a few up yourself in no time. Plus, you won’t have to worry about pulling down the big storage bin of wrapping supplies to gift wrap. Easy peasy! Here’s how! 

DIY Cereal Gift Box

What you’ll need: 

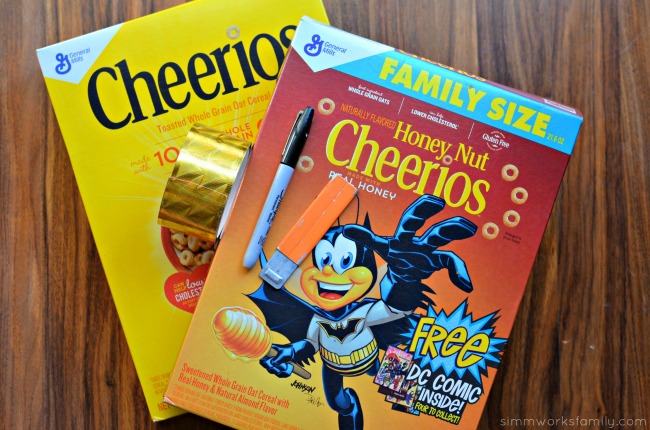
  • empty Cheerios cereal box
  • sharpie or pen
  • box cutter
  • scissors
  • colorful duct tape
  • twine

What you do: 

1. Using the straight edge of one box, line where your gift box opening will be on the top of the box. We measured around 1-2 inches from the shorter side of the box in. Then make a line at a 90 degree angle on the long side of the box from the top edge to the bottom edge inwards. Repeat on the other side. (see video below for details)

2. Using the lines you just drew as guides, carefully use a box cutter to score the lines. Then go over them again once more to cut all of the way through. Open up the lid to make sure it works properly. 

3. Using tape, seal the top of the box where you open to remove the cereal. 

4. Continue to tape box until outer shell of box is covered. 

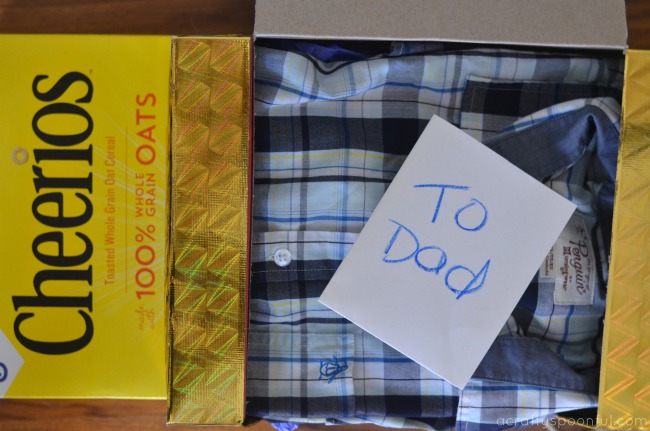
5. Line box with tissue paper and place present inside. Cover with more tissue paper and tie lid down with twine. Add a card and give your gift! 

Right now you can give the gift of Cheerios by participating in the buy a box, give a box promotion. Simply purchase a specially marked package of your favorite variety of Cheerios, enter the code found inside here, and send a coupon for a free box of Cheerios to someone you love! 

Now, not only can Dad get a delicious box of Cheerios with his gift, he can also choose to gift Cheerios to someone else. Spreading the love, one box at a time. 

Who would you share a box of Cheerio’s with?

Love this idea? Check out these other great gift ideas: 

Pin this article for later! 

Click the Pin button on the image below to save for later. 

How to Teach Kids To Be SMART Savers + an easy DIY Save Spend Give Piggy Bank

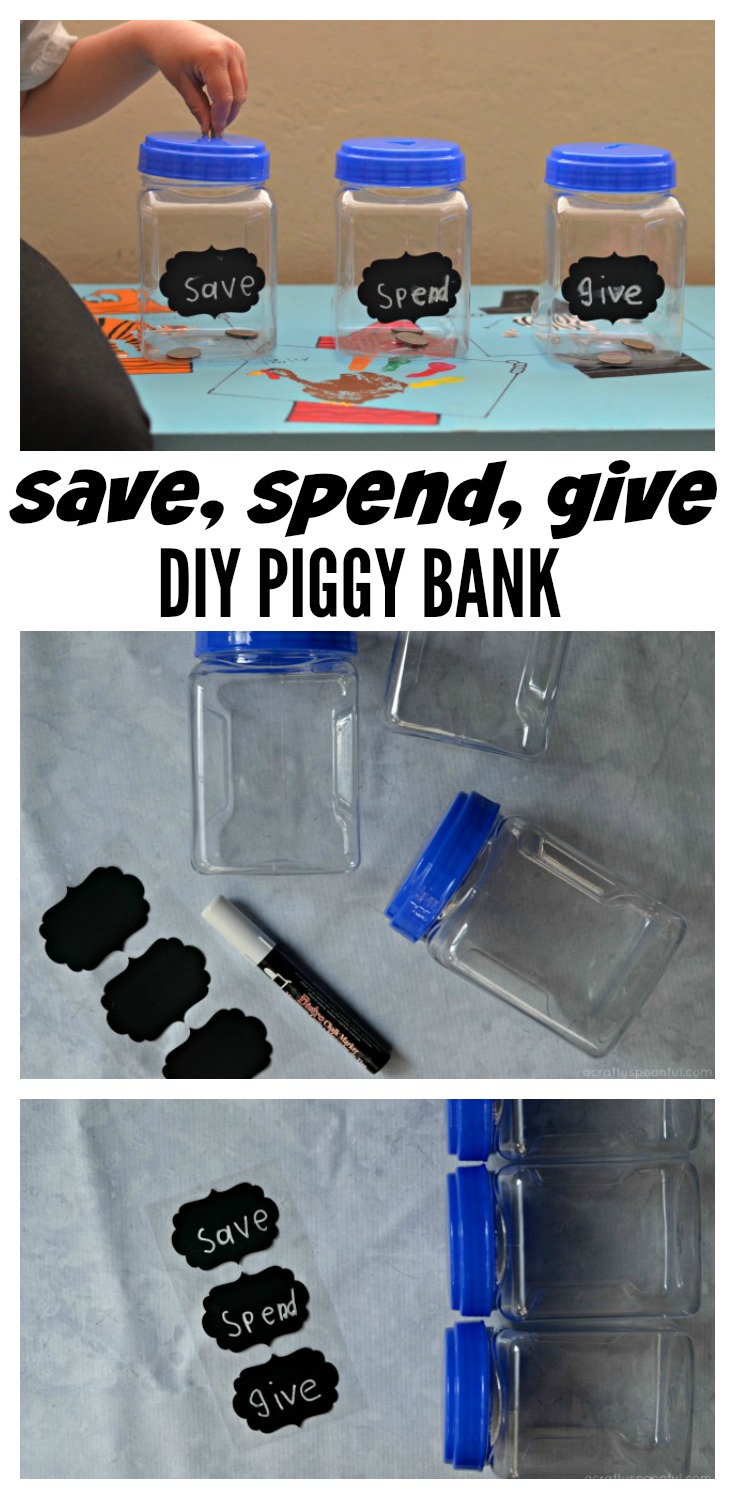
We’re sharing how to teach kids to be SMART savers plus an easy DIY Save Spend Give Piggy Bank for them to make for their earnings.

Do your kids always want to spend everything they get? Or are they more cautious with how they use the money they receive? Whether it’s a weekly allowance, money from birthdays, or money they earn selling lemonade on the corner, kids are never too young to start learning about how to be smart savers. 

With three kids at home, we knew we needed to come up with a simple plan that each of them could understand. From our 2-year-old to our 8-year-old, we use the same system. And it’s broken down into the simplest form for them to grasp. We’ve come up with 3 categories for them and it all has to deal with three simple words: save, spend, give. 

3 Categories of a Budget

Step 1: Save money of your own, 

Step 2: Spend your money wisely by determining what you need versus what you want, 

Step 3: Give your money, time, or things with people who need it.

How to be a SMART Saver

Once you have that broken down, it’s time to start thinking of what or why you want to save. There are 5 steps to putting together a smart savings goal:

1.     Specific: What exactly do you want to accomplish?

2.     Measurable: How will you know you met your goal?

3.     Attainable: Can you really achieve your goal?

4.     Relevant: Why is this goal important to you?

5.     Timely: How much time do you need to accomplish the goal?

Try to talk with your kids about these goals and see if they can come up with their own! 

Get Started! 

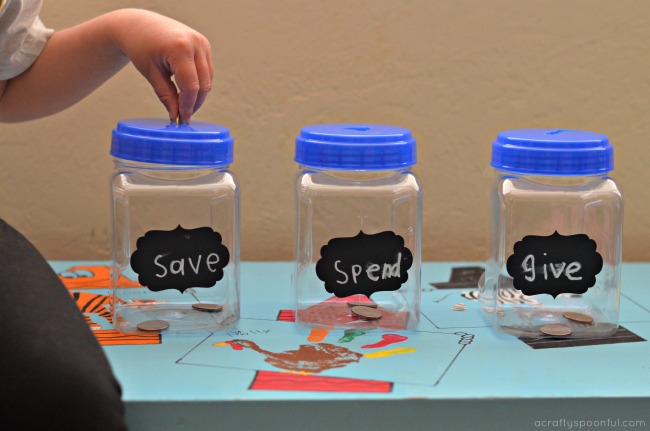
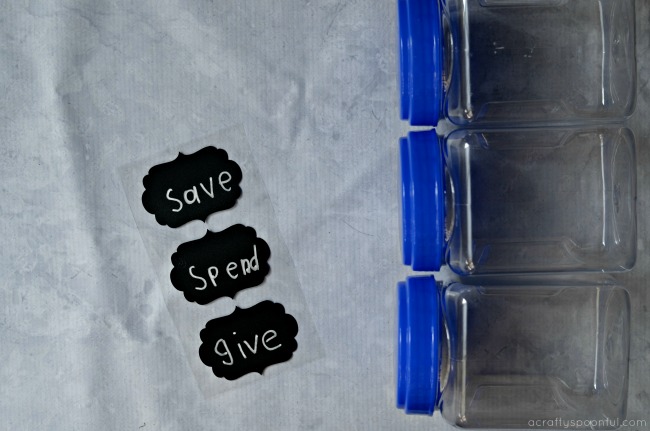
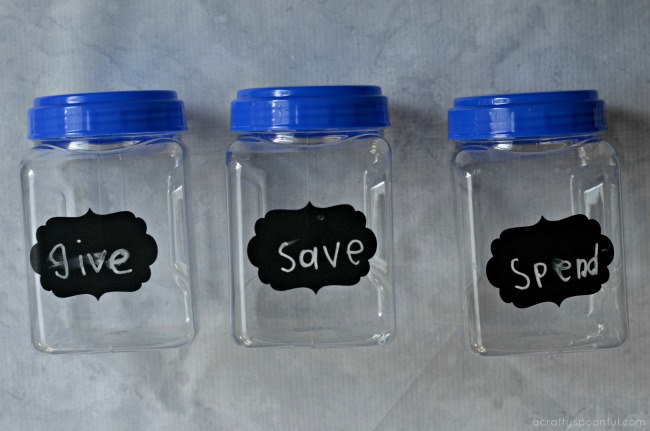
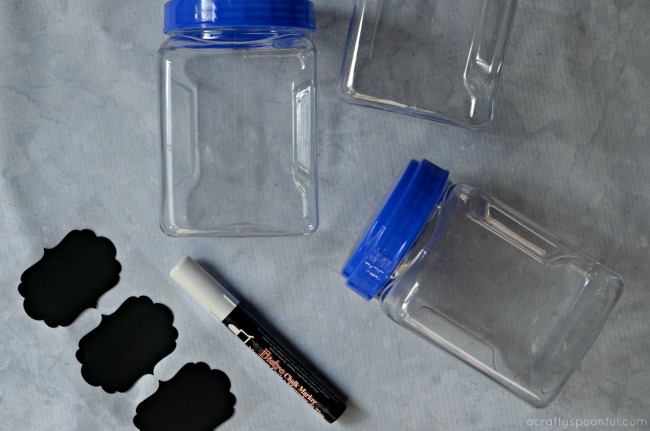
Let the kids construct their own Save Spend Give Piggy Banks by gathering 3 containers, decorating them as you prefer, and labeling each one of the following – “Save, Spend, Give.” Put your money in the appropriate bank as you receive it and watch it add up.

We simply grabbed some containers and labels from the dollar store and kept it simple! But you can get as creative as you’d like. To see how we made ours, watch the video below: 

video here

Are your kids learning to manage the money they’re receiving? 

Love this project? Read more! 

Pin this article for later! 

Click the Pin button on the image below to save for later. 
Why Crafting Breaks Are Necessary plus a Mother’s Day Gift Idea for Grandma

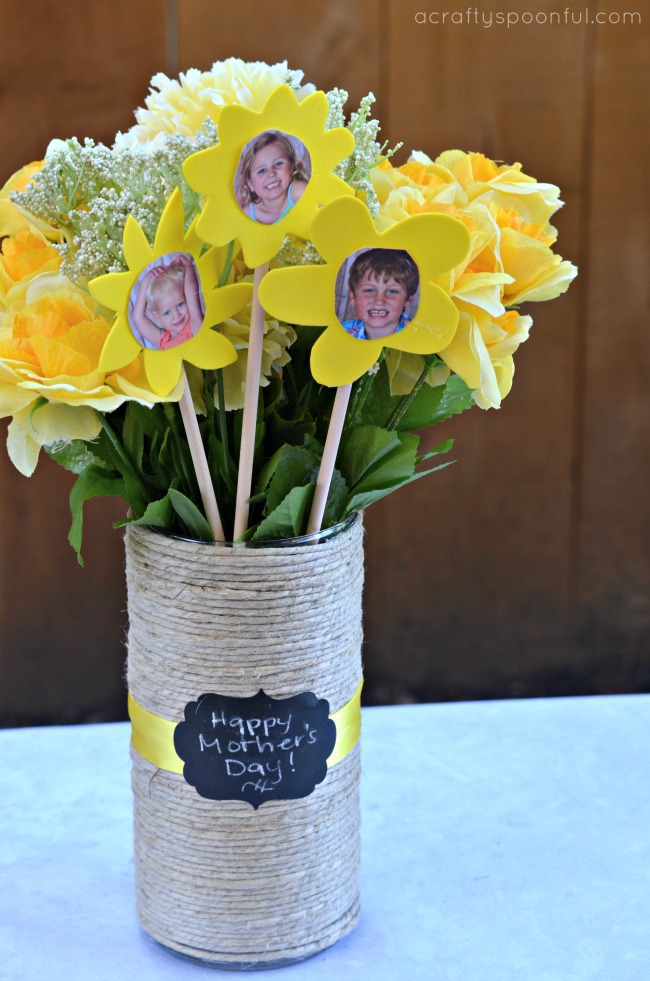
Need a Mother’s Day gift idea for Grandma? Look no further! These adorable bouquets are sure to put a smile on her face just as finding the time to craft alone will put a smile on yours. 

Last week I took some time for myself to get my hair done. Not only did I get my hair cut, I gave in and got it colored, too. At first, I wanted to go a bit crazy. It was the first time I’ve ever colored my hair so I wanted to have some fun with a dusty rose or lavender color. But then after talking with my hairdresser, I decided on a more subtle change for the first time. 

I got to thinking why I wanted to change things up. Change of pace? Wanting a break from the same old, same old? Or was it something else? 

Finally, after much thinking, I came to a conclusion. I needed to do something for me. While I love being a wife, a mother, an employee, most of the decisions I make are based on thinking of others first. So, in partnership with Cafe Breaks, I decided to take a bit more time for myself  (and think of myself first) to take a craft break.

Most of the time while I craft, I’m doing it with the kids. Something fun and exciting for them to create with me. Now, sure I get enjoyment from crafting with them, but I forgot how much I love crafting for myself. Or, in this case, crafting for my MIL. I was able to create a fun gift for her out of a few simple supplies we had in the craft room. And I now want to make a few more with the 

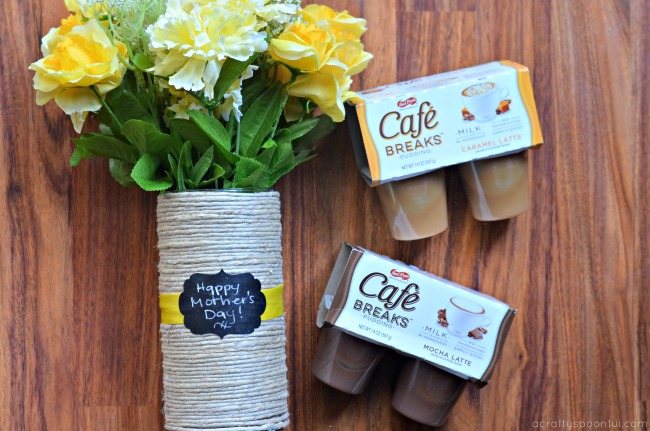
While I enjoyed my crafting break, I also took the time to indulge a bit in a Cafe Breaks pudding. The mocha latte is so delicious! Crafting AND a snack all for myself? Yes, please! 

If you haven’t taken a moment or two for yourself lately, take a step back and think about what would bring you joy or happiness! It doesn’t have to be something expensive. It could be as simple as heading to Walmart and picking up a pack of Cafe Breaks pudding packs from the pudding aisle to enjoy without someone else asking for a bite. 

Mother’s Day Gift Idea for Grandma

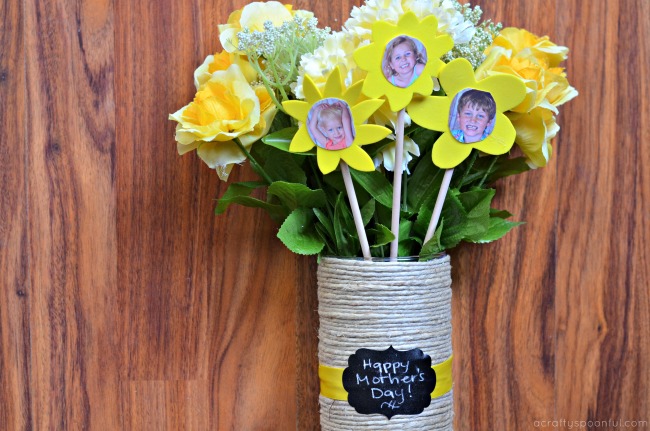
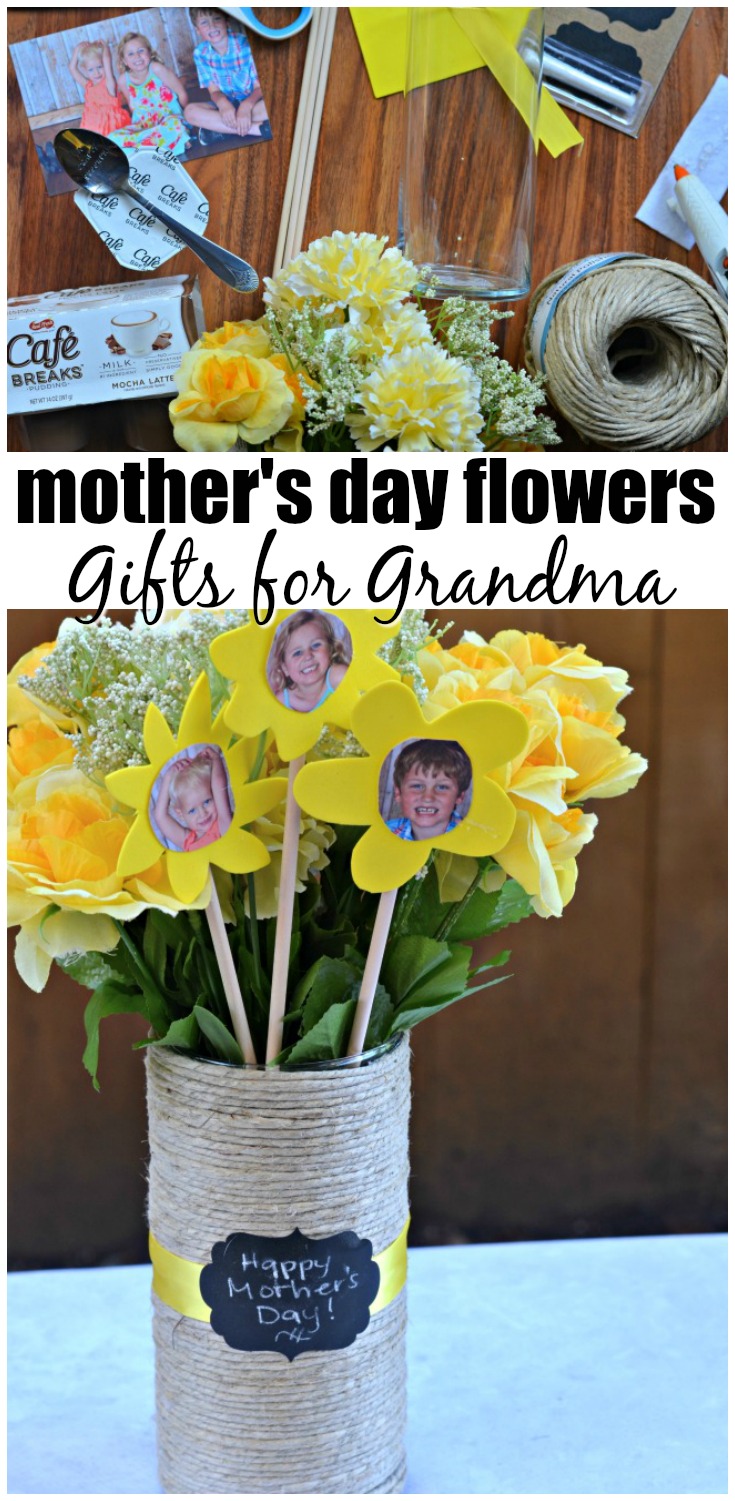
DIY Photo Flower Bouquet

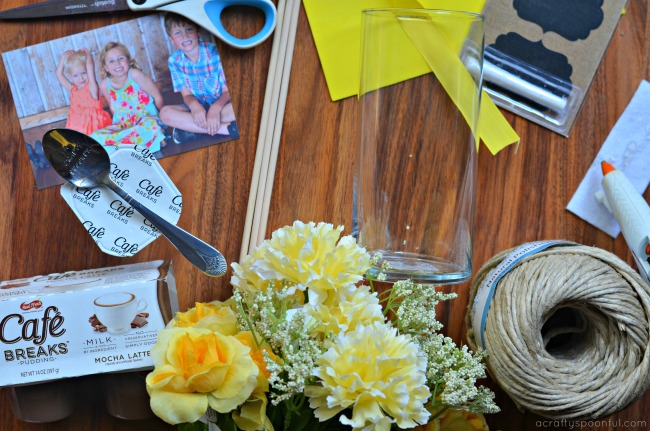
What you’ll need:

  • flower vase
  • twine
  • silk flowers
  • 1 piece of foam (similar shade to flowers)
  • wooden dowel
  • ribbon
  • chalkboard sticker with message
  • scissors
  • glue gun
  • photos of kids

What you do: 

1. Wrap twine around vase and secure in place with glue gun. Repeat, securing the twine every few rows, until the vase is completely covered. 

2. Add ribbon to the vase with glue gun. Cover seam with chalkboard sticker. 

3. Arrange flowers in vase, set aside. 

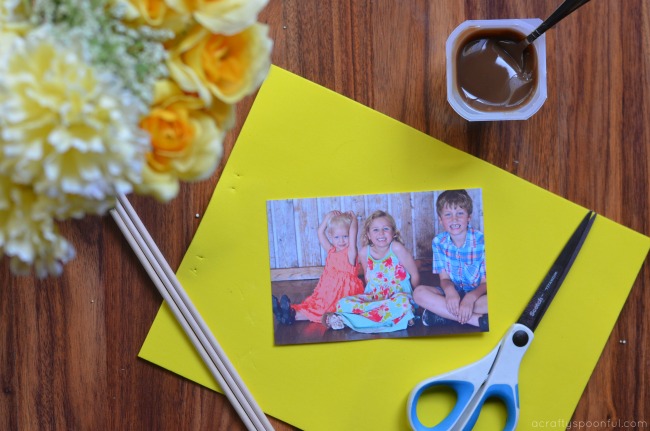
4. Cut kids photo around their faces in a circle. 

5. Using the photos as a template, cut a flower out of the foam sheet with the photo in the center. 

6. Glue photo to center of flower then glue flower onto wooden dowel. 

7. Add flower photos to the silk flowers in the vase and gift away! 

Check out the video we put together for this project: 

Need a break? Enter to win one of 3 Mother’s Day Sweepstakes prizes including a $500 Spafinder gift card + a case of Café Breaks or a $100 Visa gift cards + a case of Café Breaks! 

Details are below:

Café Breaks Spa Weekend with Mom

What are the kids making Grandma for Mother’s Day? 

Love this project? Read more! 

Pin this article for later! 

Click the Pin button on the image below to save for later. 


© A Crafty Spoonful - All Rights Reserved
It is OK to use one of my photos provided a link back and/or proper credit is given. It is NOT ok to copy and paste a whole post including instructions. Please do not remove watermarks or alter images in any way. Please contact me with any questions at danielle@acraftyspoonful.com
.