Dream Dinners Makes Mom’s Life Easier

When I find things that make my life easier, I want to climb onto the roof and shout it out to everyone. So when I was invited to try out Dream Dinners in Encinitas and see what it was all about, I couldn’t say no. And not only did I find an awesome place to enjoy some me time, I was able to check a few things off my list in a short amount of time.
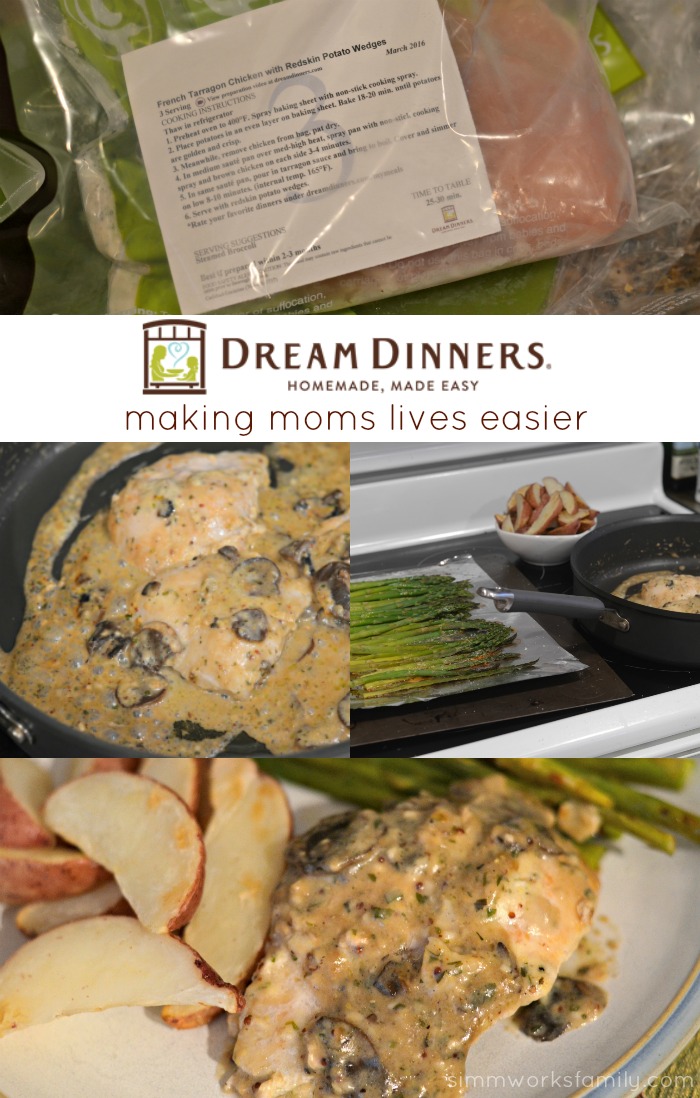
Dream Dinners - Making Moms Lives Easier

I’m a huge believer of using the tools and resources out there to make our lives easier. I also believe that everyone should know their strengths and weaknesses. And when you have a weakness, you should try and find a way to create strength. I love cooking. I love to eat what I make and enjoy seeing my family around the dinner table enjoying a meal that I made.

However with an increase in work hours and a crazier family schedule, I’ve found that the one thing I don’t have is time to prep meals. That includes finding time to grocery shop (although I do love me some Amazon Prime Now and Amazon Fresh!). But even when I do get groceries delivered to our door, I still have to prep it and come up with a dinner plan. But even with the best of intentions I find myself running around 10 minutes before my husband comes home trying to find some 15 minute wonder to make and serve to the family. Or I call the husband and ask him to pick something up.

That’s when Dream Dinners stepped in and opened my eyes to how easy meal time prep could be with a little preplanning. And a little letting go. Just like I gave in and hired a maid service when I realized I am horrible at keeping up with the house cleaning, I also realize that I need help in the kitchen too for those nights that a conference call runs late, I’m still working on a project, or I have a meeting at my son’s school. And having a meal prepped and ready to go in the fridge, with little to no prep work on my end is making my life a whole lot easier.
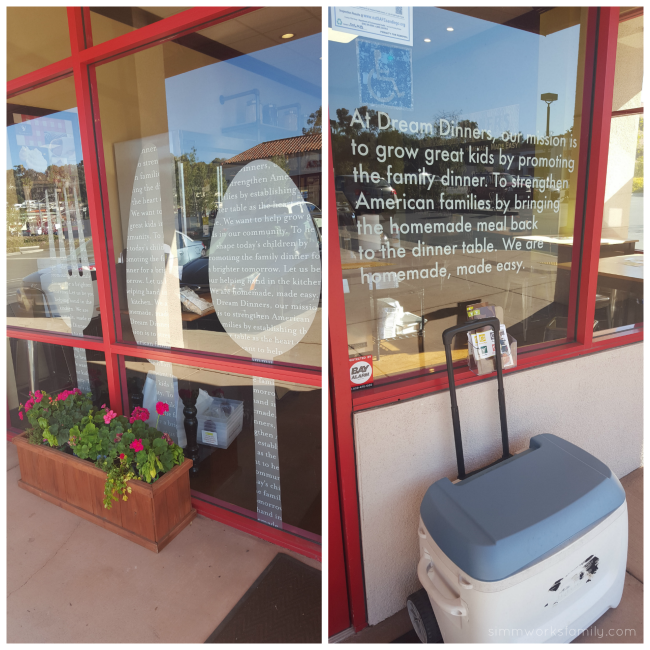
Dream Dinners storefront

Why Dream Dinners?

Founded in 2002, Dream Dinners enables guests to choose from seasonal, rotating monthly menus and prepare the dinners in-store without the hassle of planning, shopping and chopping. They lay out the ingredients in an easy-to-follow format so you can assemble a month’s worth of meals in about an hour.

You can get a feel for the DreamDinners experience in this video:  https://www.youtube.com/watch?v=E-4Cu9epiAA.

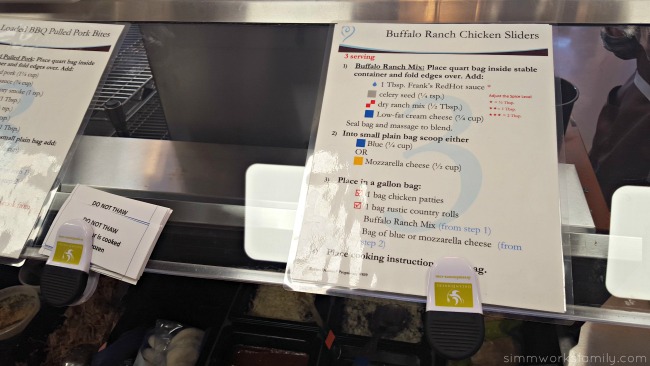
Dream Dinners - instructions to follow

How Dream Dinners Works

Interested in how Dream Dinners works? Here’s a run down of exactly what I did from the time I walked into the door to when I left with my bag of meals:

  1. As soon as I came in, I dropped off my purse and headed to grab an apron and wash my hands.
  2. Then I grabbed my list of meals that I’d be preparing that day and got to work.
  3. I went to the station for my first meal and looked over the instructions.
  4. I simply went down the instructions list and added ingredients into the small bags provided to create each “layer” of the meal or recipe. All of the tools I needed were right at the station ready to use including measuring cups and spoons as well as all of the ingredients I’d need.
  5. When I had all of the components together,  I added everything to a larger bag and popped in a recipe card so I’d know what to do once I got home.
  6. After each meal was in it’s bag, I placed it in the fridge to stay cool while I finished the rest of my meals.
  7. I repeated this process until all of my meals were done, washing my hands in between each meal prep.
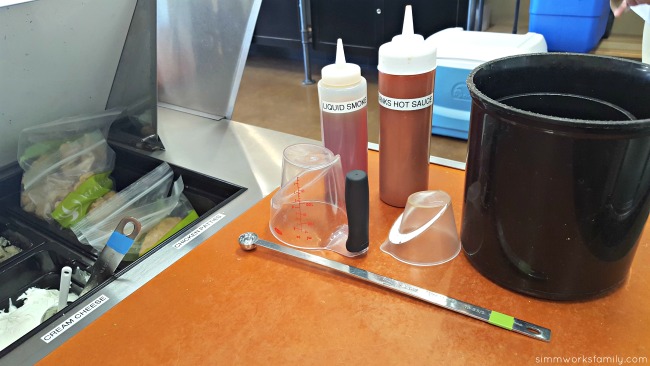
Dream Dinners - tools to use

When you first walk into Dream Dinners, the helpers there take you through the process. You aren’t just left alone to figure it out, you have a helper there along the way for any questions you might have.

Since I’m eating a different meal plan than my family, I could simply omit ingredients I wouldn’t eat or substitute another ingredient. I could also note on the bag if I needed to add anything at home. For example, they have low fat versions of certain things like cream cheese. So I noted what bags I needed to add full fat cream cheese to since we don’t usually eat the low fat versions.

And not only is it easy to customize your meals, you also get to choose what meals you prepare from a huge list of meals that are on a rotating basis each month. So one month’s menu will never be the same as the previous month. That means I get to try out a lot of fun options with my family. And each time I go to Dream Dinners, I can get a taste for one of the latest menu items for the next month after I’m done!
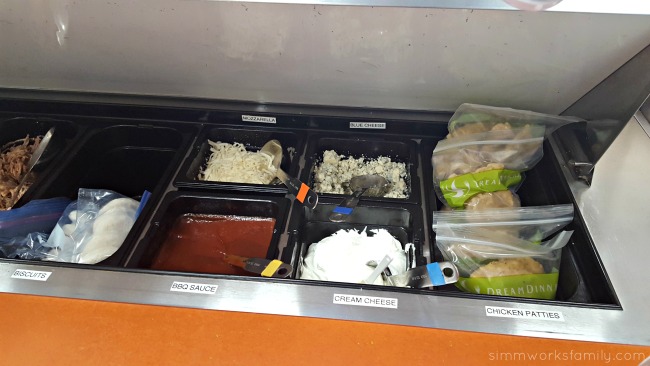
Dream Dinners - ingredients to use

When I got my meals home, I took the three I knew I’d make in the next 5 days and put them in the fridge. All of the others went into the freezer for another week. It’s recommended to pull the meal you want to enjoy from the freezer and into the fridge the night before so it has time to thaw out. But there is also thawing options available in case you forget like I have.

And while sides don’t come with the meals, Dream Dinners has a huge fridge with sides and dessert options you can add to your meals. Or you can choose to add your own sides. For the French Taragon Chicken with Redskin Potato Wedges meal, I added fresh asparagus and just roasted it when I roasted the potatoes. So easy to throw in when everything else was cooking.
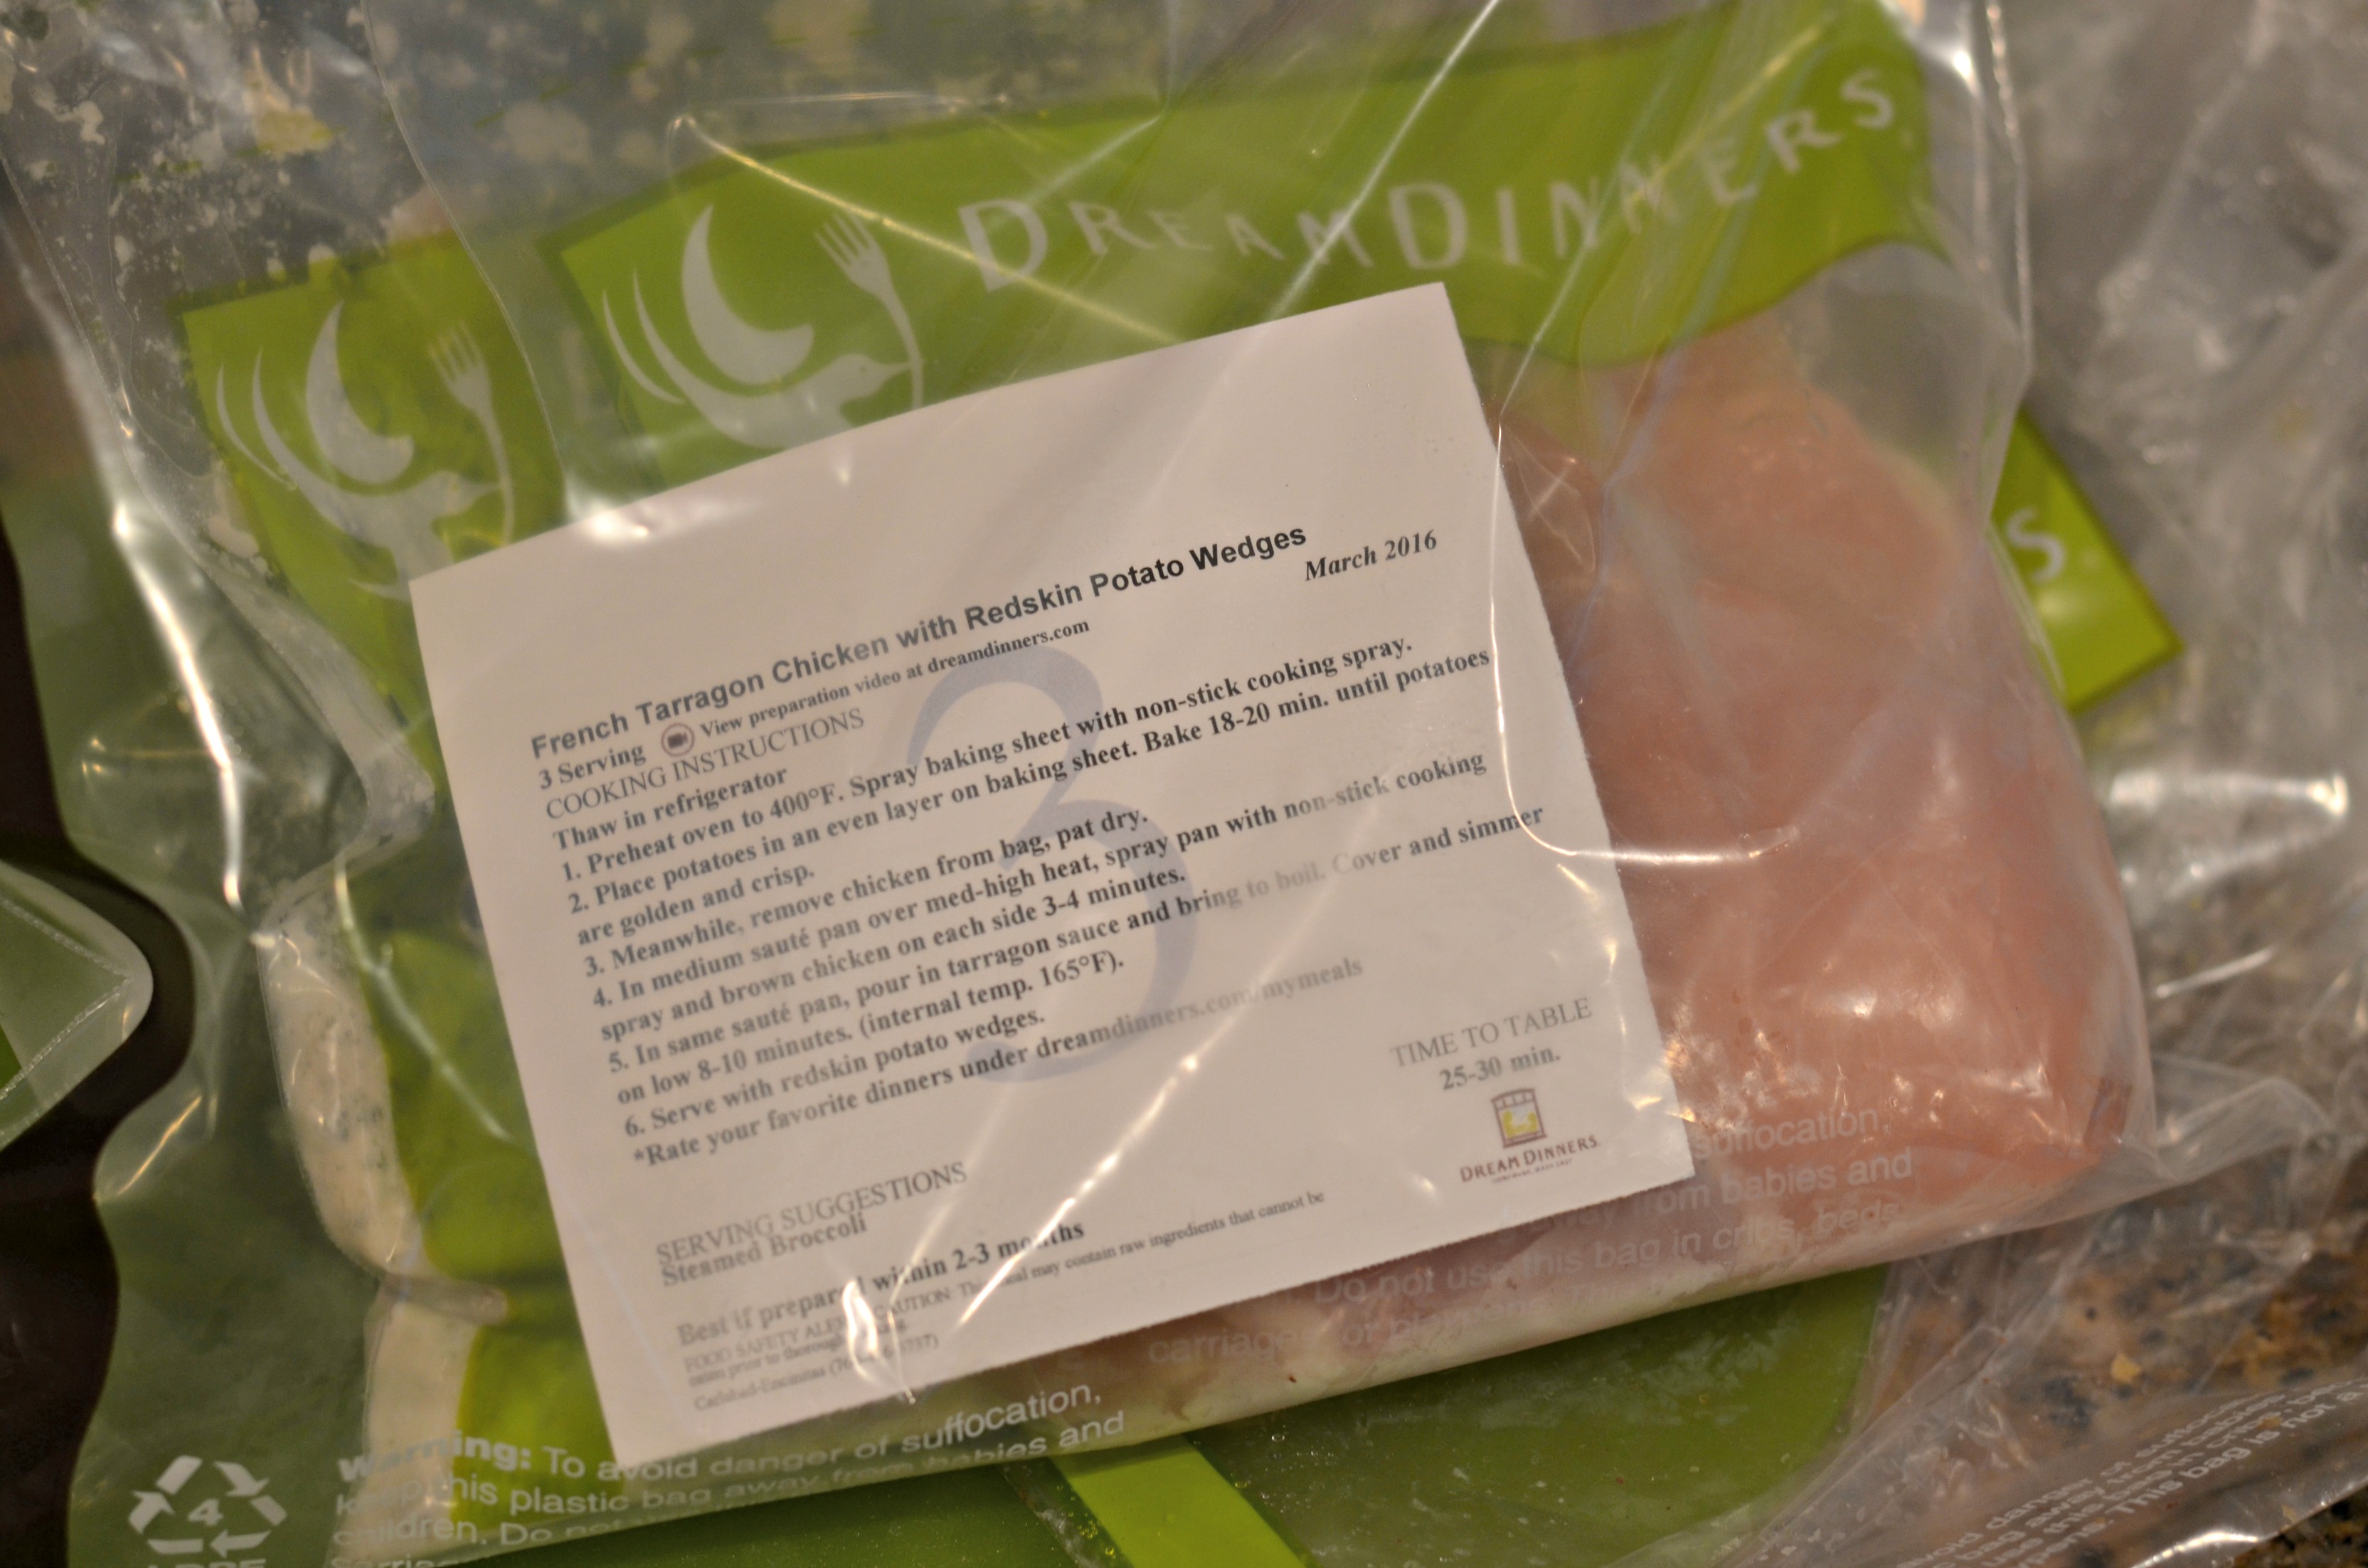
Dream Dinners 1

Dream Dinners is a great option for those parents who might not have the time every night to completely prepare and cook a homemade meal for their families. I love that I now have a (cheaper) option at my fingertips for homemade dinners to take the place of calling my husband and asking him to bring home fast food.

And? I love that I can head out to Dream Dinners for a few hours to meal prep. I don’t have to make a mess in my kitchen AND I get a little me time on the weekends. Win-win!
Have you tried Dream Dinners? What’s your favorite Dream Dinners meal?

Vanilla Raisin Oatmeal Squares

This is a sponsored post

Vanilla Raisin Oatmeal Squares

I don’t know about you but Daylight Savings Time is really kicking my butt. I’m pretty sure we’ve been late to school drop off every day this week and for some reason I just can’t adjust as easily this time around as I have in years past. I’ve been putting the kids to bed a little earlier each day to adjust their schedules but the baby still isn’t waking up until right before we have to leave for school. Poor kid!

I haven’t been able to drink enough coffee to get me going in the mornings. And that’s even when I use my new favorite creamer in the mix!

In an effort to make things easier I’ve been using a few tips to streamline our mornings. Sticking with a morning routine has saved us the hassle of forgetting things, being too late, or just feeling rushed in the mornings. And no one wants to feel rushed as you start the day. And having a go-to breakfast that you can make ahead is my #1 tip for making mornings easier. I may have to take my coffee to go but at least the kids are getting fed!

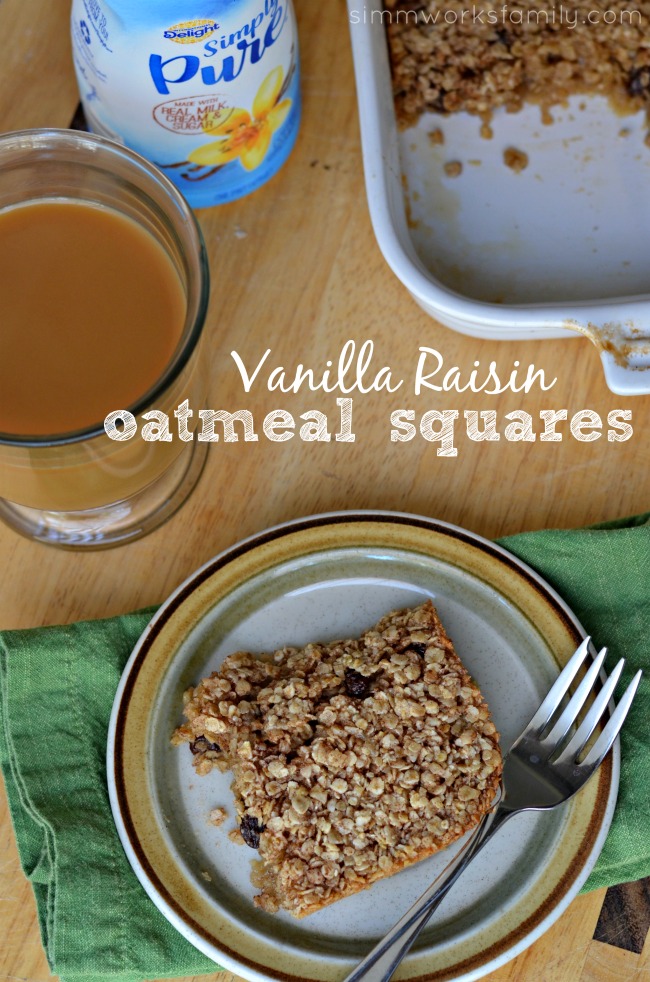
Vanilla Raisin Oatmeal Squares with International Delight Simply Pure Vanilla

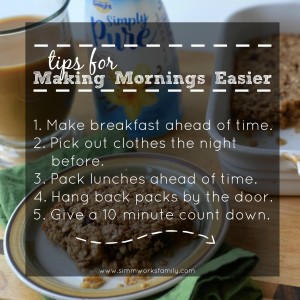
Tips for Making Mornings Easier

  1. Make breakfast ahead of time.
  2. Have the kids pick out their clothes the night before.
  3. Pack lunches ahead of time OR create a snack area for easy to grab lunch options.
  4. Hang back packs by the door so they’re ready to go.
  5. 10 minutes before you have to leave the house, make sure the kids are dressed (including socks and shoes!) and lunches in back packs so nothing is forgotten.

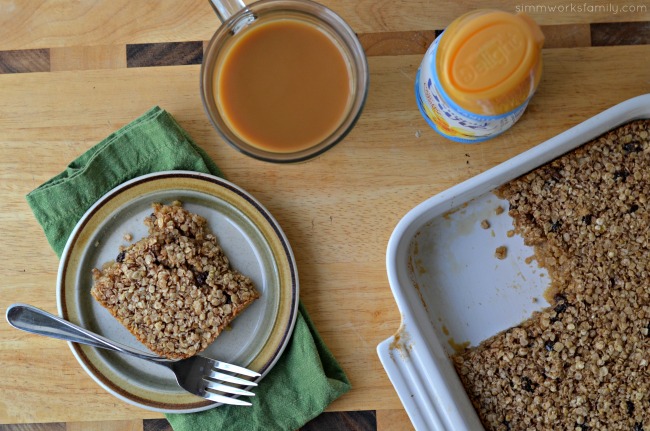
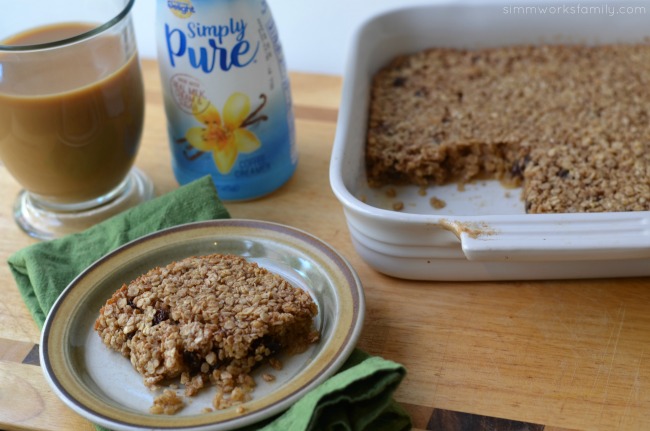
Vanilla Raisin Oatmeal Squares with coffee

Vanilla Raisin Oatmeal Squares

  • 1½ cups quick cooking oats
  • ¼ cup packed brown sugar
  • ¼ cup white sugar
  • ¼ cup melted butter
  • 1 cup Vanilla creamer
  • 1 egg
  • 1 teaspoon baking powder
  • 1 teaspoon cinnamon
  • 1 teaspoon salt
  • cooking spray

Preheat the oven to 350 degrees. Spray a 9 x13 baking dish.

Mix all ingredients in a bowl then spread out evenly in the baking dish.

Bake 20-25 until the edges are golden brown.

Tips for Making Mornings Easier

How do you make mornings easier? 

Strawberry Vanilla Overnight Oats

This is a sponsored post written by me on behalf of The a2 Milk Company™. All opinions are 100% mine.

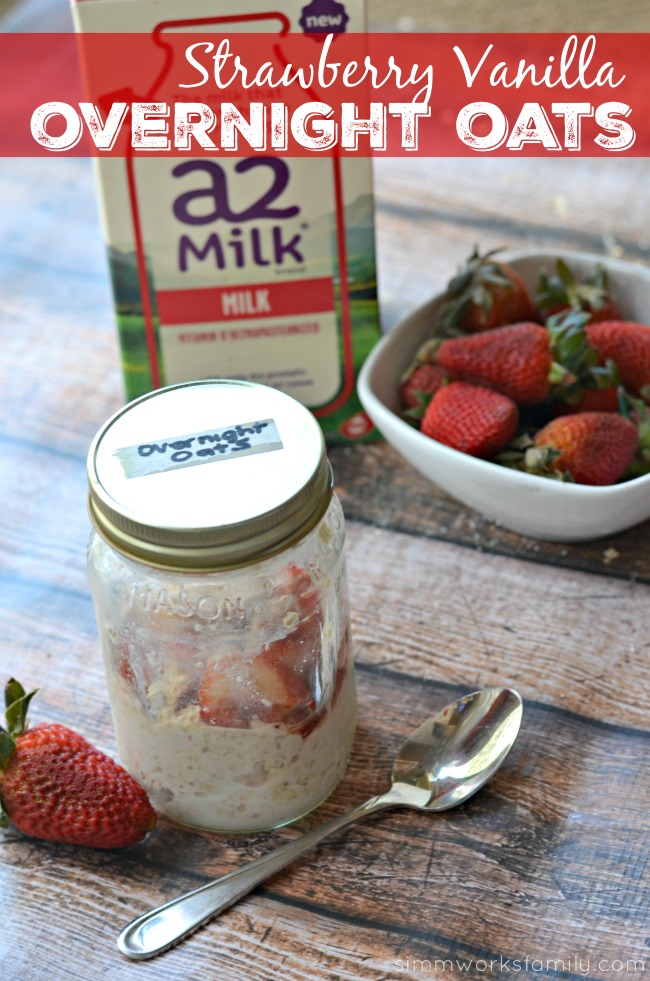
Strawberry Vanilla Overnight Oats - a quick and easy breakfast for busy mornings

As a busy mom of three, I need quick and easy breakfast ideas for those mornings that just don’t go a smoothly as I plan. So at the beginning of the week, I take a look at our schedule and figure out what days might be the hardest to squeeze in making breakfast. Whether it’s a day I’m also making lunches, or a day we have to leave earlier than normal, I want to be prepared and do what I can ahead of time to make our mornings easy.

On those days that I need to plan ahead for breakfast, I’ve started to make these delicious overnight oats the night before. Not only are they simple and easy to make, but they are so versatile! Plus, with a2 Milk® I don’t have to worry about tummy trouble after eating them!

The kids love the taste and I love the simplicity! Plus, there’s minimal ingredients and almost no mess (unless I give the baby some without watching her). And when I put them in mason jars, the kids can bring them with us in the car if they didn’t finish breakfast at home. Easy peasy!

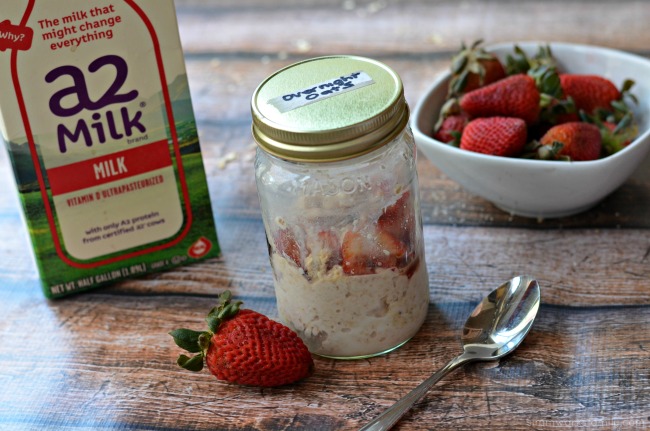
Strawberry Vanilla Overnight Oats with A2 Milk

Strawberry Vanilla Overnight Oats

  • 1/2 cup quick oats
  • 1/2 cup a2 Milk®
  • 1/2 cup strawberries
  • 1 teaspoon vanilla
  • 1 tablespoon sugar

Wash the strawberries and dice them up. Add them to a small bowl. Pour vanilla and sugar over the strawberries and stir until well coated. Let macerate in the fridge.

While the strawberries are working their magic, grab a mason jar, the oats, and a2 Milk®. Pour 1/2 cup of oats in the bottom of the mason jar. Top with milk. Then grab the strawberries and pour 1/2 into the jar. Save the other 1/2 in the fridge.

Screw on the mason jar lid and store the jar in the fridge overnight. In the morning, remove lid and stir up with a spoon.

Microwave for 30 seconds if you’d like to remove the chill from the oats. Top with the remaining strawberries and enjoy!

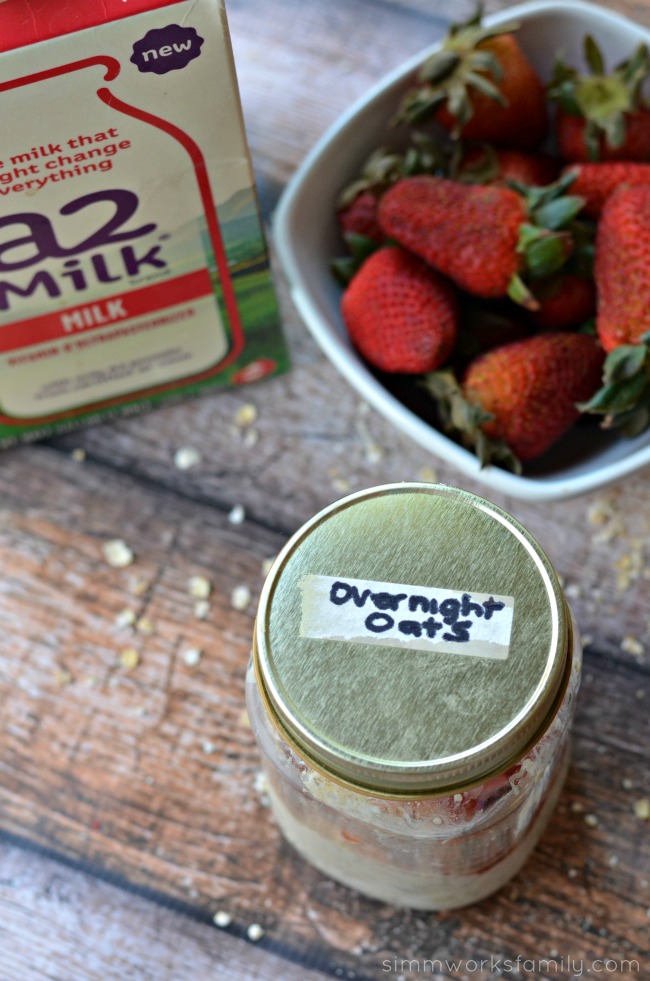
 Strawberry Vanilla Overnight Oats in a mason jar

Over the past few weeks we’ve incorporated a2 Milk® into our everyday lives and I have to say that I really enjoy it. And the kids haven’t noticed a difference at all. Since we started introducing our 13 month old to cow’s milk, she’s only ever tried a2 Milk®. Since all other forms of mammal’s milk (i.e. goat, sheep, human) only contain the A2-type proteins, she’s used to only getting the A2 protein. I’m hoping this continues to make her transition to cow’s milk easier.

You can find more about a2 Milk® and my recipe for No Cook Chocolate Avocado Pudding here. And for more awesome recipes and news on a2 Milk®, check them out on Twitter, Facebook and Pinterest

Find a store near you that carries a2 Milk® by using this Product Locator. Save now with this a2 Milk® $1 Off Coupon

What’s your favorite easy, make-ahead breakfast? 

Visit Sponsors Site

10 Red Velvet Desserts With A Twist

10 Red Velvet Desserts with a twist - if you're as obsessed about red velvet as I am, you have to give these a try!

Are you as obsessed with everything red velvet as I am? Well you are in for a treat! I am loving red velvet desserts lately and decided to take a look around to find a few I could enjoy with the family. And these desserts? OMG! From cookies to ice cream (no machine needed!) to amazing milkshakes, this list has you covered! I suggest going down from 1 to 10 and trying everything. But that may take you a few weeks to complete. Just don’t blame me for the weight gain. I kid!

10 Red Velvet Desserts With A Twist

  1. Red Velvet Cake Heart Bites
  2. Red Velvet Whoopie Pie Recipe
  3. Sweet Cream Red Velvet Ice Cream (No Machine Needed)
  4. Red Velvet Cake For Two
  5. Red Velvet Cheesecake Brownies
  6. Red Velvet Trifle
  7. Red Velvet Cheesecake Brownie Recipe
  8. Red Velvet Cake Milkshakes
  9. Red Velvet Cupcakes with Cream Cheese Frosting
  10. Red Velvet Cookie Bars with Cream Cheese Frosting

Red Velvet Desserts with a twist

Are you a big Red Velvet fan?

Apple Granola Muffins in Celebration of Snow White on DVD

Apple Granola Muffins for Snow White

Forever enchanting and inspiring, Snow White And The Seven Dwarfs embodies The Walt Disney Signature Collection’s legacy of animation. In this epic story of love and friendship, the kind and beautiful princess Snow White wins the hearts of the Seven Dwarfs and triumphs over the evil plans of a wicked Queen.

For generations, audiences around the globe have been enchanted by the timeless tales brought to life by the artists of Walt Disney Animation Studios. Since the debut of the very first feature-length animated film in 1937, Snow White and the Seven Dwarfs, the visionary studio has generated some of the most beloved films of all time through masterful artistry, epic storytelling, and groundbreaking technology.


From the extraordinary team behind the success of Snow White emerged a group of animators who would become legends – Disney’s Nine Old Men. These prolific artists, including Frank Thomas, Marc Davis and Ollie Johnston, were the heart and hands behind the magic of Bambi, Sleeping Beauty, 101 Dalmatians, Pinocchio, Peter Pan, The Jungle Book, Alice in Wonderland and so many more.

After more than 90 years, this rich legacy of innovation and creativity lives on with every animator who passes through the hallowed halls of Walt Disney Animation Studios.

In celebration of the one that started it all, seven Disney artists from different generations have come together to share a modern look at the seven iconic characters who shared the journey of the original Disney Princess.

Now to the recipe!

There are no poisoned apples here, just deliciously good apple muffins that are the perfect treat for breakfast or whenever.

Apple Granola Muffins with cinnamon

Apple Granola Muffins

  • 2 cups flour
  • 1/2 cup brown sugar
  • 1/2 teaspoon salt
  • 1/2 teaspoon baking soda
  • 1 teaspoon baking powder
  • 1 teaspoon cinnamon
  • 1 cup buttermilk
  • 2 eggs
  • 1/4 cup butter, melted
  • 2 apples, grated
  • 1 cup granola

Preheat oven to 350 degrees.

Mix together dry ingredients in a large mixer. Add wet ingredients to dry and continue mixing until well combined. 

Using a rubber spatula, fold in apples and granola.

Coat a muffin pan with non-stick spray. Scoop 1/4-1/2 cup of batter into each well of the pan.

Bake for 15-17 minutes or until a toothpick comes out clean.
Enjoying Apple Granola Muffins for breakfast

What do you love to bake with apples?

Share the movie called “The Greatest Animated Film Of All Time,” (American Film Institute) on Blu-ray February 2nd and on Digital HD January 19th, with special features for the entire family!

Trying to get your own little dwarfs to do their chores? Start the week off with a fun Chore Chart that will help them Whistle While They Work!

Download Activities

No Cook Chocolate Avocado Pudding: A Healthier Alternative

This is a sponsored post written by me on behalf of The a2 Milk Company™. All opinions are 100% mine.

No Cook Chocolate Avocado Pudding - a healthier alternative to the traditional recipe

Dessert is one of my family’s favorite parts of our meal. And most of the time when we all get together for a family meal, dessert is served. However I’ve noticed a few relatives who’ve declined dessert over the past few get togethers. After chatting with one of them about the reason, I found out that they’ve realized that they have an issue with lactose and since most of the desserts served have some sort of milk product, it’s easier to say no than deal with the consequences later. While they haven’t been formally diagnosed with lactose intolerance, by avoiding dairy they’ve reduced their tummy troubles. 

Because I hate seeing people feeling left out I figured I’d play around with one of my favorite pudding recipes and replace the dairy with a2 Milk®. Then I went a step further and figured out a way to make it thick and creamy without cooking it! Since I already use bananas and avocados in my smoothies to make them creamy and thick, I thought they’d be amazing together in this pudding recipe as well. And the best part? I mix everything together in the blender! Takes less than 5 minutes for everything to come together. 

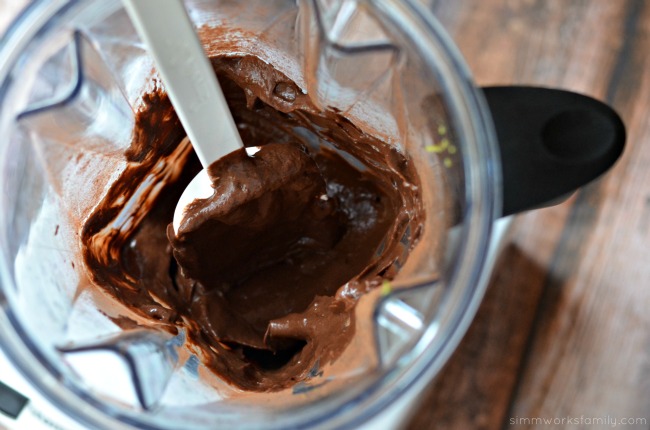
No Cook Chocolate Avocado Pudding in blender

Haven’t heard of a2 Milk® before? It’s pretty awesome. Originally, all milk contained only the A2 protein. Over time a genetic mutation occurred in cows and a new type of protein developed called A1. This A1 protein causes digestive discomfort and is in all cows’ milk in-stores today, even organic milk.  a2 Milk® is the only fluid milk on the US market that is guaranteed A1 protein free.

How do they do it? 

The a2 Milk Company™ has partnered with U.S. family dairy farmers in upstate New York and the Midwest to expand the a2™ herd. Their cows naturally produce milk with only the A2 protein. And their farmers are certified in the humane treatment of animals, their cows are fed a vegetarian diet and never given hormones or rBST, and the milk is antibiotic free and contains no artificial ingredients or additives. Pretty cool huh? And it tastes no different than regular milk! My kids love it and haven’t caught on that it’s any different.

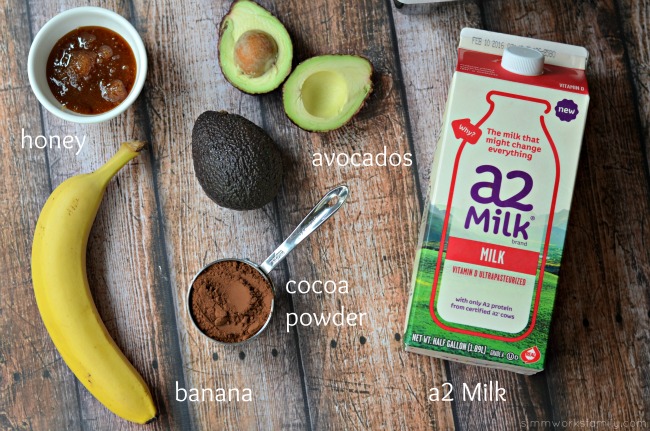
No Cook Chocolate Avocado Pudding ingredients

No Cook Chocolate Avocado Pudding

  • 1 avocado
  • 1 banana
  • 1/2 cup cocoa powder
  • 1/2 cup honey* (or other sweetener)
  • 1/2 cup a2 Milk®

Add all ingredients in a blender or food processor. Process until completely blended. Serve right away with some berries or chill in the fridge if you prefer cold pudding.

* If you’re making this for children under 1, use an alternative to honey like agave or maple syrup.

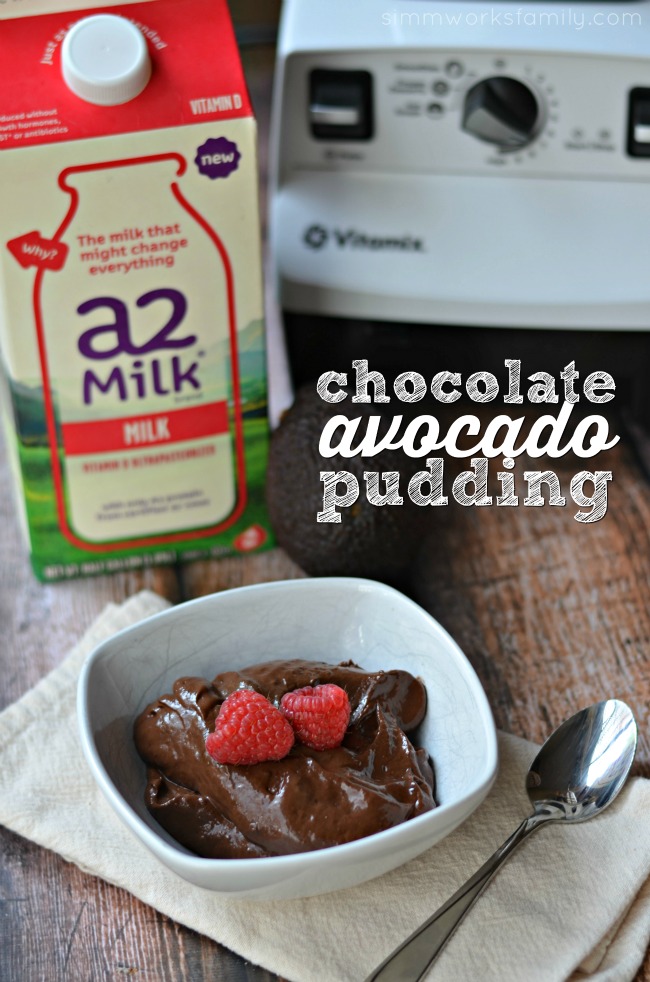
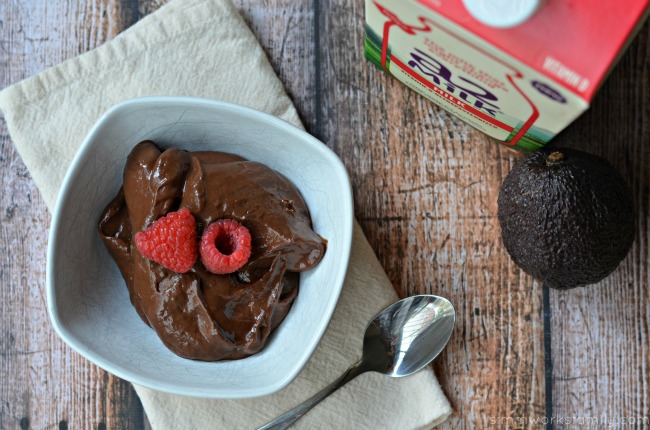
No Cook Chocolate Avocado Pudding with raspberries

The results are an amazingly creamy and chocolaty pudding that the kids (and adults) all gobble down! I call that a success.

What’s your go-to dessert when family come over?

Interested in more info about a2 Milk®? Check them out on Twitter and Facebook or find where you can purchase it by using their Product Locator! Or check out the great recipes they have on Pinterest. And right now you can take advantage of this a2 Milk® $1 Off Coupon.

Visit Sponsors Site

Fight Hanger In Kids: After School Snack Hacks

Tracking Pixel

We’re chatting about my favorite after school snack hacks so I don’t have to deal with hangry kids thanks to our sponsor, Tree Top.

Fight Hanger After School Snack Hacks

Life is crazy right now. Work, volunteering, kids, life. It’s all just overwhelming sometimes. But this year I’m focusing on being more organized. I update my Google calendar with everything going on, even if it’s just a quick 5 minute meeting before or after school. And I try to plan ahead and stick with a routine.

We’ve gotten mornings down to a science. Wake up, brew coffee, make lunches and breakfast while stealing sips, get kids dressed and fed, and nurse the baby while checking email before heading out the door to drop off. I even call out a 5 minute warning so the kids know they need to get their shoes on.

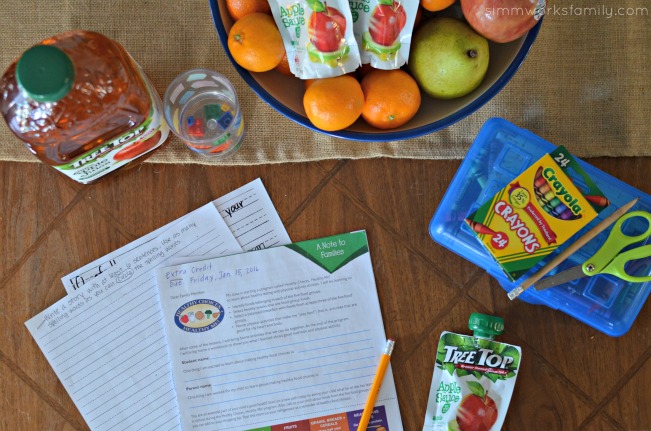
Fight Hanger After School Snack Hacks homework time

But we’re still struggling with afternoons. Between meetings and soccer practice and everything else in between, I try to keep everything written out so that as we’re driving to school I can give the kids a heads up on what to expect after they get out of school. Most days they come straight home but others are spent at after school care or they’re picked up by a relative.

With all of the craziness that our afternoons bring us, I have to remember to pack snacks for the kids and hide them everywhere. Because if I don’t? This is what I have to deal with:

Fight Hanger After School Snack Hacks to fight hanger

Yup. She’s hangry.

Luckily I’ve experienced enough meltdowns that I can sense when they are going to come on and I can whip out a snack so quickly that all of a sudden that frown turns upside down. Want in on how I do it? Check out my after school snack hacks!

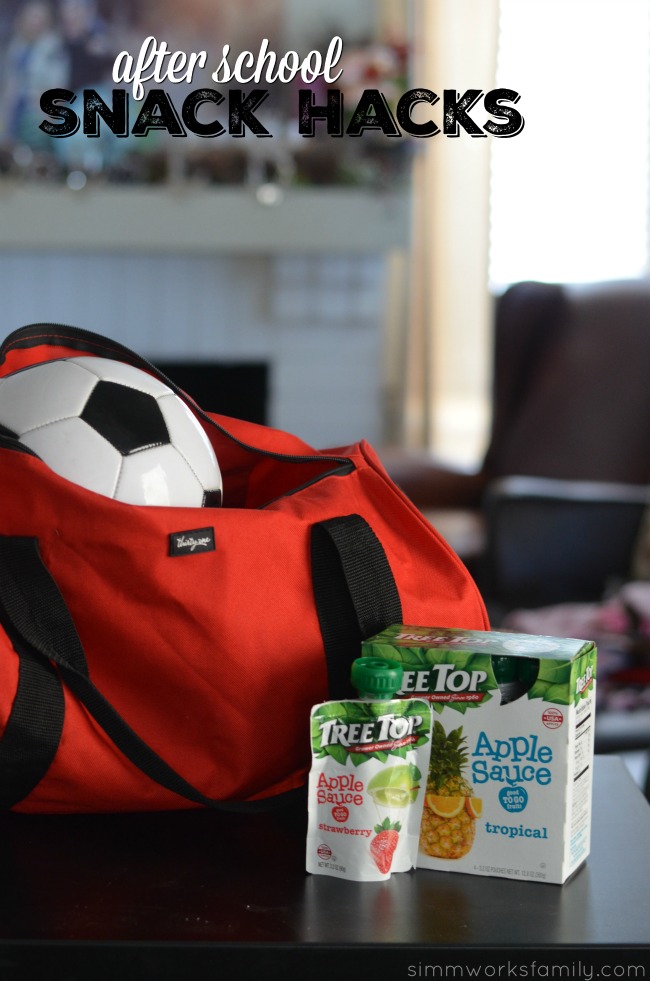
Fight Hanger After School Snack Hacks - Tree Top Apple Sauce Pouches

After School Snack Hacks

1. Bowl Of Fruit –

Now I know this sounds like a duh kind of idea but I’ve found that putting a bowl of fruit out on the table or counter puts the responsibility of eating in my kids hands. They know when they feel hungry that all they have to do is go grab something from the fruit bowl. Plus fruit is portable so I can grab a few pieces before heading over to pick up the kids so they can snack on the drive home.

I keep a variety of fruits on hand to satisfy both of the kids tastes. And if they don’t eat it fast enough,  I turn the fruit into muffins! Another awesome snack choice that doubles as a breakfast food.

2. Snack Drawer or Shelf

In the pantry I have a snack shelf filled with great snacks that the kids can grab on their own as soon as they come home from school. This shelf is also used for my go-to lunch items too so I can quickly go in and grab what I need after I finish making sandwiches and grabbing fruit.

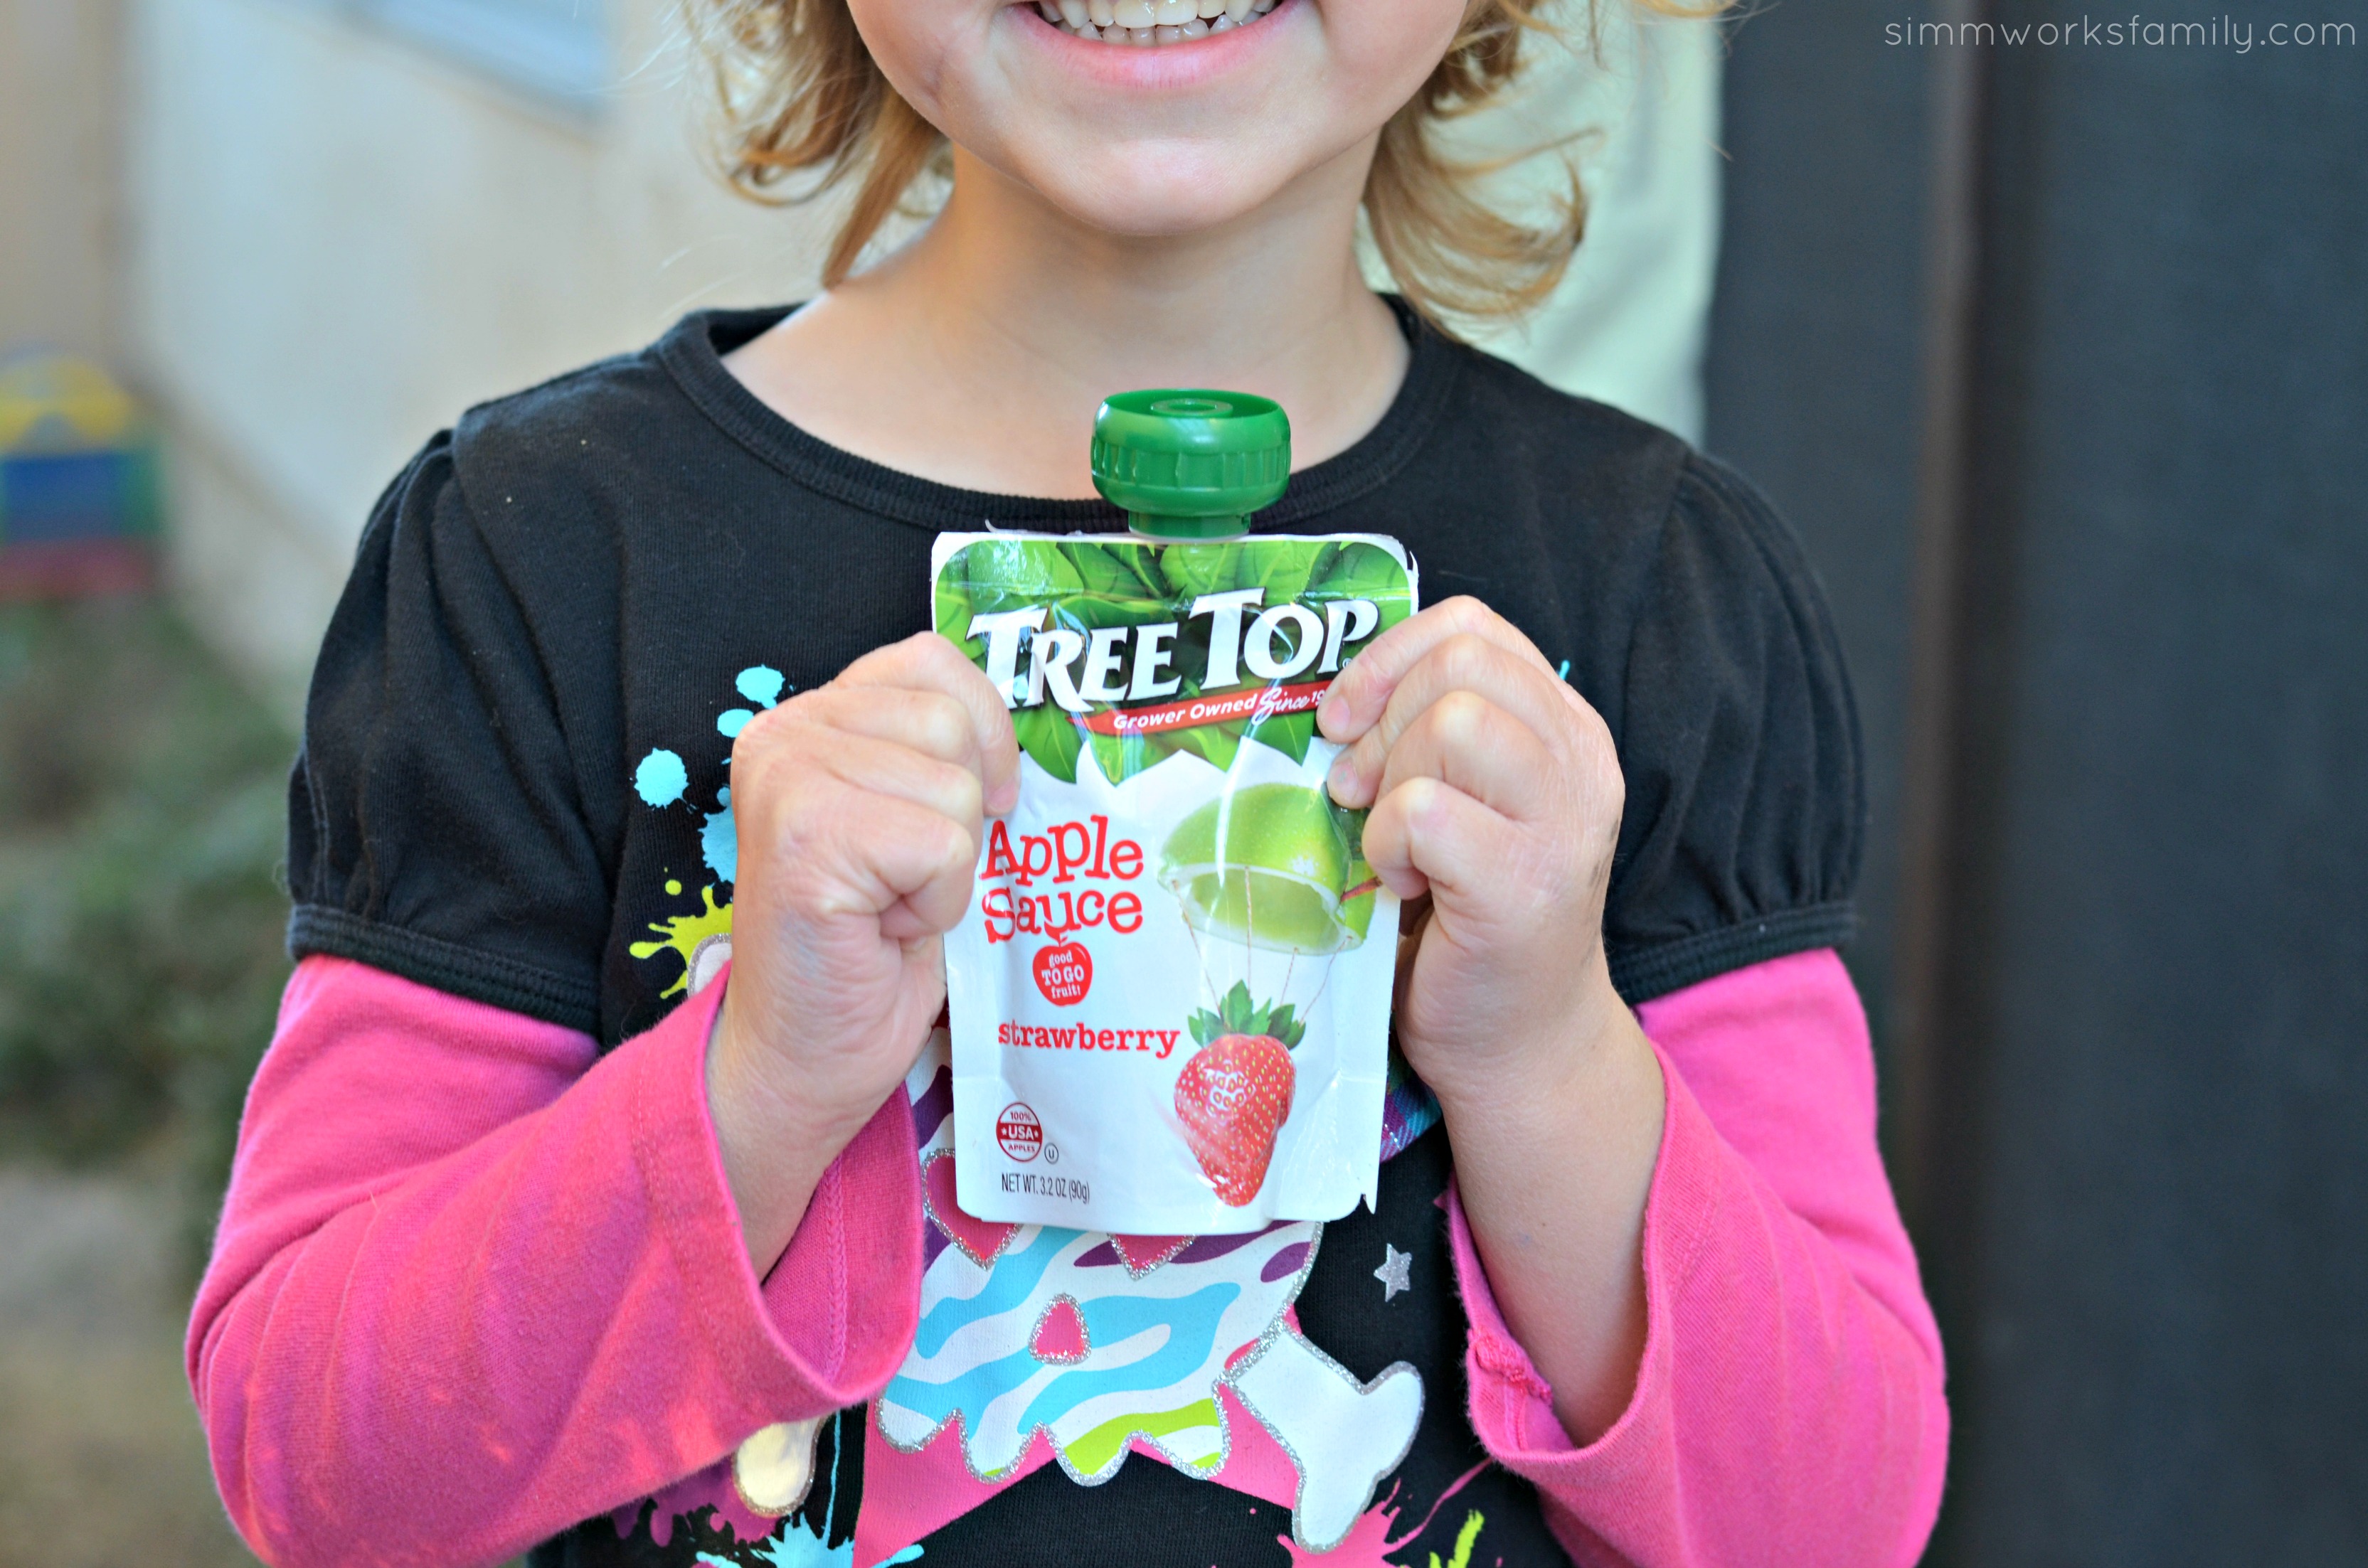
One thing I always have on my snack shelf is Tree Top Apple Sauce Pouches. They’re mess-free, taste great and are made with pure USA-grown fruit and local ingredients. No spoon? No problem! Pouches are squeezable and fun, making them perfect for on-the-go snacking.

We also have a snack drawer in our fridge. We purchased the fridge we have because it had a secondary refridgerated door that would be easily accesible for our kids. I keep yogurts, cheese, and other snacks that I don’t mind the kids eating in there along with some bottled water and juices.

3. Roll Ups

When I know the kids are going to sports practice or I have a meeting after school, I make super quick roll ups out of whatever ingredients I have on hand. Depending on the size, I’ll sometimes cut them into wheels or leave them whole.

Here’s a few great ideas for flavors to get you started:

  • PB&J Roll Up – tortilla, peanut butter, jelly | Add some bananas or apples
  • Ham & Swiss Roll Up – pita, sliced ham, sliced swiss cheese | Add some spinach leaves and a spread of ranch dressing or hummus
  • Tuna Roll Up – bread, tuna, mayo | Add some diced celery and dill pickles

4. Cheese Platter

Now don’t laugh but sometimes I just cut up some cheese and open up a package of crackers and call it a day. We even turn to that as a dinner option on crazy busy nights with the addition of some salame or pepperonis. Cheese platters are very versatile. From delicious brie and gouda with fancy crackers to string cheese and gold fish, the possibilities are endless. And when you’re having a bad day, both pair nicely with a glass of wine. For the parents… not the kids.

After School Snack Hacks - Tree Top Apple Sauce Pouches

All of these options can easily be put into a bag and taken with us wherever we go. I have an easy way to keep snacks on hand and the kids don’t get hangry. Win win!

Tree Top knows that avoiding those hangry moments require a quick and reliable solution. We want to see how you help your kids overcome those stressful times! Share a photo of your child’s “hangry2happy” moment on Facebook, Twitter or Instagram. Make sure to use the #Hangry2Happy hashtag and tag @TreeTopInc in your post, so we can check it out.

You’ll be entered to win one of eight survival kit backpacks full of Tree Top apple sauce Pouches, so you’ll be ready when your kids reach their limit and desperately need a snack. We’ve all been there, and Tree Top wants to help you take your kids from hangry to happy! Official sweepstakes rules can be found here:on.fb.me/1kTw5b5

Fight Hanger After School Snack Hacks on the go

What are your go-to snack hacks to avoid hangry children?

I will be giving away one kids backpack and filled with Tree Top applesauce pouches. Approximate Retail Value of $50.

View Rafflecopter to see the ways in which to enter and show Tree Top your child’s Hangry2Happy Moments!

a Rafflecopter giveaway

Disclosure: This is a sponsored post written by me on behalf of Tree Top.

Chocolate Coffee Cupcakes

Chocolate Coffee Cupcakes with Cream Cheese Frosting

Last month was a month for celebrations. Not only because of the holidays, but because my sweet girl turned 5 at the beginning of the month. In an effort to lessen what I had on my plate for her party I decided to have a friend make the cake. So instead of making her cake this year like I have in the past, I opted to make these amazingly delicious cupcakes. She chose the flavors and I delivered!

If you’re looking for a chocolatey cupcake that’s equally balanced with sweetness then this is for you. The chocolate flavor is enhanced by the coffee (and my favorite coffee syrup) and the cream cheese frosting adds a bit of sweetness. Don’t like overly sweet desserts? Skip the frosting!
Chocolate Coffee Cupcakes - amazingly delicious chocolate cupcakes

Chocolate Coffee Cupcakes

Makes 12 cupcakes

For the Cupcakes:

  • 3 ounces bittersweet chocolate, finely chopped
  • ⅓ cup Dutch-processed cocoa powder
  • ½ cup hot coffee
  • ½ cup Dave’s Mocha coffee syrup
  • ¾ cup bread flour
  • ¾ cup granulated sugar
  • ½ teaspoon salt
  • ½ teaspoon baking soda
  • 6 tablespoons vegetable oil
  • 2 eggs
  • 2 teaspoons white vinegar
  • 1 teaspoon vanilla extract

For the Frosting:

  • 1 cup unsalted butter
  • 1 8 ounce package cream cheese
  • 1 teaspoon vanilla
  • 2 cups powdered sugar, sifted

Preheat oven to 350 degrees F. Line a standard-size muffin pan with liners. Place the chopped chocolate and cocoa powder in a medium bowl. Pour the hot coffee over the mixture and whisk until smooth. Refrigerate mixture for 20 minutes.

Meanwhile, whisk together the flour, sugar, salt and baking soda in a medium bowl; set aside.

Whisk the oil, eggs, vinegar and vanilla extract into the cooled chocolate mixture until smooth. Add the flour mixture and whisk until smooth.

Divide the batter evenly between the muffin pan cups. Bake until the cupcakes are set and just firm to the touch, 18 minutes. Cool the cupcakes in the pan on a wire rack for 10 minutes, then remove the cupcakes from the pan and place on the wire rack to cool completely, about 1 hour.

Make the Frosting: In a stand mixer, whip the butter, cream cheese, and vanilla until smooth, about 30 seconds, scraping the sides of the bowl as needed. Add the sifted sugar 1/4-1/2 cup at a time until incorporated. Frost the cupcakes as desired. The frosted cupcakes can be kept in an airtight container at room temperature for up to 3 days.

What are your favorite cupcake flavors?

10 Ways to Cook Carrots {From Garden to Table}

10 Ways to Cook Carrots {From Garden to Table}

I know winter just arrived but I’m already thinking about my garden and what I am going to plant in it as soon as I find the time! Now that we’ve moved our chickens to another part of the yard, I can get my garden going again without the fear of them eating just about everything in there. One thing that the kids love to plant is carrots.

Not only are they super easy to grow, they’re also delicious in many different ways. From pulling them up and eating them right out of the ground (after a little washing) to cleaning and chopping them up into our favorite soups, to throwing them in the new Vitamix I got and juicing them!

There are quite a few ways to cook carrots but sometimes you just go with what you know. I find myself just roasting them up or steaming them but I could be doing so much more! Below are 10 ways to spruce up how you’re using carrots. And I’m pretty sure my kids wouldn’t  think twice if I put a few in their mac and cheese!

Ways to Cook Carrots clean after you pick them

10 Ways to Cook Carrots

  1. Maple Glazed Carrots with Bacon | Confessions of an Overworked Mom
  2. Shredded Potato, Beet and Carrot Latkes for Easter Brunch | Handmade in the Heartland
  3. Steamed Honey Glazed Carrot Medallions | It Happens in a Blink
  4. Carrot and White Bean Veggie Cutlets | Amuse Your Bouche
  5. Sneaky Carrot Mac and Cheese | White House Black Shutters
  6. Carrot and Bok Choy Slaw | Confessions of an Overworked Mom
  7. Carrot Orzo Risotto | Food Done Light
  8. Carrot and Sage Soup | Carrie’s Experimental Kitchen
  9. Cucumber, Carrot and Edamame Salad | Sarah’s Cucina Bella
  10. Fresh Carrots with Butter and Dill | A Family Feast

Ways to Cook Carrots - eat raw

What’s your favorite way to incorporate carrots into a meal?

Sweet Treats: Easy Chocolate Covered Caramel Candies

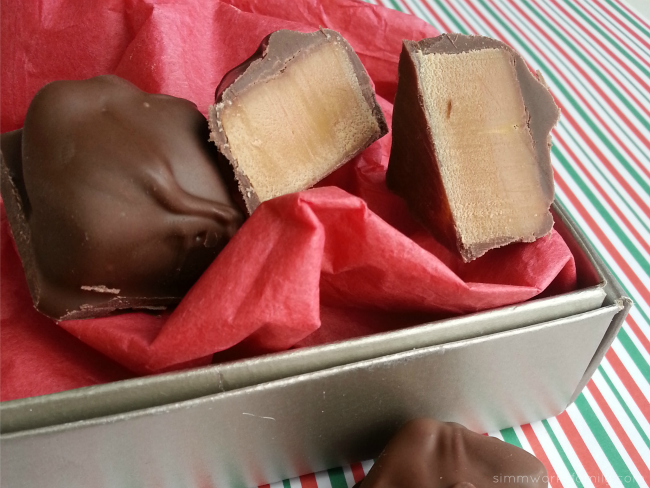
Chocolate Covered Caramel Candies - perfect for gifts

Giving handmade gifts over the holidays is a simple and inexpensive way to share a little something with those you love without breaking the bank. I love finding new things to bake or make to add to the tin of goodies we prepare every year. And candies pair very well with our normal mixture of cookies and baked goods.

With Valentine’s Day around the corner, these simple and easy chocolate covered caramel candies would be the perfect treat to make as a gift or as a sweet treat. I made them over the Christmas break and loved how quickly they came together. Add a sprinkle of kosher salt on the top for a sweet and salty mix that any friend would love to receive.

Chocolate Covered Caramel Candies

Chocolate Covered Caramel Candies

  • 12 ounces of sweetened milk chocolate chips
  • 24 caramel squares
  • Parchment Paper
  • Candy Sticks or toothpicks
  • Chocolate Melting Pot (optional)

Prepare your chocolate in a melting pot, or if you don’t have a melting pot you can use the microwave or a double boiler over the stove.

Line a baking sheet with parchment paper and keep it near.

Prepare the caramel squares with candy sticks down the middle. Alternately, you can use toothpicks. Dip caramel squares into the melted chocolate, cover each square completely with chocolate.

Place chocolate dipped caramels on parchment paper to dry, pulling candy sticks out as you go.

As each caramel hardens, peel it away from parchment paper.

Enjoy immediately or keep in an airtight container for up to two weeks.

How would you dress up these easy chocolate covered caramel candies?


© A Crafty Spoonful - All Rights Reserved
It is OK to use one of my photos provided a link back and/or proper credit is given. It is NOT ok to copy and paste a whole post including instructions. Please do not remove watermarks or alter images in any way. Please contact me with any questions at danielle@acraftyspoonful.com

.