The Best No Flour Monster Cookie Bars + A Cookie Bar Mix Gift Idea

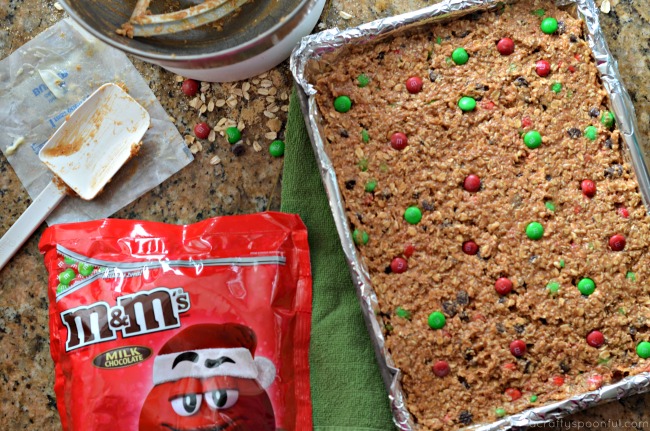
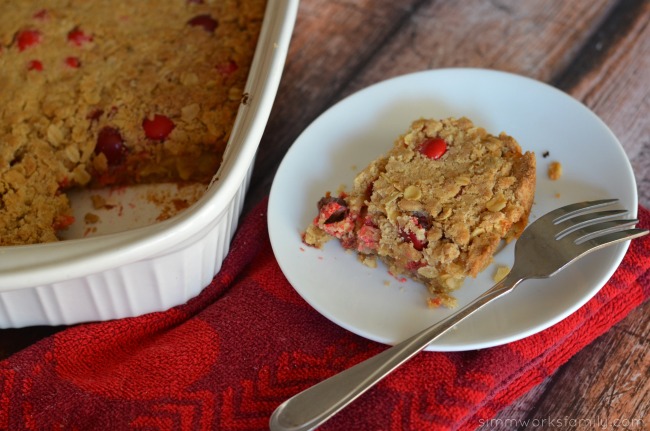
We’ve whipped up these deliciously satisfying No-Flour Monster Cookie Bars and are sharing how you can create your own Monster Cookie Bar Mix to gift to friends this holiday season. This shop has been compensated by Collective Bias, Inc. and its advertiser, Mars Wrigley Confectionery US, LLC. All opinions are mine alone. #SimplySweetness #CollectiveBias
Holiday baking season has arrived! And you know what that means? Lots and lots and LOTS of dishes in our home. Because when we bake, we bake. I’m sure I’ve mentioned it before but the kids LOVE to help out in the kitchen. And when Christmas rolls around, we stock up on all of our baking necessities (like the big Red & Green Holiday 52 oz. Bag of M&M’S® from Sam’s Club). We wouldn’t want to run out mid-holiday baking. 

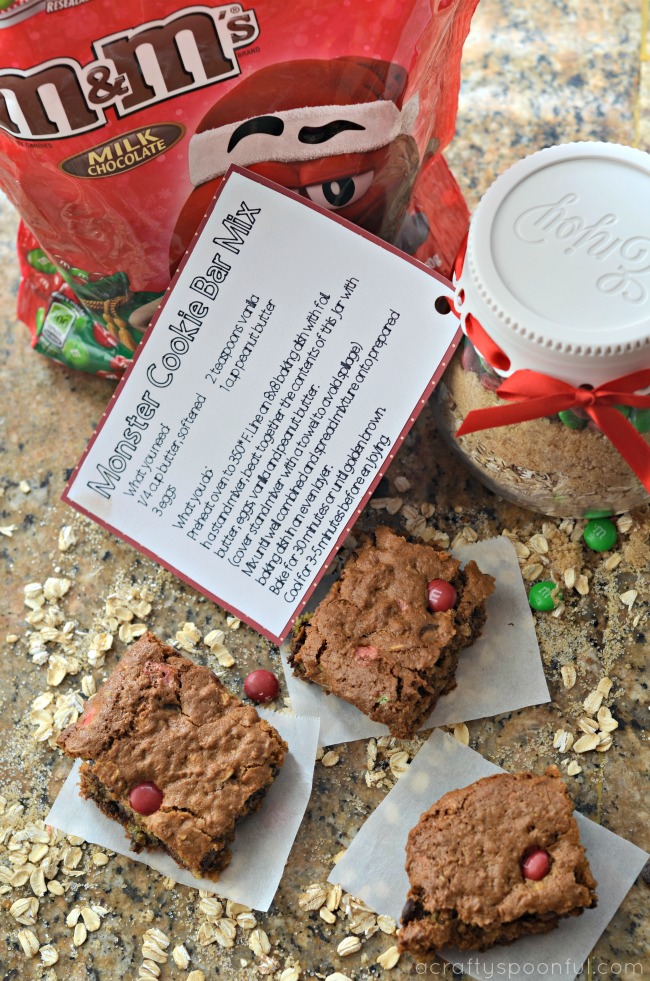
One thing I love about baking during the holidays is that it’s an inexpensive way to share our love with others. We don’t necessarily have the budget to purchase a gift for everyone we know so we can make fun little platters filled with goodies for others to enjoy. And one of my new favorite gifts to make are these fun cookie bar mixes so others can make our favorite recipes at home. That way we can whip up a batch to share with them now and provide them with a mix to make them later. Hey, who knows? Maybe they’ll even use the kit to make some holiday goodies for their loved ones! 
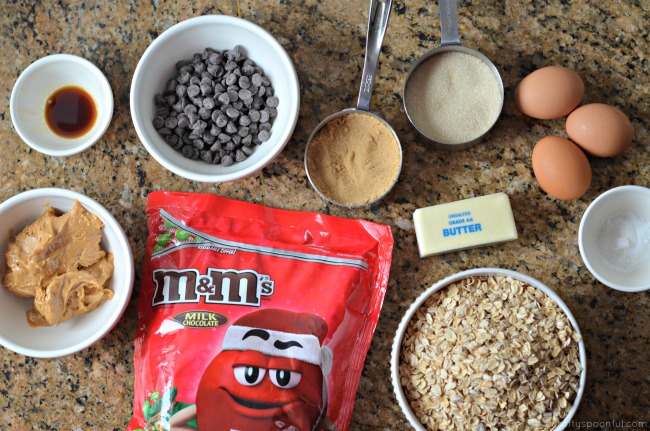
Red & Green Holiday 52oz. Bag of M&M’S® are a festive and colorful treat to bring into your baking, decorating and every aspect of your holiday celebrations. The Stand-Up Pack will keep your M&M’S® fresh and ready-to-go in an easy resealable package. Heck, if I wasn’t baking with them, I’d probably give these bags as gifts! What says, “I love you,” better than a big bag of M&M’S®, right? 

But for now we’ll stick with gifting some delicious cookie bars and mixes.
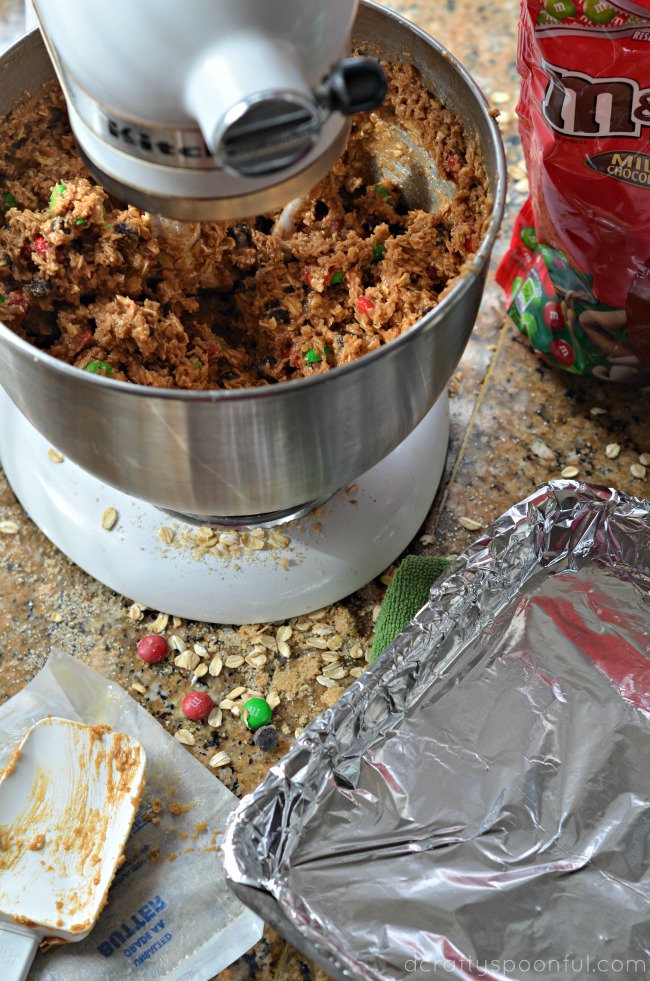
No Flour Monster Cookie Bars
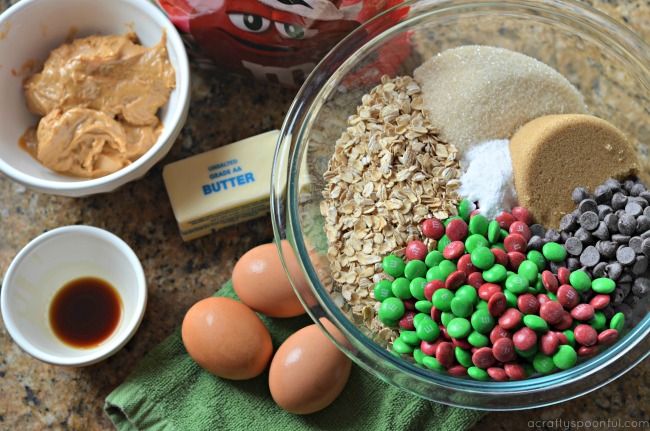
  • 1 cup sugar
  • 1 cup brown sugar
  • 1/4 cup unsalted butter, softened
  • 3 large eggs
  • 1 cup peanut butter
  • 2 teaspoons vanilla extract
  • 2 teaspoons baking soda
  • 1/2 teaspoon salt
  • 4 cups Old Fashioned oats
  • 1 cup M&M'S®
  • 1 cup chocolate chips
  1. Pre-heat the oven to 350°F. Line a 13×9-inch metal baking pan with foil.

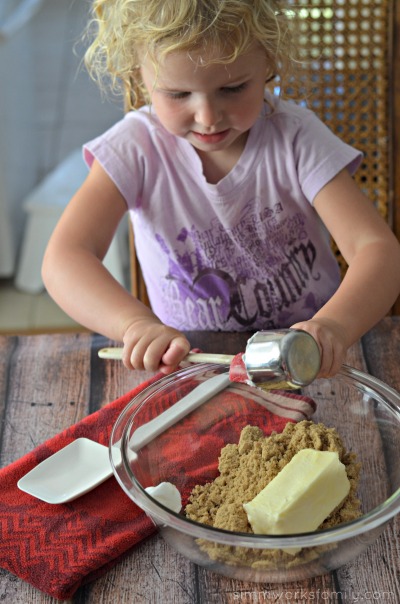
  2. Add all of the ingredients into the bowl of a stand mixer fitted with the paddle attachment,

  3. Cover bowl with dish towel and mix on lowest setting. Once mixed up a bit, increase speed and mix until all of the ingredients are combined. 

  4. Spread mixture onto prepared baking pan and bake for 30 minutes or until golden brown. 

  5. Take out of the oven and let cool for 5 minutes then transfer foil and bars to a cooling rack. Cut into squares and enjoy! 
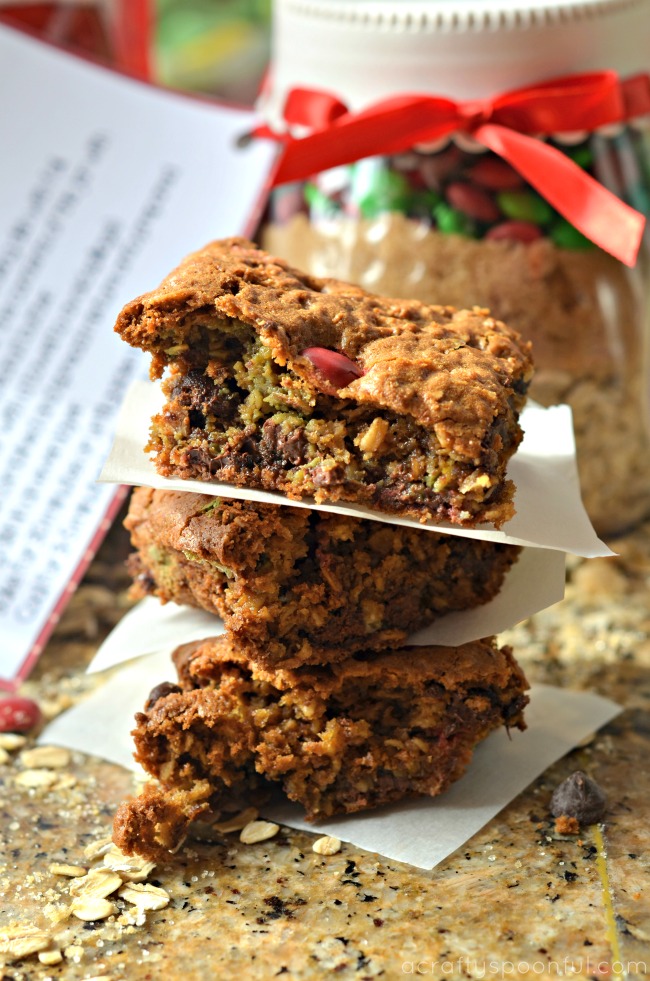
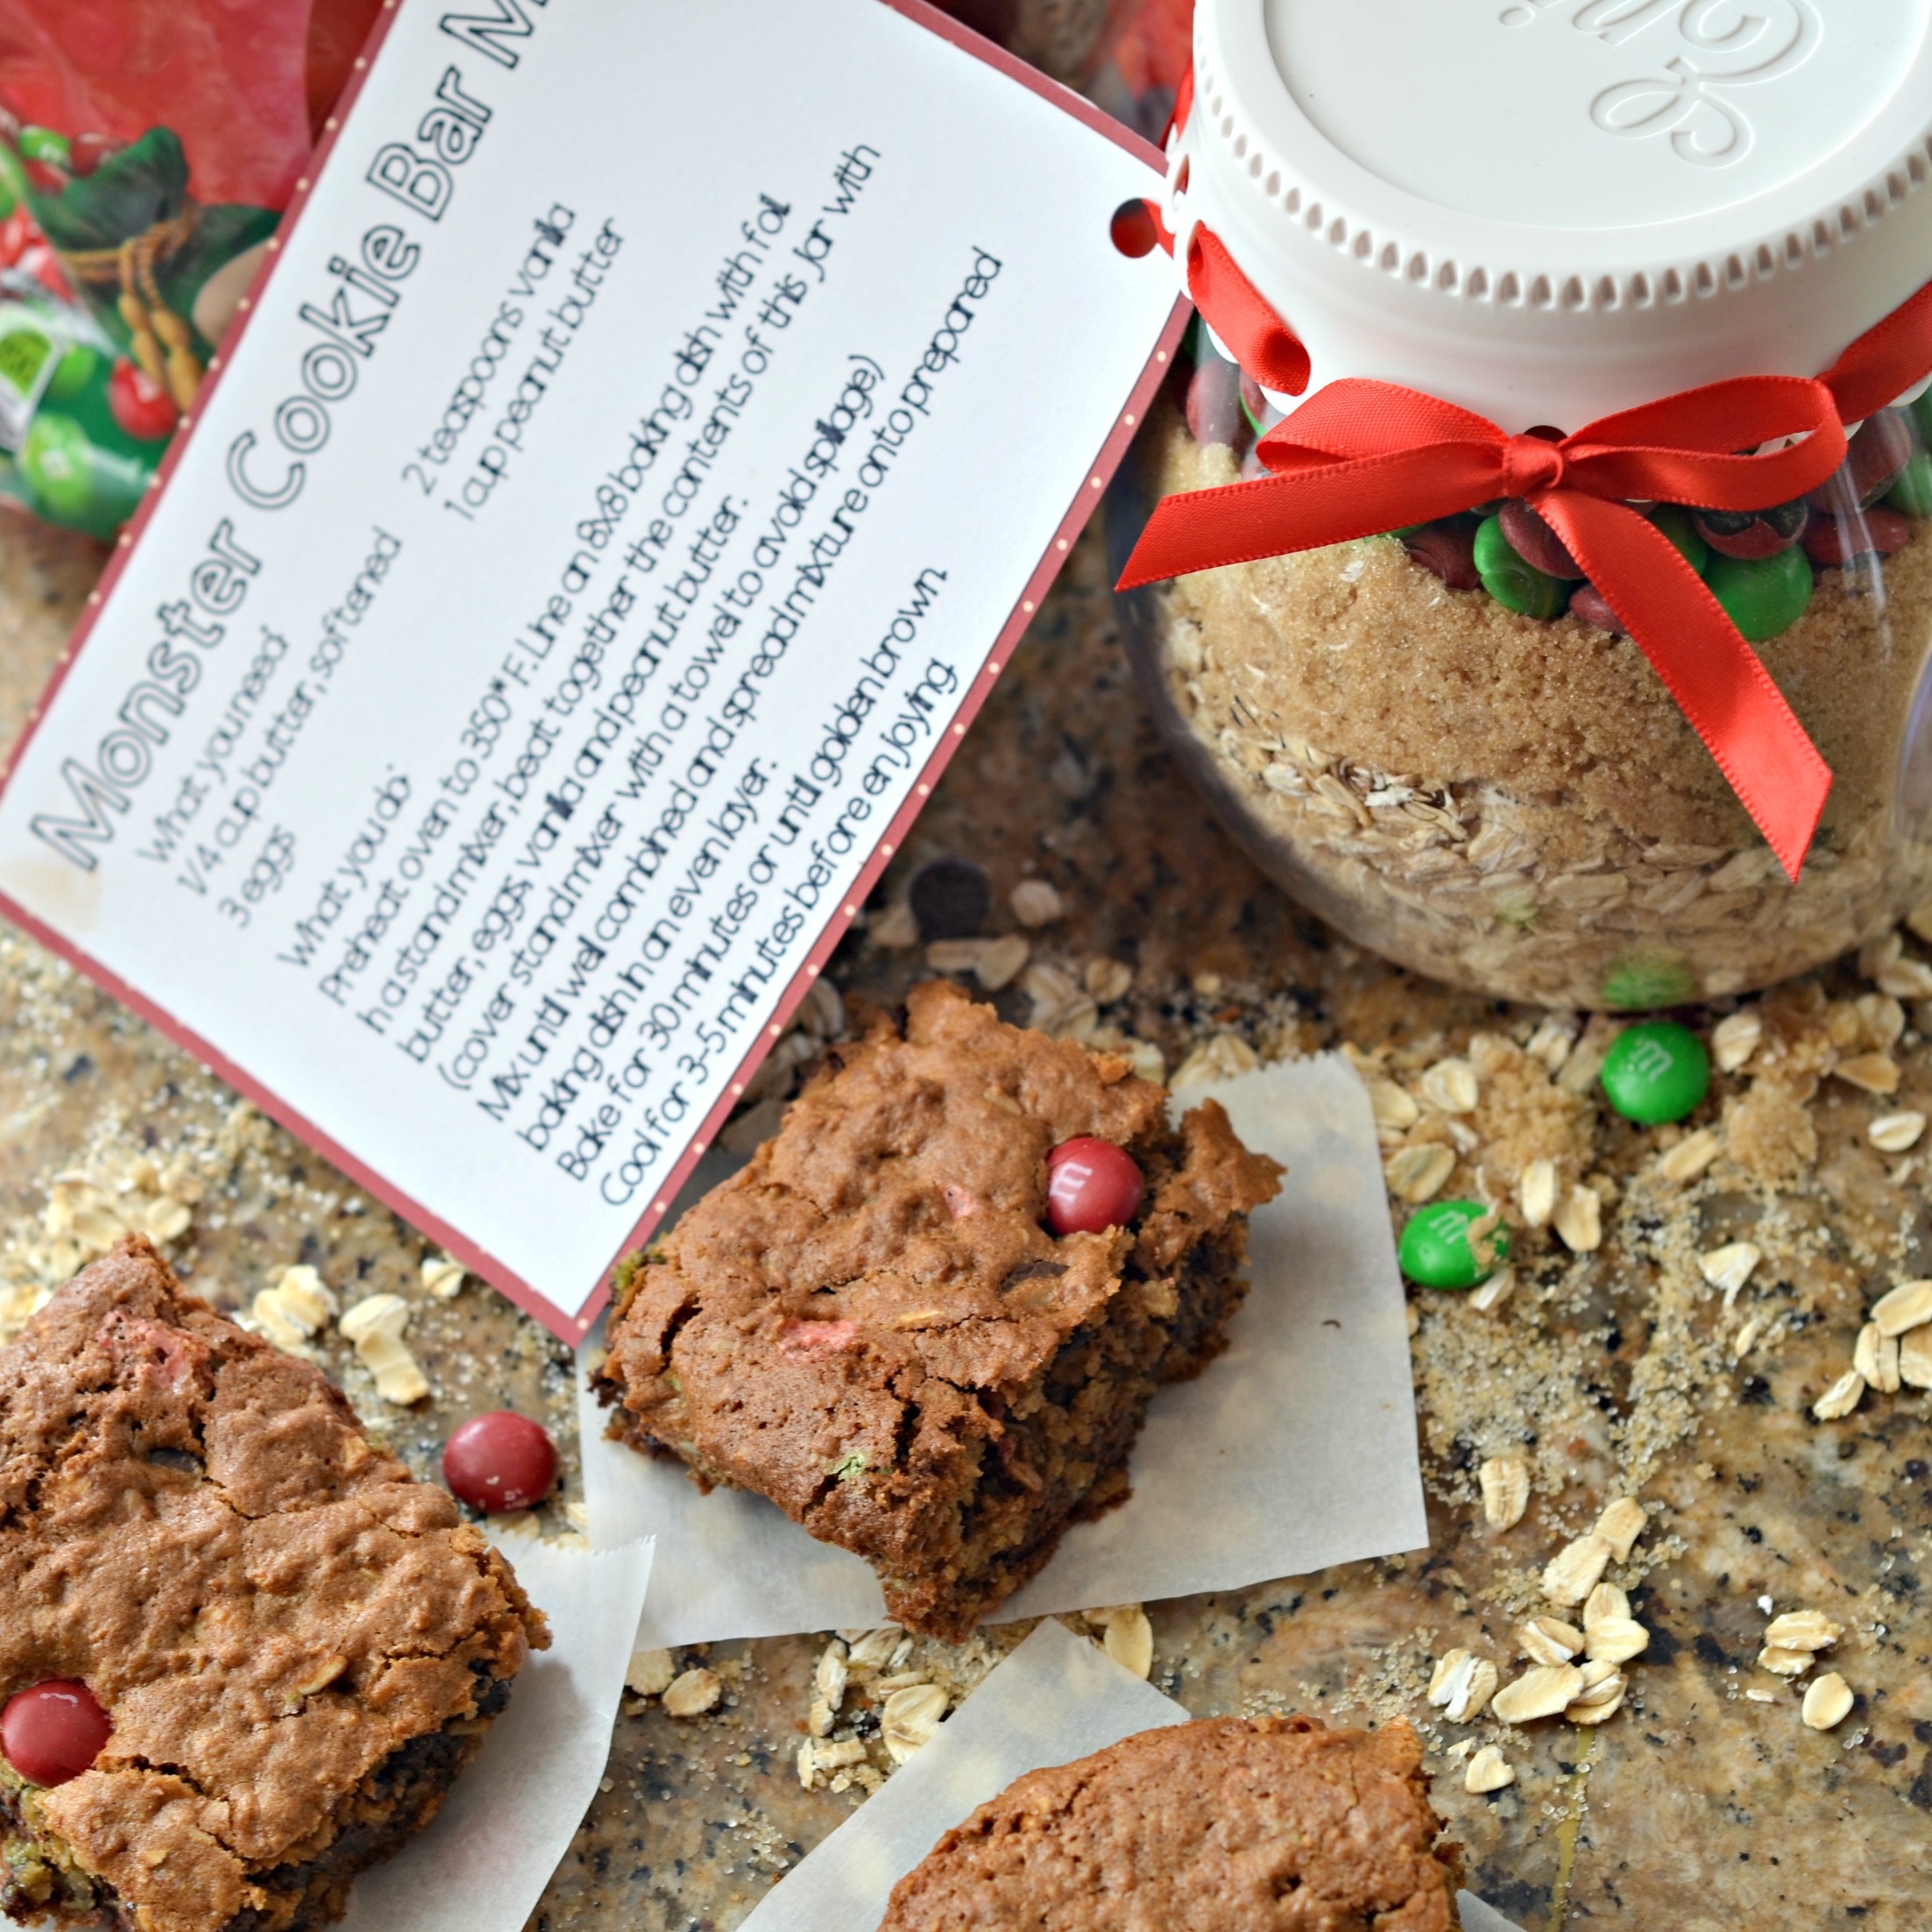
Remember how I said you could GIFT these bad boys to your friends and family in a fun mix? Well here’s how! 

Monster Cookie Bars Mix

What you’ll need: 

  • 4 cups old fashioned oats
  • 1 cup brown sugar, packed
  • 1 cup white sugar
  • 2 teaspoons baking soda
  • 1/2 teaspoon salt
  • 1 cup M&M’S®
  • 1 cup chocolate chips
  • 1 32 oz jar with lid
  • ribbon
  • hole punch

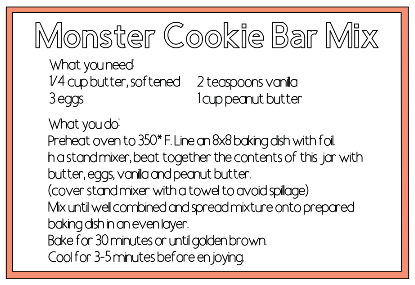
What you do: 

Layer each ingredient in the order it’s shown above into a 32oz plastic or glass jar with lid

Place lid on jar and close tight. 

Print out Monster Cookie Bar Mix printable and cut out and attach to jar with ribbon.

Gift to the ones you love! 
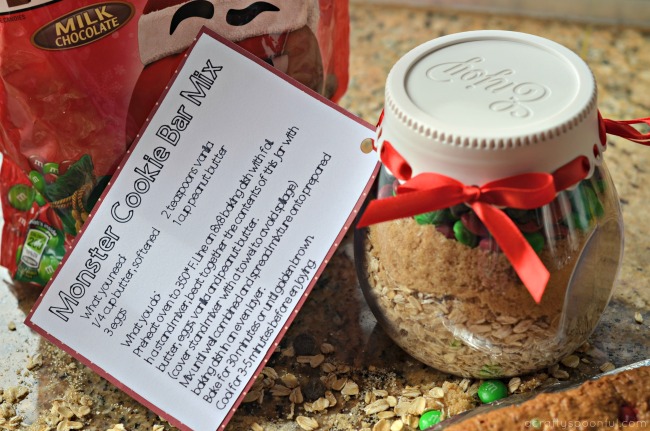
Click on image to download printable
You can find the big Red & Green Holiday 52 oz. Bag of M&M’S® in the candy aisle of your local Sam’s Club. And while you’re there, stock up on the rest of your holiday baking items! That’ll save you a few trips in the long run. 

And right now you can sign up for a free Ibotta account and earn $2 off with the purchase of a 52 oz bag of Red and Green M&M’S®. Offer valid from 11/1/17 until 12/25/17. 

Don’t forget to check out more awesome ideas you can make with M&M’S® by checking them out on Facebook, Pinterest, Instagram, and Twitter

Love this recipe? Check out these delicious bites: 

Pin this article for later! 

Click the Pin button on the image below to save for later. 
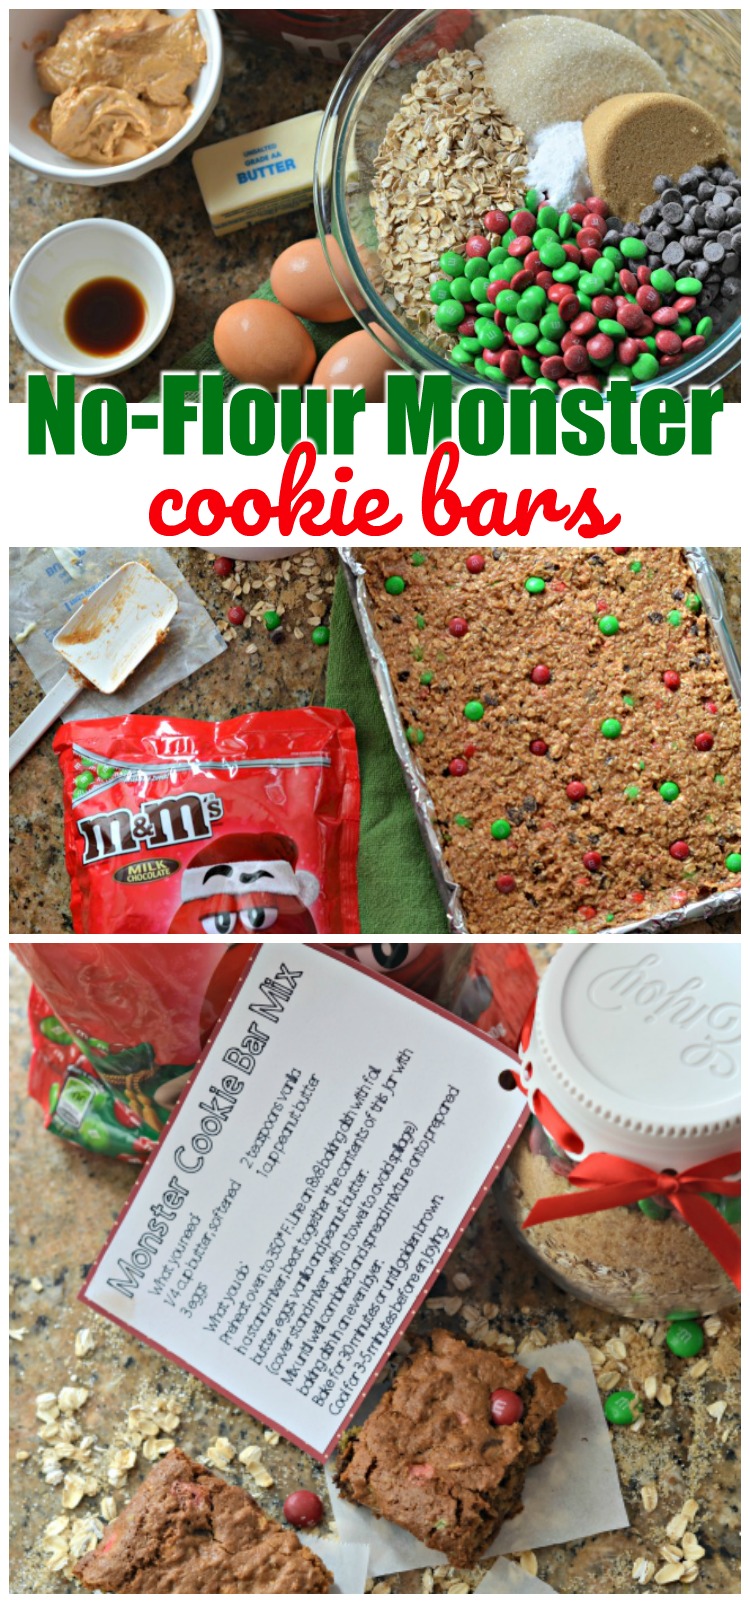
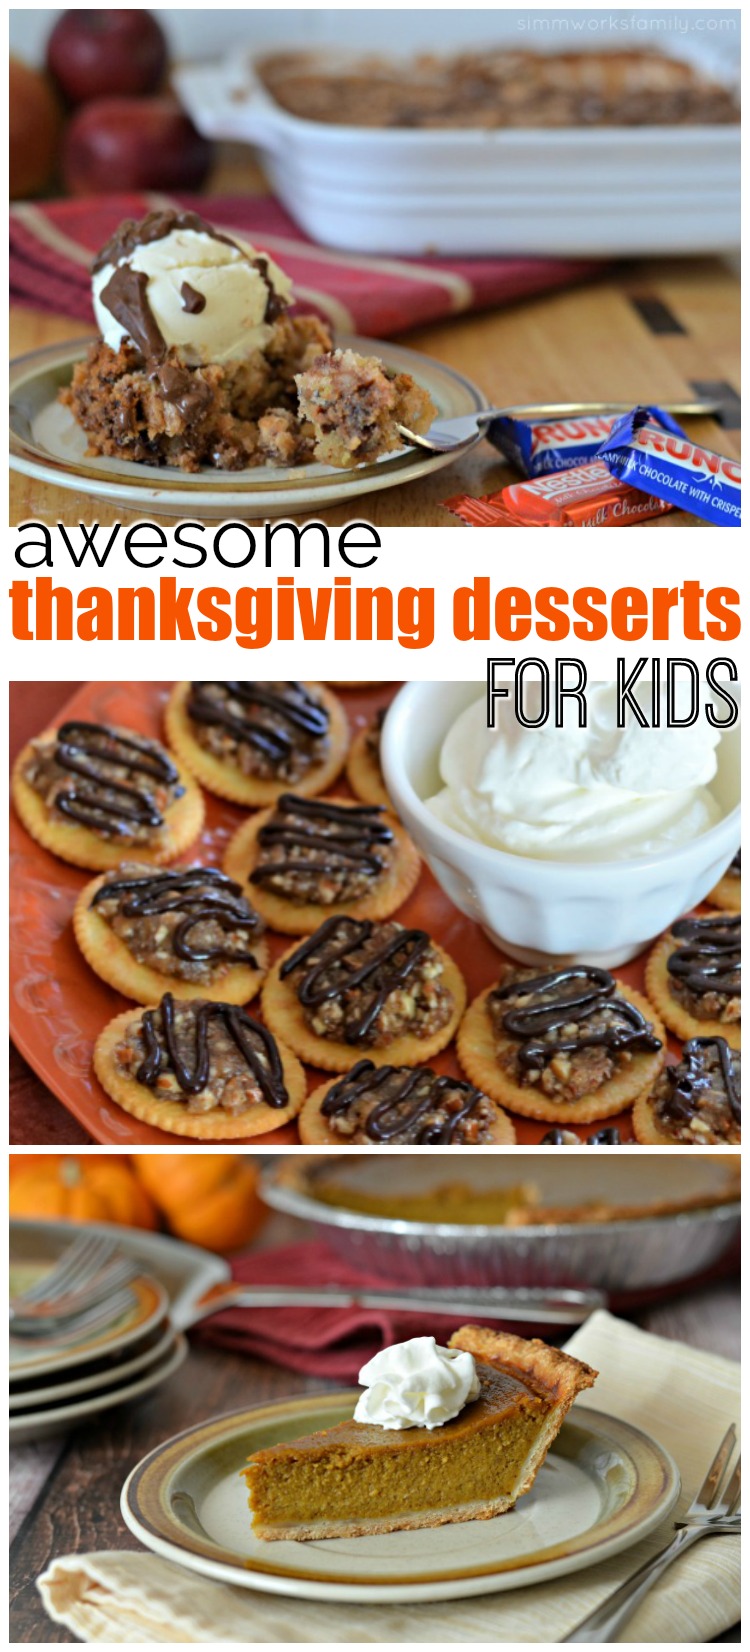
How to Make 11 Awesome Thanksgiving Desserts That Your Kids Will Love

Finding a dessert that makes all of the kids happy can be a difficult challenge. So we’ve rounded up 11 awesome Thanksgiving desserts for kids that meet a handful of kid-friendly requirements! 

Kids are weird. No, no, listen. They really are. One minute they hate whipped cream, and the next they’re trying to shoot it straight into their mouths because they love it so much. And trying to find a dessert to make them happy can sometimes be difficult during the holidays when the options aren’t cake, brownies, or ice cream. So we put together a few of our favorite Thanksgiving desserts for kids so everyone has options this holiday season. But make sure you have plenty of whipped cream. 

pumpkin pie with coconut milk, pumpkin pie made with coconut milk, dairy free pumpkin pie filling

11 Thanksgiving Desserts for Kids

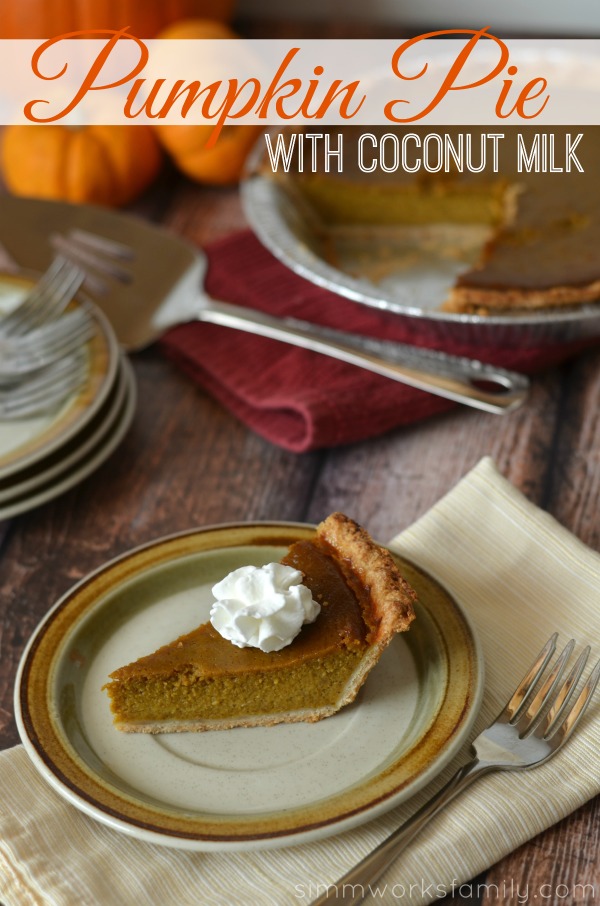
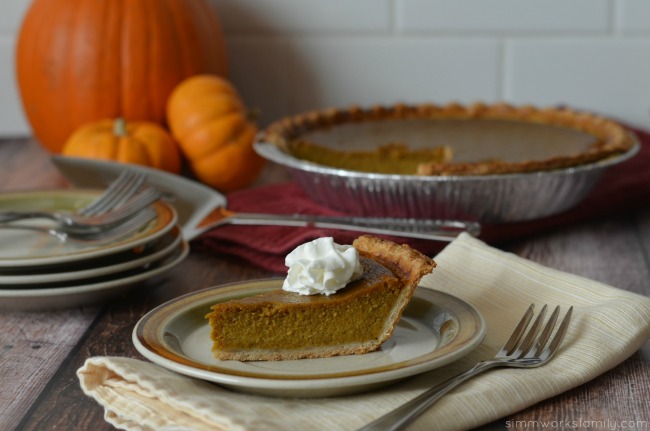
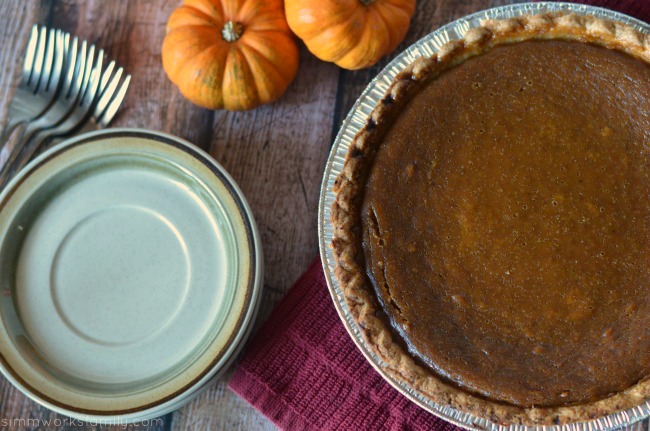
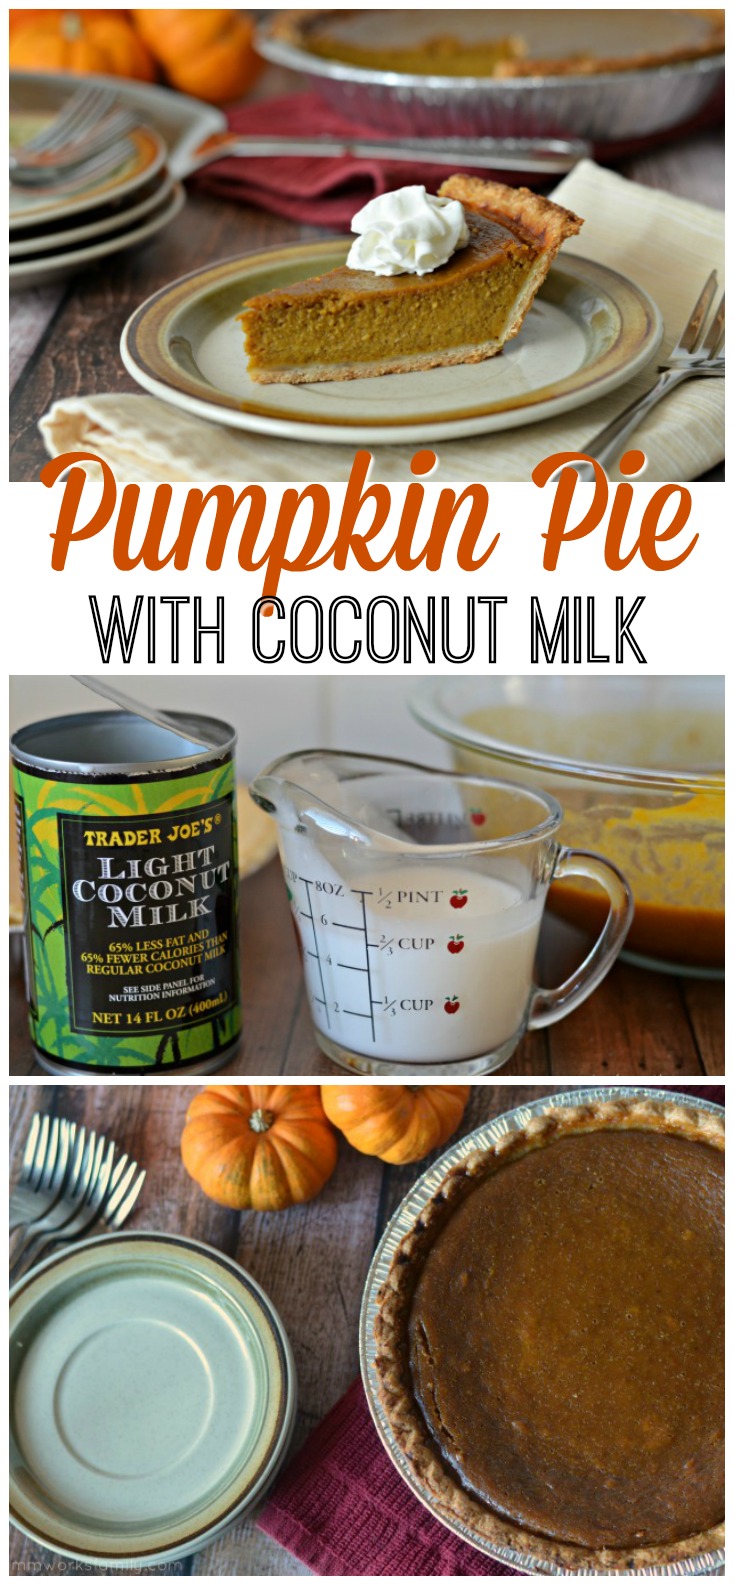
Pumpkin Pie with Coconut Milk from A Crafty Spoonful

This pumpkin pie is great for those who may have dairy allergies. It tastes just like regular pumpkin pie but is made with coconut milk instead. And no, you can’t taste the coconut in the filling. Pair it with some coconut whipped cream and you are set for the holidays! This recipe is also perfect to use for mini pumpkin pies as well if you don’t want to make the whole pie. 

Candy Apple Dump Cake from A Crafty Spoonful

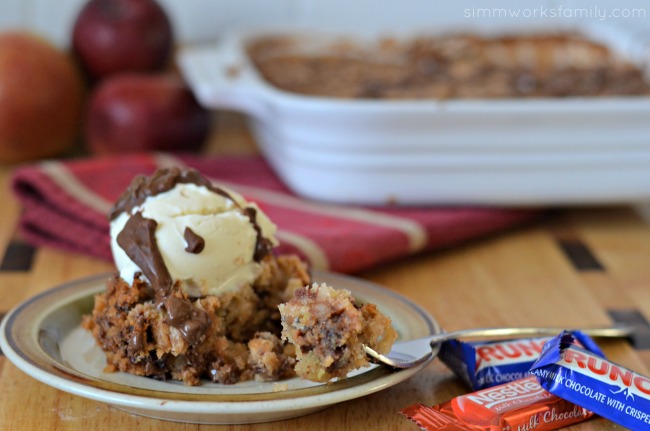
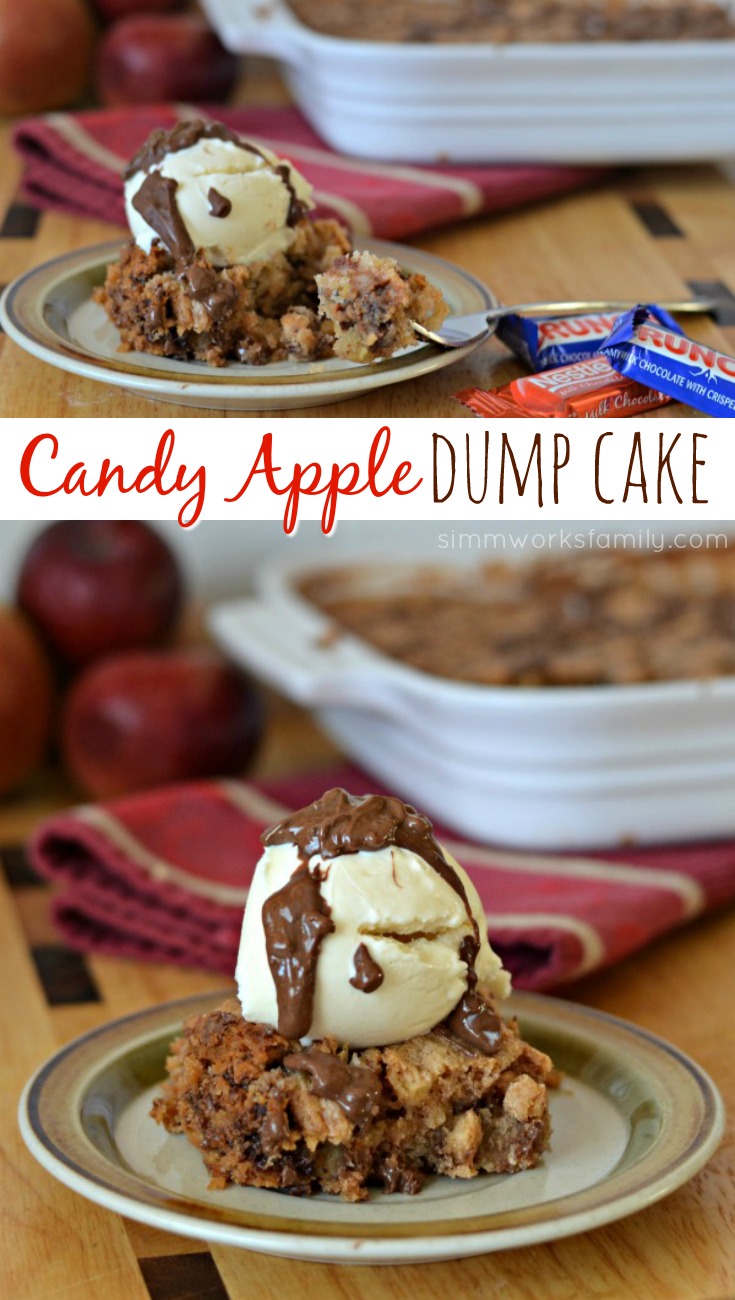
Still have leftover Halloween candy you’re hoarding away? I’m not judging. But if you want to get rid of some of it, this is the recipe to try! This dump cake is not only easy, all you need is one pan (no separate bowls) to make it! Less dishes = winning in my book. And the kids go crazy over the chocolate + apple combo. 

Mini Pecan Pie Bites from A Crafty Spoonful

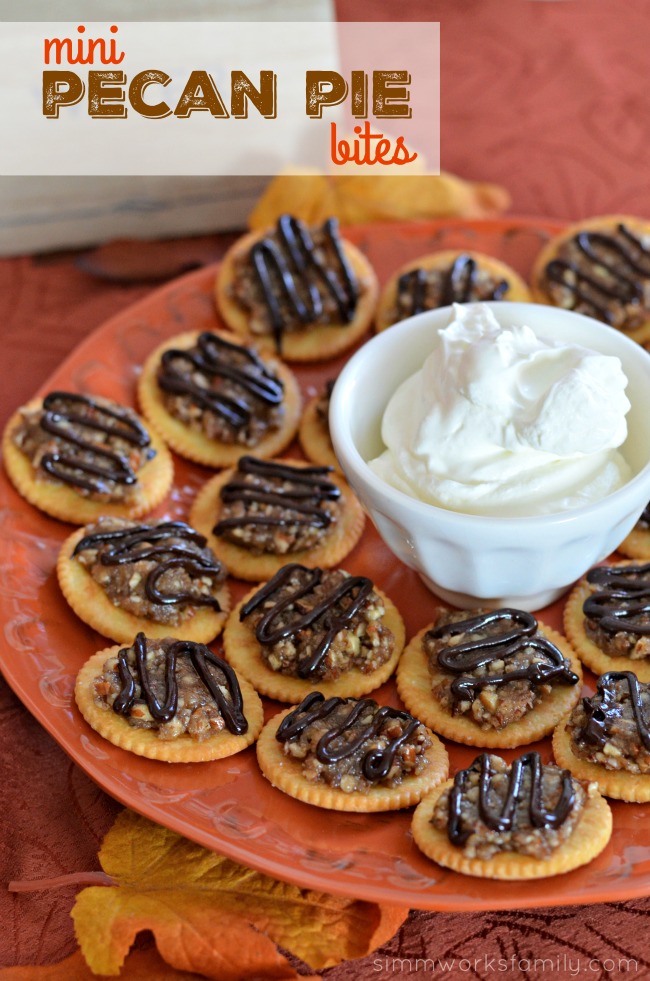
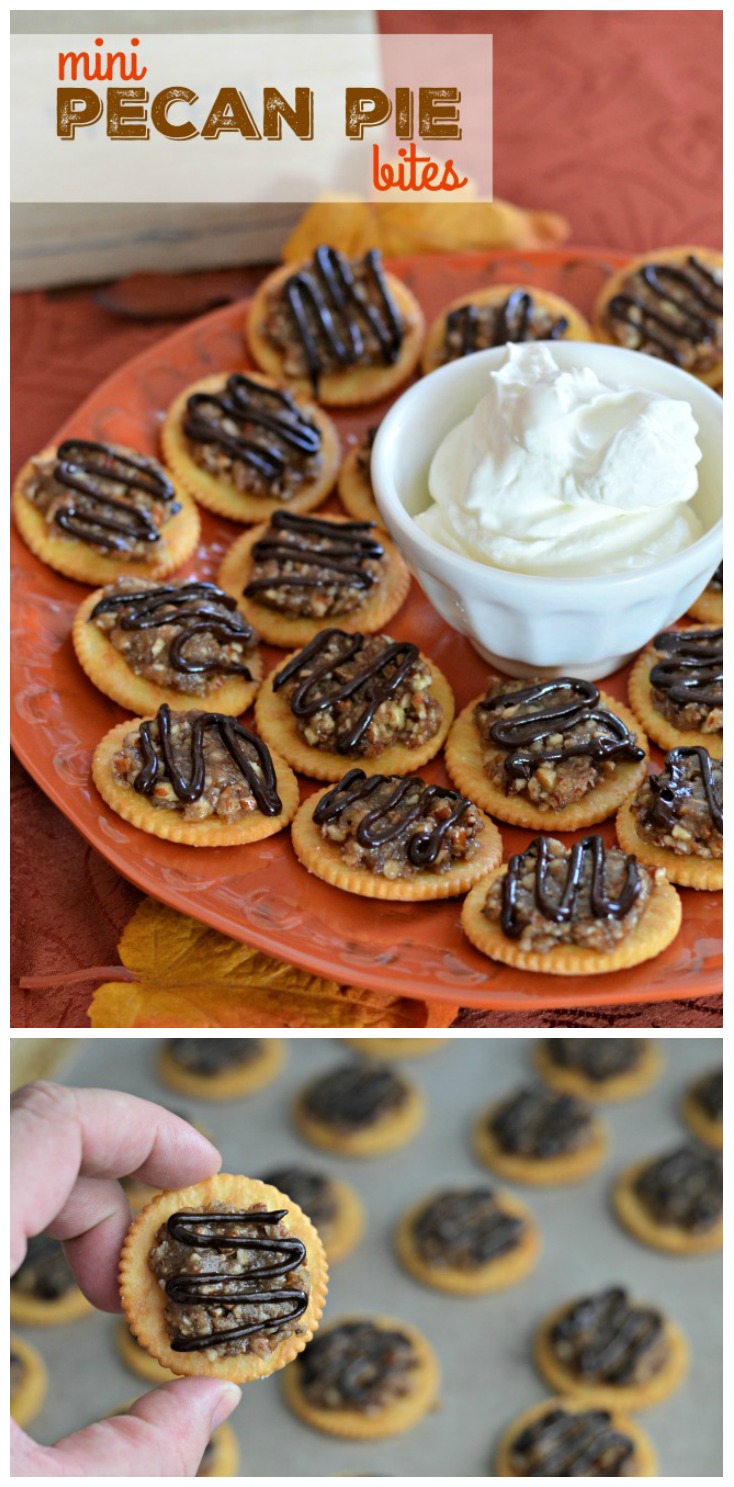
Oh, these sinfully sweet little bites of heaven are the perfect grab-on-the-go dessert for the littles. The butter cracker hooks the kids and the chocolate drizzle on top of the pecan filling keeps them coming back. Plus, there’s not too much mess with this recipe. 

Pumpkin Cheesecake Bites from My Suburban Kitchen

For those with a more sophisticated palate, these pumpkin cheesecake bites totally hit the spot. They’re very portable, just like the mini pecan pie bites, and pack a punch of flavor with a combo of gingersnaps and pumpkin. 

Four Ingredient Pumpkin Pie Dip from My Suburban Kitchen

What kid doesn’t love dip? And this deliciously sweet pumpkin pie dip is the perfect way to enjoy those holiday cookies or a few graham crackers. Just make sure there isn’t any double dipping.  

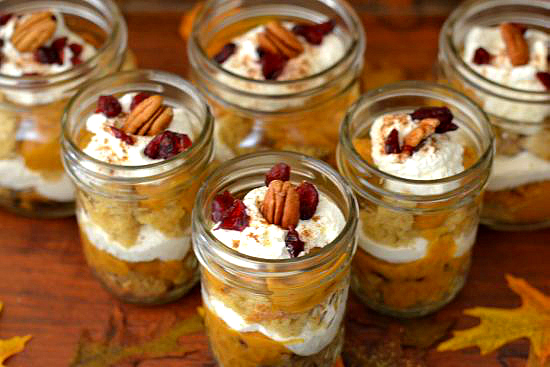
Pumpkin Spice Cranberry Trifle from Flour on My Face

Who doesn’t love a good layered trifle? Kids can dig in and eat a layer at a time or go for the gold and scoop all the way down for a few layers of goodness in one bite. Plus these are a fun recipe to let the kids help assemble! 

Gluten Free Pumpkin Cake from Flour on My Face

In case your child has a gluten allergy, or if they’re just avoiding gluten as part of an elimination diet, you need to try this pumpkin cake. You can still stay festive and enjoy all the flavors of the holidays even when you’re gluten-free! 

Pumpkin Pecan Bundt Cake from Flour on My Face

Speaking of cake, if your kids are more in a cake and frosting kind of mood, this pumpkin pecan bundt cake is a delicious option. I’ve made mini bundtlets for individual kid portions before and it’s turned out great! 

Pumpkin Spice Dessert Bars from {Not Quite} Susie Homemaker

Another quick and easy go to that you can make ahead and bring with you are these pumpkin spice dessert bars. They’re made with pumpkin and applesauce AND have a delicious cream cheese frosting! 

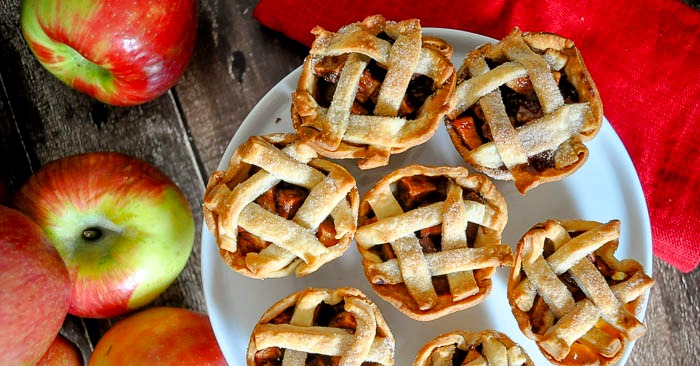
Individual Apple Pies from The Love Nerds

What’s Thanksgiving without apple pie? In our house we always have pumpkin and apple pies in addition to the other dessert options so these individual apple pies are perfect for the kids table. A classic recipe with a fun spin. 

Favorite Pecan Pie from Unexpected Elegance

And if your kid loves the classics, you can’t go wrong with a pecan pie. Some kids are turned off by this tasty dessert but for those who want to venture out and try new things, this is a great recipe to start with! 

What are your go-to Thanksgiving desserts for kids? 

Love what you read? Check out these great posts! 

Pin this article for later! 

Click the Pin button on the image below to save for later. 

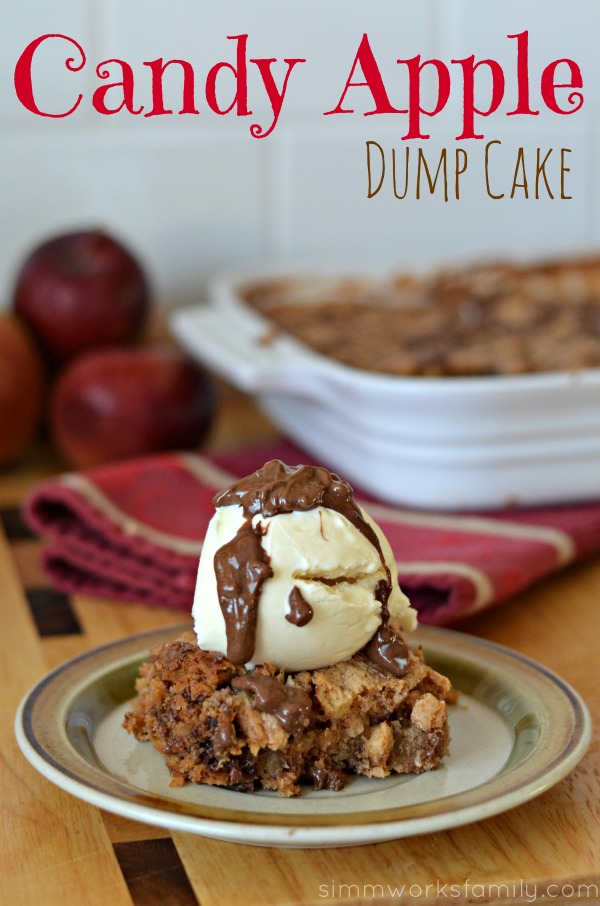
Candy Apple Dump Cake {Fall Recipe}

This candy apple dump cake is perfect for last-minute desserts that bake while you’re eating dinner or for potlucks with friends and family.

Candy Apple Dump Cake

One of my favorite fall pastimes to do before Halloween is apple picking with the family. Something about the cool crisp air, the delicious juicy apples right off the tree, and the smiles on my kids faces when they pick that first apple off.

But it doesn’t end at the orchard! Then you get to go home and bake yummy goodies with all the apples you managed not to eat on the drive back home.

When deciding what to bake with the apples we picked in Boston on our trip back a few years ago I knew I wanted to incorporate Halloween and the fun of the season. Since I had just recently stopped by Smart and Final for our Halloween candy stash I decided to incorporate the delicious Nestle goodies I picked up in this Candy Apple Dump Cake.

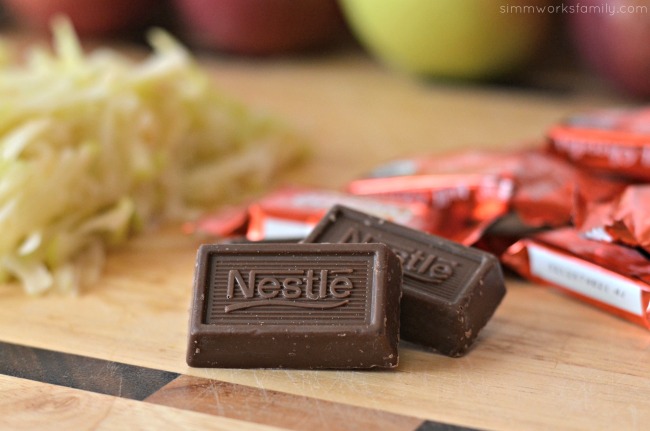
Candy Apple Dump Cake Nestle Candy

Once I got home it was time to start baking. Now, this candy apple dump cake is literally what the name alludes to. Chopped up candy, apples, cake, and butter all dumped into the pan, stirred up, and baked! So simple yet so delicious.

Since I purchased a few extra bags of candy to bake with I decided to chop up my favorite Nestle crunch bars and Nestle chocolate bars to add to the mix. The combo of the apples and chocolate reminded me of our favorite candy apples.

And the kids had a great time unwrapping the chocolate (one for you, one for me…).

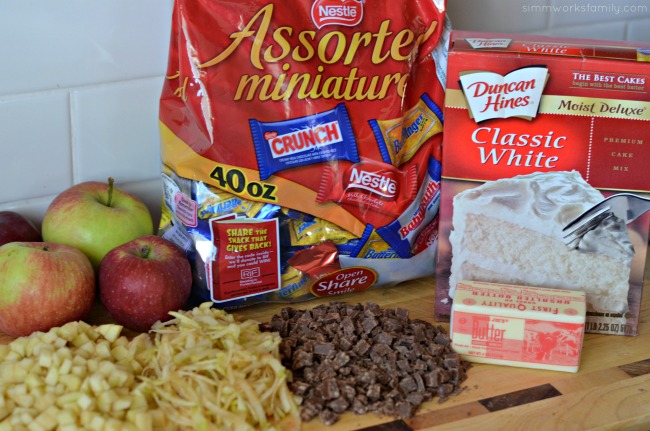
Candy Apple Dump Cake ingredients

Candy Apple Dump Cake

  • 3 apples, 2 diced & 1 grated
  • 1 cup Nestle chocolate, diced (I used Nestle Crunch and Nestle chocolate bars)
  • 1 tablespoon pumpkin pie spice
  • 1 package cake mix
  • 1 stick (1/2 cup) butter, melted

Preheat the oven to 350 degrees.

Add apples and chocolate to a 9×9 pan. Sprinkle with pumpkin pie spice. Pour cake mix over apples. Drizzle melted butter over mixture.

Stir ingredients in the pan and smooth top.

Bake in the oven for 35-40 minutes or until top is golden brown and toothpick comes out clean.

Let cool 5-10 minutes before serving.

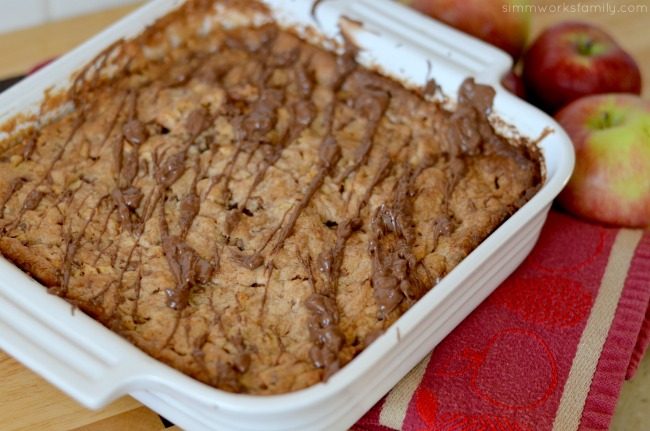
Candy Apple Dump Cake baked

Add a big scoop of vanilla ice cream and a drizzle of melted Nestle Crunch bar for an added bonus!

How easy is that? Perfect for last-minute desserts that bake while you’re eating dinner or for potlucks with friends and family. And you can make this with just about any fruit! So depending on the season, pick out your favorite fruit and enjoy.

Candy Apple Dump Cake close up

Love what you read? Check out these great posts! 

Pinterest Inspiration

Pin this article for later! 

Click the Pin button on the image below to save for later. 
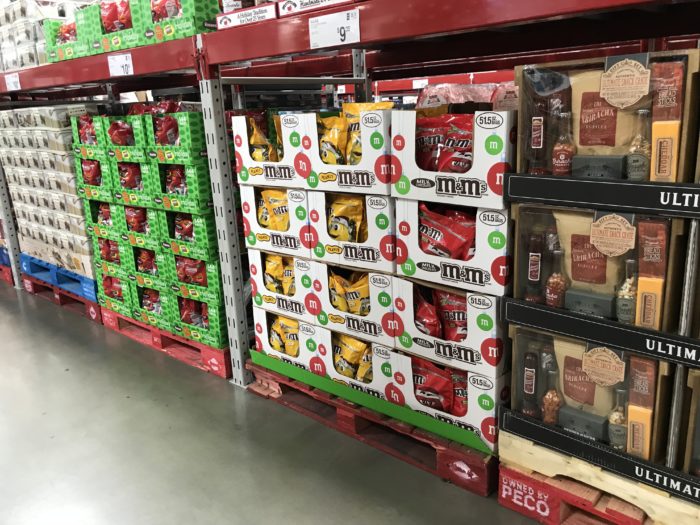
candy-apple-dump-cake

Deliciously Tempting Candy Apple Bars with M&M’s

 These deliciously tempting candy apple bars with M&M’s are the perfect sweet treat to use up all of those apples you picked this season!  

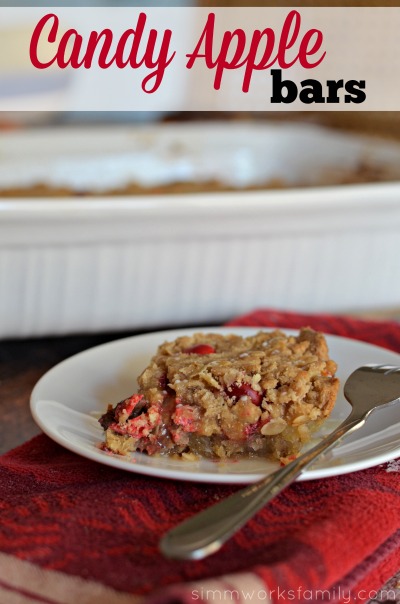
Candy Apple Bars with M&M's - the perfect way to welcome fall and enjoy a delicious dessert

Oh my gosh you guys. I’m seriously melting right now and wondering where the heck fall is. Over 100 degrees today and the forecast does not look good over the next week. Oh, how I yearn for the cool crisp 75-degree air of fall.

With pregnancy cravings that have me wanting apple pie, hearty stews, and other fall recipes I can’t help but give into temptation and bake up a delicious treat for the family even when it’s a sauna inside and outside of the house. Did I mention we have no a/c in the new house? Yeah…

After finding some delicious Candy Apple M&M’s on our most recent trip to Walmart I was inspired to make these delicious candy apple bars that are part apple pie, part candy apple. 

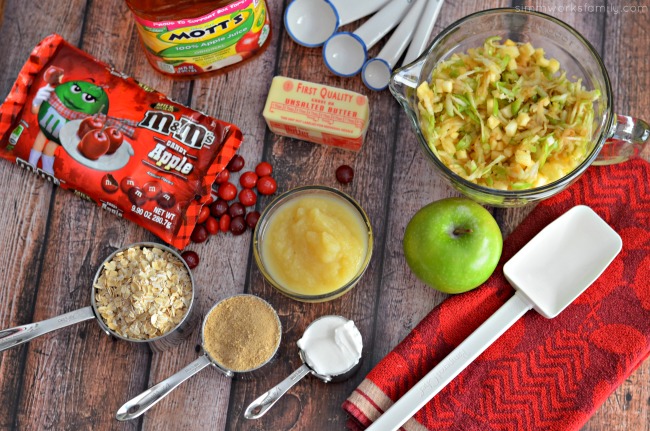
Candy Apple Bars with M&M's ingredients

I made sure to gather most of the ingredients we needed and have it all pre-measured because another crazy girl in the house wanted to help mama out even in this heat.

I’ve found that when cooking or baking with kids a little prep work goes a long way. And makes things go a little smoother. And this recipe couldn’t be easier to make with kids. No mixer needed, no special measuring or ingredients. Easy peasy!

Candy Apple Bars with M&M's mixing

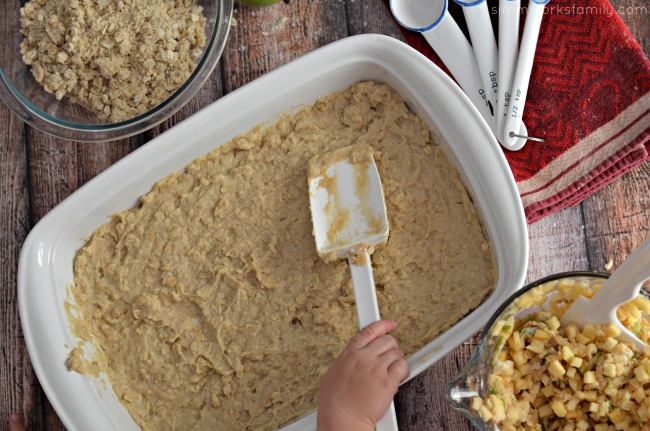
We mixed together the oat mixture and reserved a bit for the topping. The rest we mixed with some delicious applesauce 

Once the applesauce oat mixture was ready I let my daughter spread it on the bottom of our 9×13 pan while I tossed the apples in some flour.

Candy Apple Bars with M&M's spreading applesauce oat mixture

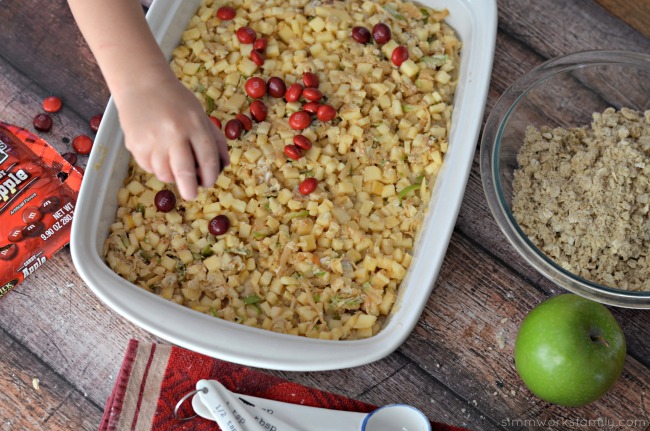
Next was my daughter’s favorite part. After I put a layer of apples down she was in charge of adding the Candy Apple M&M’s on top of the apples. Now normally I use a layer of caramel here for caramel apple bars but we wanted some chocolatey candy goodness.

Candy Apple Bars with M&M's adding apples and M&M's

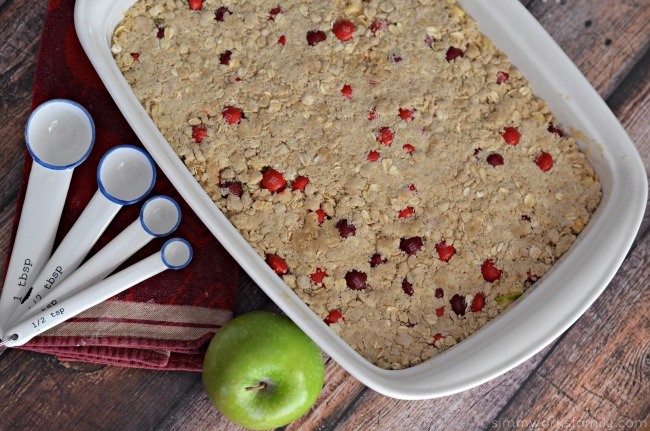
Once she was done I spread the reserved oat mixture over everything and had her help push it down gently. Then we baked up this scrumptious dessert and enjoyed a little kiddy pool fun to cool down.

By dinnertime, these were perfectly cooled and ready to enjoy for our dessert. Boy, was this a good treat to end our hot day. Now let’s bring on some cooler temperatures!

Candy Apple Bars with M&M's ready to bake

Candy Apple Bars with M&M's

For the candy apple bars

  • 1 cup packed brown sugar
  • 1/2 cup butter (softened)
  • 1/4 cup vegetable shortening
  • 1 3/4 cups all-purpose flour
  • 1 1/2 cups old fashioned oats
  • 1 teaspoon salt
  • 1/2 teaspoon baking soda
  • 1 cup applesauce
  • 3 peeled fuji apples (finely diced)
  • 1 granny smith apple (grated)
  • 3 tablespoons all-purpose flour
  • 1 1/2 cup Candy Apple M&M's

For the drizzle

  • 1 cup powdered sugar (sifted)
  • 3 tablespoons apple juice
  1. Heat oven to 400ºF. Mix brown sugar, butter and shortening in large bowl. Stir in 1 3/4 cups flour, the oats, salt and baking soda. Reserve 2 cups oat mixture. Mix remaining oat mixture with applesauce and spread on the bottom of an un-greased 13×9 pan.
  2. Toss apples and 3 tablespoons flour; spread over mixture in pan. Spread Candy Apple M&M’s evenly over apples. Sprinkle with reserved oat mixture; press lightly.
  3. Bake 25 to 30 minutes or until topping is golden brown and apples are tender.
  4. While bars are baking, mix together powdered sugar and apple juice and set aside. Once bars are done, let cool before drizzling with icing and enjoy!


Grab What You Need:


Candy Apple Bars with M&M's

What’s your favorite fall-inspired dish?

*This post was originally featured on September 14t, 2014. 

Easy Apple Cider Donut Recipe + Tips for Cooking with Kids with our Hands-Free Faucet

We’re making magic in the kitchen with this easy apple cider donut recipe sponsored on behalf of GROHE and Millennial Blogs! Learn how to make these delicious donuts with your kids as we share our favorite tips for cooking with kids (plus a cool hands-free faucet from Grohe that makes our life even easier!). 

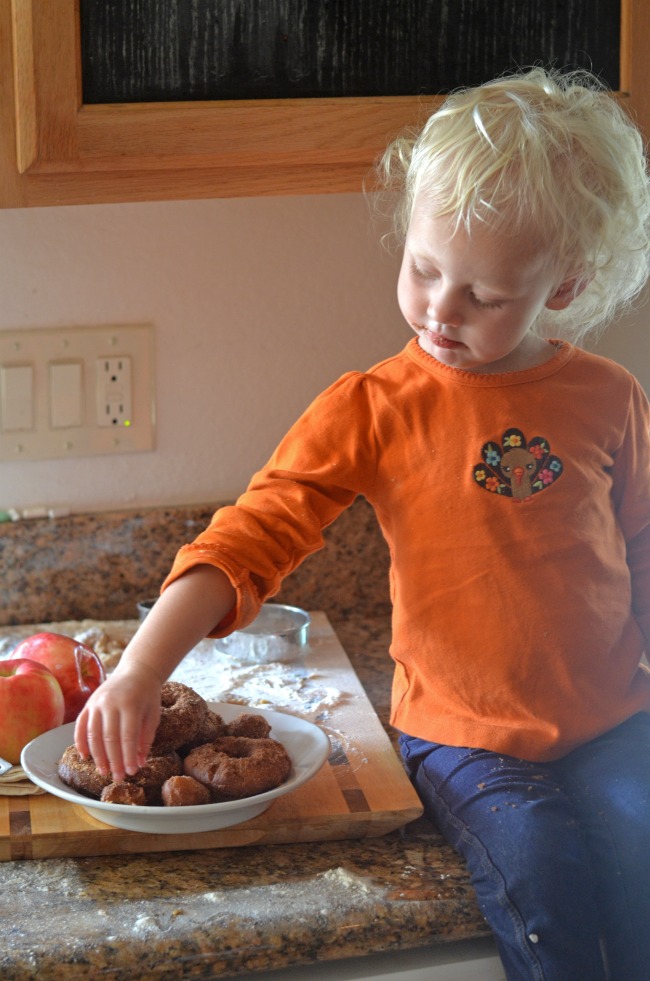
One thing that always makes my heart happy is when my kids want to come into the kitchen and help us. Whether it’s making dinner, putting away groceries, or planning out a special treat, each of our kids has expressed an interest in helping in the kitchen and we love to use these moments as teaching moments. This weekend, in celebration of fall finally arriving here in San Diego, we decided to try out some easy apple cider donut recipes and landed on one favorite. 

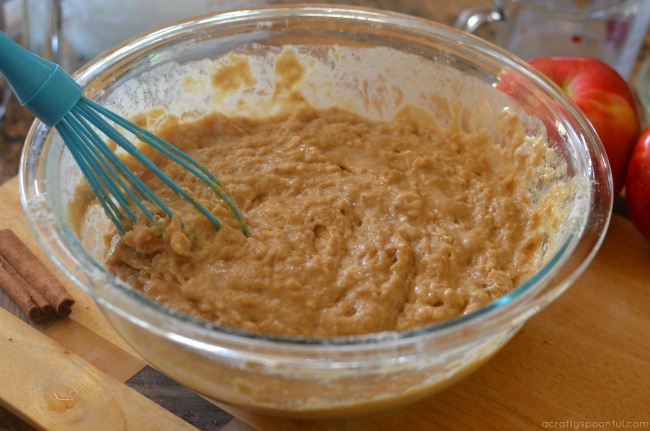
We don’t make donuts all that often because they do take a bit of work with frying up but it’s so worth it once you find the right recipe. This donut dough is a sticky dough so be prepared for a little mess ahead of time. The kids loved watching the dough transform from a sticky, hard to work with batter in the bowl to actual donuts coming out of the frying pot. And I love that this is a simple batter with no yeast so we don’t have to wait too long to start working with the dough after it rests in the fridge. We can even make it the night before, put it in the fridge, and bring it out when we need it the next morning. 

Tips for Cooking with Kids

1. Teach your kids how to properly wash their hands before starting – 

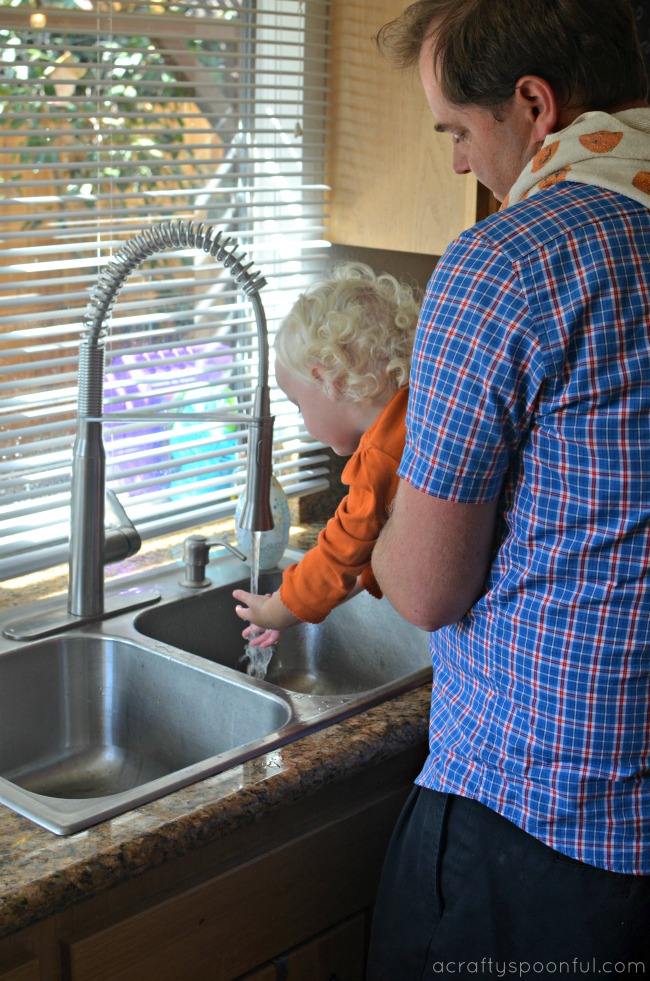
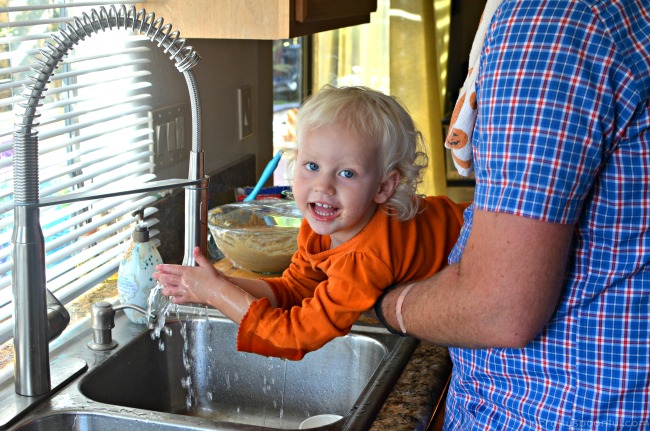
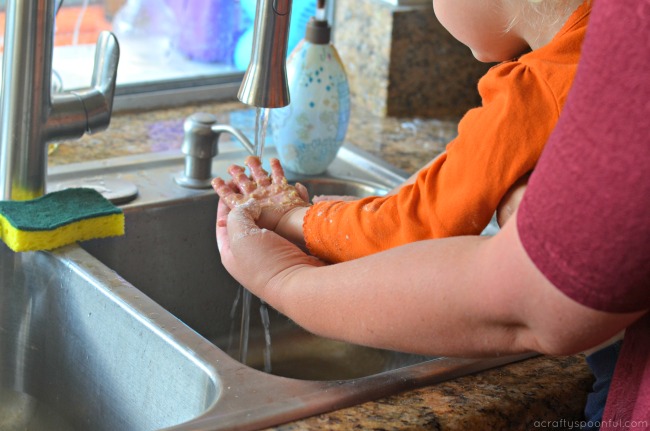
While this may seem like a given, there are too many times when my kids start to reach for ingredients before washing their hands. And when they can’t find their favorite stool in the kitchen, they rely on us to help them out. Luckily with our new Grohe foot control faucet, we can do this with ease without manhandling our kids too much. 

2. Be prepared with the right tools – 

As I mentioned previously, the kids almost always need to have their stool on hand in the kitchen. I recommend having a simple 2 step folding step stool that can fold up and be stored easily either on the side of a cabinet or side of the fridge. That way the kids can go and drag it out themselves to help out where needed in the kitchen. Also, having age-appropriate kitchen utensils can help build confidence in skills. We have a set of special kid-friendly knifes for our kids to use so they can learn proper knife skills before “graduating” to our regular knife set. 

3. Find the right job for their age – 

My 8-year-old helps us with a lot more than my 2-year-old does but we don’t let them know that. With a little planning before tackling a recipe, I can ask each child for help with a specific age-appropriate task. For instance, the 2-year-old is a pro with stirring up a batter or cracking eggs, but the 8-year-old can now start helping with stove cooking (with proper supervision). As you continue to work with your children in the kitchen, you can build upon the skills they learn at each stage so they have a good grasp on basic and more advanced kitchen skills. This comes in handy when the 8-year-old can make the 2-year-old scrambled eggs in the morning! 


Making Easy Apple Cider Donuts

While many are enjoying the delicious flavors of pumpkin, we’ve turned our sights back onto the delicious flavors of apples. My husband knows how much the kids loved the apple cider donuts we picked up when we were visiting Boston a few years back and has been dying to try his hand at making them on our own. The only thing that has been holding him back was the mess he expected they’d make as we started making them. 

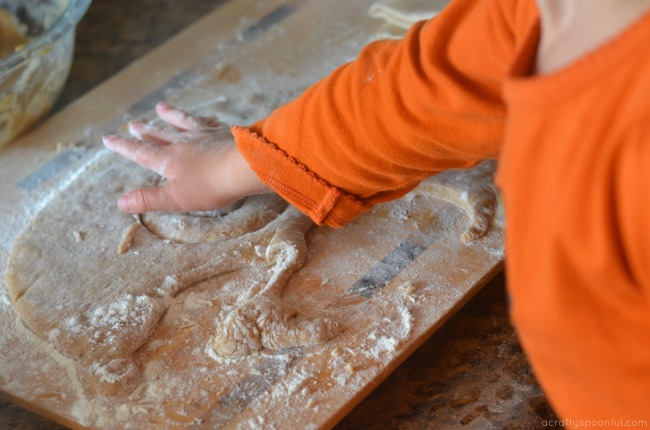
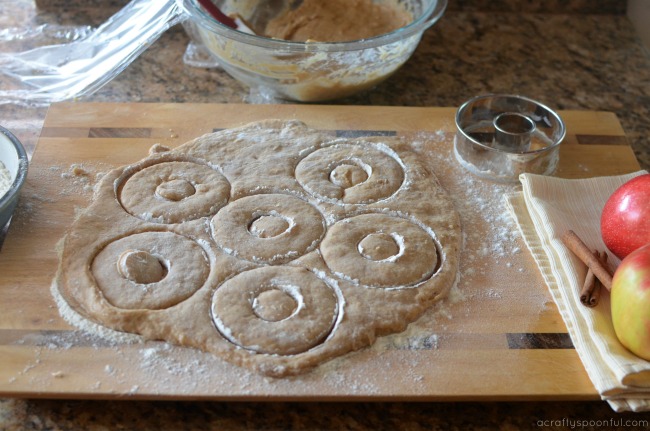
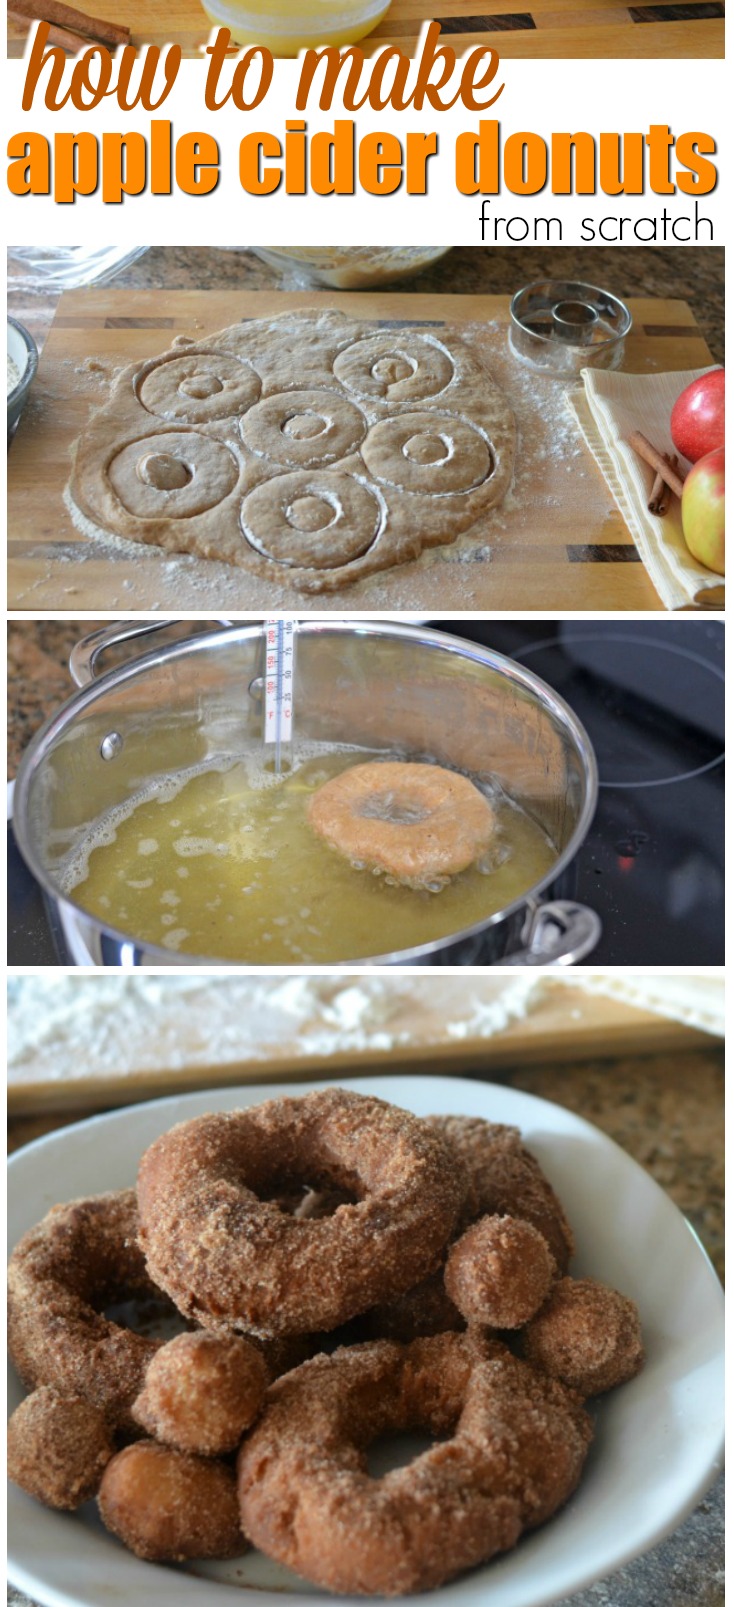
As I mentioned before, the dough is a wet, sticky dough and not easy to work with unless you have a well-floured surface. We didn’t flour the bottom of the board we were prepping the dough on when we first rolled/patted it out to cut out the donuts so we had to scrape everything back into the bowl the first go-round and re-flour everything. So our biggest tip is to make sure you’re prepping your workspace with flour so that the dough doesn’t stick. 

When you take 1/2 of the dough and pat it down to 1/2 inch thick, use flour on the top of the dough to make it easier to pat down. And don’t use a roller, it’s much easier to simply use your hands to do this job. Little kid hands are perfect to help out with this step! 

Next up would be cutting out the donuts. We use our favorite biscuit cutters to do this and flour the cutters liberally before cutting the dough. I found that using a floured spatula to lift the donuts from the cutting board helped them keep their shape as we walked them over to the fryer to fry up. 

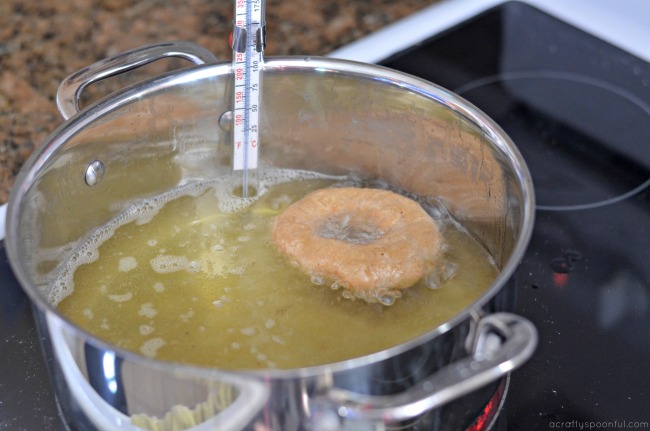
By using a thermometer in the oil, we could make sure that the temperature stayed where it needed to be during the whole cooking process. This helped ensure that the oil wasn’t too hot or too cold. Too hot and the outside would cook faster than the inside, too cold and the dough wouldn’t cool very well and would stay oily/greasy. 

I think you’re ready for the recipe now! 

Easy Apple Cider Donut Recipe

  • 2 cups apple cider
  • 3 1/2 cups all-purpose flour
  • 2/3 cup packed brown sugar
  • 2 teaspoons baking powder
  • 3/4 teaspoon salt
  • 1/2 teaspoon baking soda
  • 1/4 teaspoon ground cardamom
  • 1/4 teaspoon nutmeg
  • 1/4 teaspoon cinnamon
  • 1/4 teaspoon allspice
  • 2 large eggs
  • 1/3 cup buttermilk
  • 6 tablespoons butter (melted and cooled)
  • Oil for deep-fat frying
  1. In a small saucepan, bring cider to a rapid boil and cook over high heat until reduced by half, about 12 minutes. Cool completely.

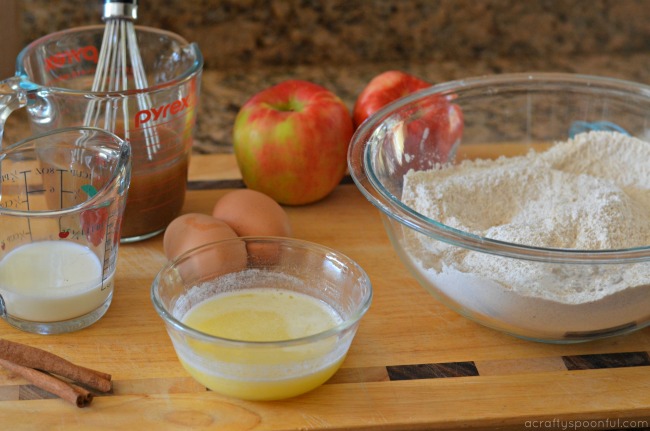
  2. Whisk together flour, brown sugar, baking powder, salt, baking soda and spices. In a separate bowl, whisk eggs, melted butter, buttermilk, and cooled cider; stir into dry ingredients just until moistened (dough will be sticky). Refrigerate, covered, 1 hour (up to 24 hours) or until firm enough to shape.

  3. Divide dough in half. On a floured surface, pat each portion to 1/2-inch thickness; sprinkle with flour as needed to reduce stickiness. Cut with a floured 3 inch biscuit cutter. Make hole in the center of each 3 inch circle with a 1 inch biscuit cutter. 

  4. In an electric skillet or deep fryer, heat oil to 325°. Use a thermometer to keep an eye on the oil temperature throughout the frying process. Fry doughnuts, a few at a time, until golden brown, 2-3 minutes on each side. Fry doughnut holes, a few at a time, until golden brown and cooked through, about 1 minute on each side. Drain on paper towels; cool slightly. If desired, toss donuts in spiced sugar after draining but while donuts are still hot. 

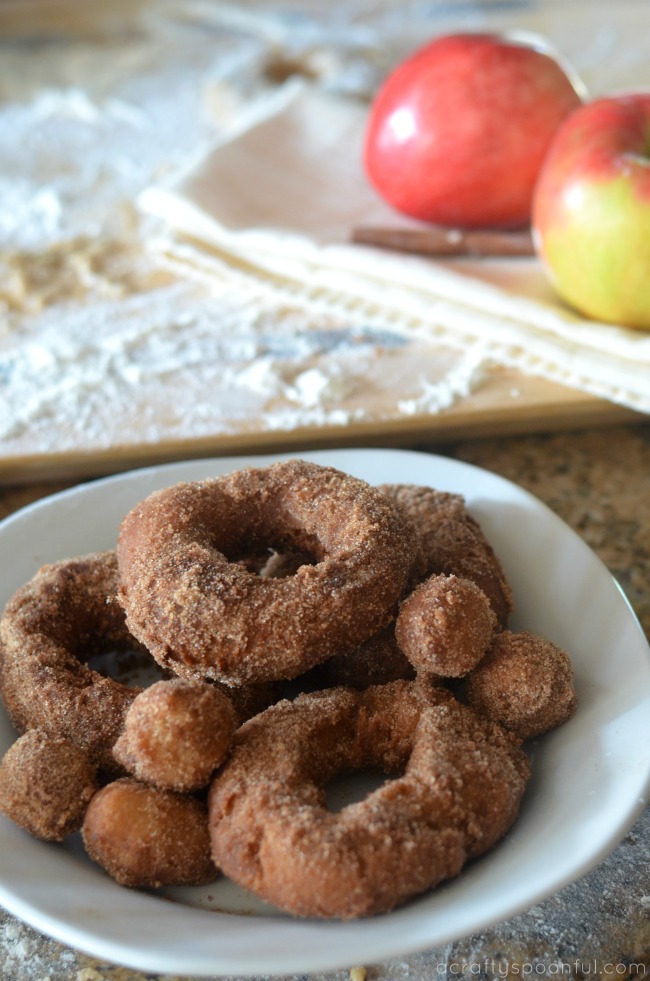
Spiced Sugar: In a shallow bowl, mix 3/4 cup sugar and 2-3 tablespoons ground pumpkin pie spice. Toss with warm doughnuts. Yield: 3/4 cup.

Keep Clean and Germ-Free with Grohe

You know how sometimes there’s that one product or feature that you find and never knew you needed? Well, our new Grohe Foot Control faucet was just that. Whether we need to fill up a heavy pot for pasta, or quickly rinse our vegetables, GROHE Foot Control gives us greater mobility in the kitchen by freeing our hands and allowing us to use them for whatever we need. We just tap the base of the cabinet with our foot to turn the faucet on.

The best part about it is that it’s innovative, easy to use, and immensely practical. When I have raw egg or raw meat on my hands, I don’t have to touch the handle and spread bacteria (or germs from the kids). And if my hands and my kids’ hands are messy, I can easily pick them up and wash both of our hands at the same time while controlling the water flow with my foot.

With GROHE Foot Control Technology, you can switch the water flow on and off with a tap of your foot on an activation plate installed discreetly in the toe space of the kitchen cabinet. And yes, your kids WILL figure this out quickly. That means that when they get messy and can’t reach the faucet handle, all they have to do is touch the plate, pull up their stool, and wash their hands on their own! Believe me, it took the 2-year-old a mere afternoon to realize that we had changed the faucet out on her and replaced it with this cool hand’s free option (don’t worry, there’s an automatic safety stop after 60 seconds).

Have you tried apple cider donuts before? Have you made them from scratch? 

Love this recipe? Here are some more to check out! 

Pin this article for later! 

Click the Pin button on the image below to save for later. 

Pumpkin Pie with Coconut Milk

Looking for a dairy-free pumpkin pie filling? This pumpkin pie with coconut milk is perfect for those who are dairy-free or who just don’t have condensed milk in the pantry! 

pumpkin pie with coconut milk, pumpkin pie made with coconut milk, dairy free pumpkin pie filling

I am a huge pumpkin pie fan. Like I’ll do just about anything for a slice. It’s my favorite pie and I look forward to Fall every year because of the fact that pumpkin pie is everywhere. But sadly I have never actually made a pumpkin pie. Let alone a pumpkin pie recipe with coconut milk

So I decided to rectify that right away and this year tackled making a pumpkin pie. Except when I went in my cupboard to get the ingredients I realized I had no evaporated milk. Then when googling alternatives for evaporated milk I realized I could sub coconut milk in and it’d be even healthier! Win win for everyone once I got the perfect recipe figured out.

So now I just need to figure out a gluten-free, dairy-free crust that’ll work for this gluten-free, dairy free pumpkin pie filling. Got any ideas?

Oh, and by the way? This pie? To die for! You can’t taste the coconut milk at all. Just rich, creamy pumpkin pie filling. And it’s even better with a dollop of whipped cream. If you prefer to go all organic and natural try your hand at pumpkin puree. It’s super easy to make and is great in a lot of different dishes.

pumpkin pie with coconut milk close up, pumpkin pie with coconut milk, pumpkin pie made with coconut milk, dairy free pumpkin pie filling

Pumpkin Pie with Coconut Milk

  • 2 cups pumpkin puree
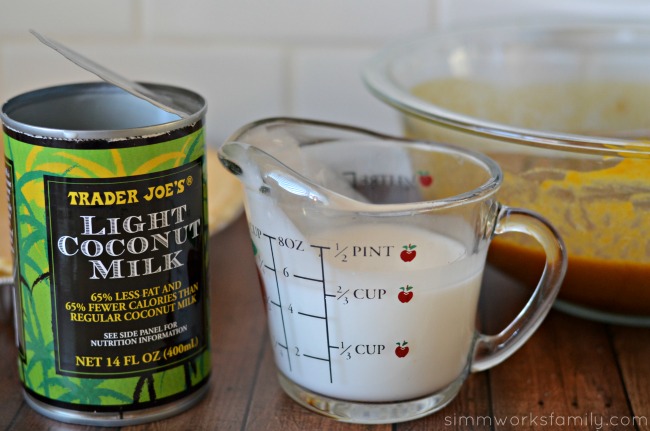
  • 2/3 cup light coconut milk
  • 3 eggs
  • 3/4 cup sugar
  • 1 tablespoon pumpkin pie spice
  • 1/2 teaspoon salt
  • 1 unbaked 9-inch pie shell

Preheat oven to 425.

Whisk eggs in a large bowl and mix in the sugar and pumpkin pie spice. Gently stir in pumpkin and coconut milk.

pumpkin pie with coconut milk measured, pumpkin pie with coconut milk, pumpkin pie made with coconut milk, dairy free pumpkin pie fillingPour into pie shell. Be careful not to overfill the shell.

Bake in oven at 425 degrees for 15 minutes. Reduce temperature to 350 degrees and bake for 50-60 minutes or until knife inserted comes out clean.

If crust is browning too quickly, wrap edges with foil.

Let cool completely before serving and serve with a dollop of whipping cream.

tetra pac pumpkin pie

Pumpkin Pie with Coconut Milk

  • 2 cups pumpkin puree
  • 2/3 cup light coconut milk
  • 3 eggs
  • 3/4 cup sugar
  • 1 tablespoon pumpkin pie spice
  • 1/2 teaspoon salt
  • 1 unbaked 9-inch pie shell
  1. Preheat oven to 425.
  2. Whisk eggs in a large bowl and mix in the sugar and pumpkin pie spice. Gently stir in pumpkin and coconut milk.
  3. pumpkin pie with coconut milk measuredPour into pie shell. Be careful not to overfill the shell.
  4. Bake in oven at 425 degrees for 15 minutes. Reduce temperature to 350 degrees and bake for 50-60 minutes or until knife inserted comes out clean.
  5. If crust is browning too quickly, wrap edges with foil.
  6. Let cool completely before serving and serve with a dollop of whipping cream.

What’s your favorite pie flavor? Have you used coconut milk in pumpkin pie before?

Like this post? Read more! 

Pin this article for later! 

Click the Pin button on the image below to save for later. 
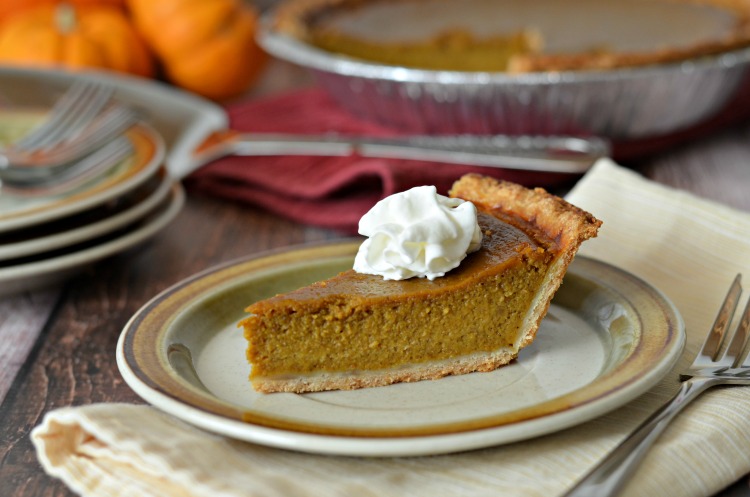
pumpkin pie with coconut milk, pumpkin pie made with coconut milk, dairy free pumpkin pie filling

Party On A Ritz: Mini Pecan Pie Bites

These mini pecan pie bites are melt-in-your-mouth deliciousness that you can whip up in no time for a party or just because! 

Mini Pecan Pie Bites

While I love where I’m from, I also love traveling. The best part about living where I am is that it’s really easy to travel. Whether it’s by car, train, or plane. However there’s one destination I’ve never been. And that’s the southern US. I’ve dreamt of visiting but have never pulled the trigger and planned a vacation down south. But that doesn’t mean its not on our list in the near future.

And when I’m ready, I know Southwest flies to multiple destinations in the south. That means I get to keep track of Southwest sales that hit my inbox to keep an eye on flight prices. If a good price comes up I may just snag it even for a long weekend trip.

One thing I look forward to when I visit the south is the various foods I’ve heard so much about. I have a little confession to make. I never tried pecan pie until about two-three years ago when it was brought to Thanksgiving by one of the relatives. Pumpkin was usually the only option growing up so that’s what I ate. So when I had the chance ot try it, I jumped on it. And fell in love with it.

Since pecans are grown in the south, my easy no-bake party dessert was inspired by this destination. Yeah, that’s right, no-bake dessert! And bite size so it’s perfect for parties.

Mini Pecan Pie Bites with Dark Chocolate Drizzle

Mini Pecan Pie Bites

  • 2 sleeves Ritz crackers
  • 1 cup pecans
  • 1/2 cup brown sugar
  • 1/4 cup unsalted butter, softened
  • 1 tablespoon corn syrup
  • 2 teaspoons vanilla extract
  • 1/4 cup dark chocolate morsels
  • 1/8 cup heavy whipping cream
 
Grab 2 baking sheets and line each with wax paper. Lay out 1 Ritz sleeve of crackers on each baking sheet.
 
In a food processor, chop up the pecans finely. Pour pecans into a small bowl. Add brown sugar, butter, corn syrup, and vanilla extract to the pecans and mix well until combined.
 
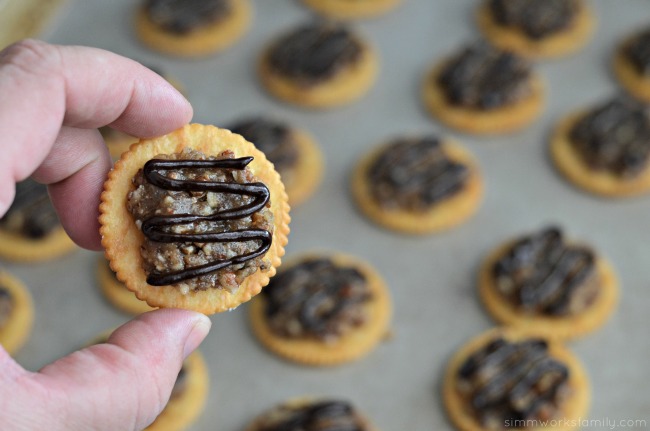
Using a teaspoon, take a spoonful of the pecan filling and place on top of a Ritz. Press down flat with the back of the teaspoon. Repeat with the rest of the crackers.
 
Take the dark chocolate morsels and heavy whipping cream and place in a microwave safe bowl. Microwave on high for 30 seconds. Stir well to incorporate morsels and cream. Add chocolate to a sandwich bag. Cut off a small piece of the corner of the sandwich bag.
 
Drizzle chocolate over each mini pecan pie bite. Serve and enjoy!
 

Mini Pecan Pie Bites

  • 2 sleeves Ritz crackers
  • 1 cup pecans
  • 1/2 cup brown sugar
  • 1/4 cup unsalted butter (softened)
  • 1 tablespoon corn syrup
  • 2 teaspoons vanilla extract
  • 1/4 cup dark chocolate morsels
  • 1/8 cup heavy whipping cream
  1. Grab 2 baking sheets and line each with wax paper. Lay out 1 Ritz sleeve of crackers on each baking sheet.
  2. In a food processor, chop up the pecans finely. Pour pecans into a small bowl. Add brown sugar, butter, corn syrup, and vanilla extract to the pecans and mix well until combined.
  3. Using a teaspoon, take a spoonful of the pecan filling and place on top of a Ritz. Press down flat with the back of the teaspoon. Repeat with the rest of the crackers.
  4. Take the dark chocolate morsels and heavy whipping cream and place in a microwave safe bowl. Microwave on high for 30 seconds. Stir well to incorporate morsels and cream. Add chocolate to a sandwich bag. Cut off a small piece of the corner of the sandwich bag.
  5. Drizzle chocolate over each mini pecan pie bite. Serve and enjoy!

  
Party On A Ritz
 

What is your favorite flavored pie bite?

Loving these pie bites but want more to serve? 

Pin this article for later! 

Click the Pin button on the image below to save for later. 
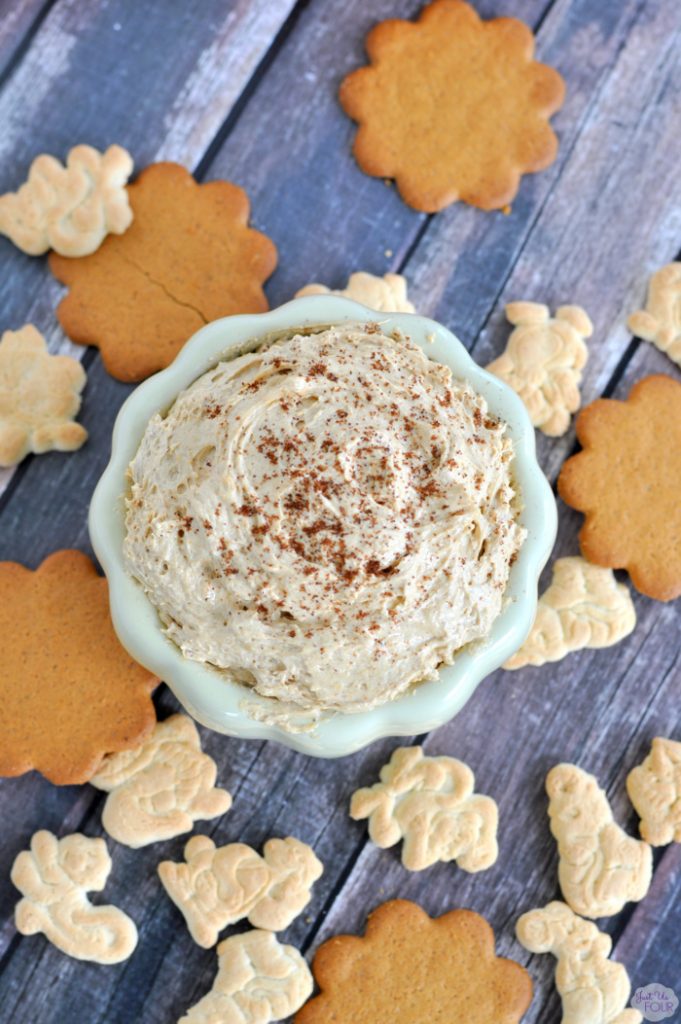


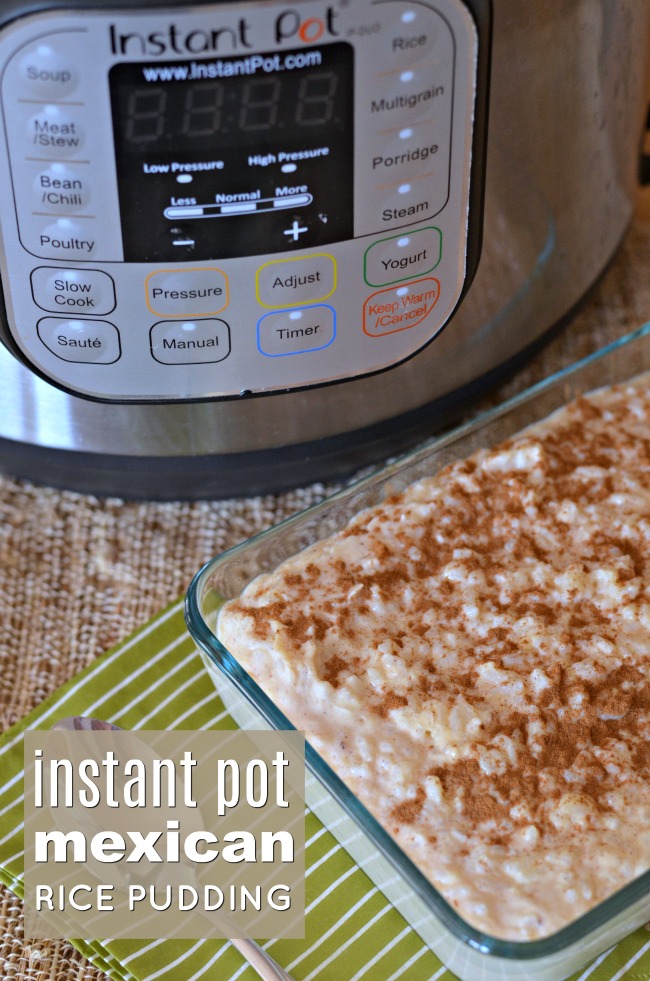
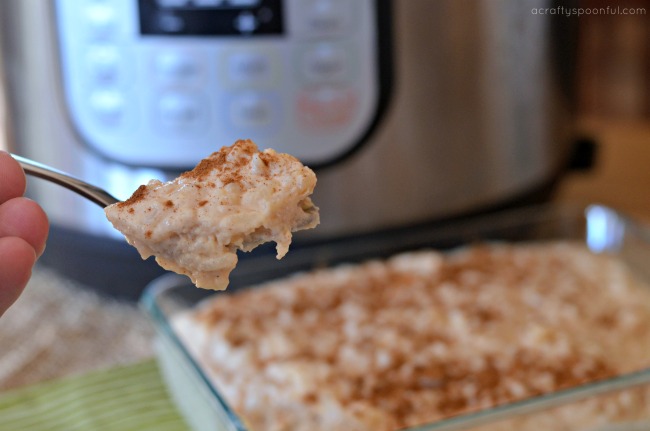
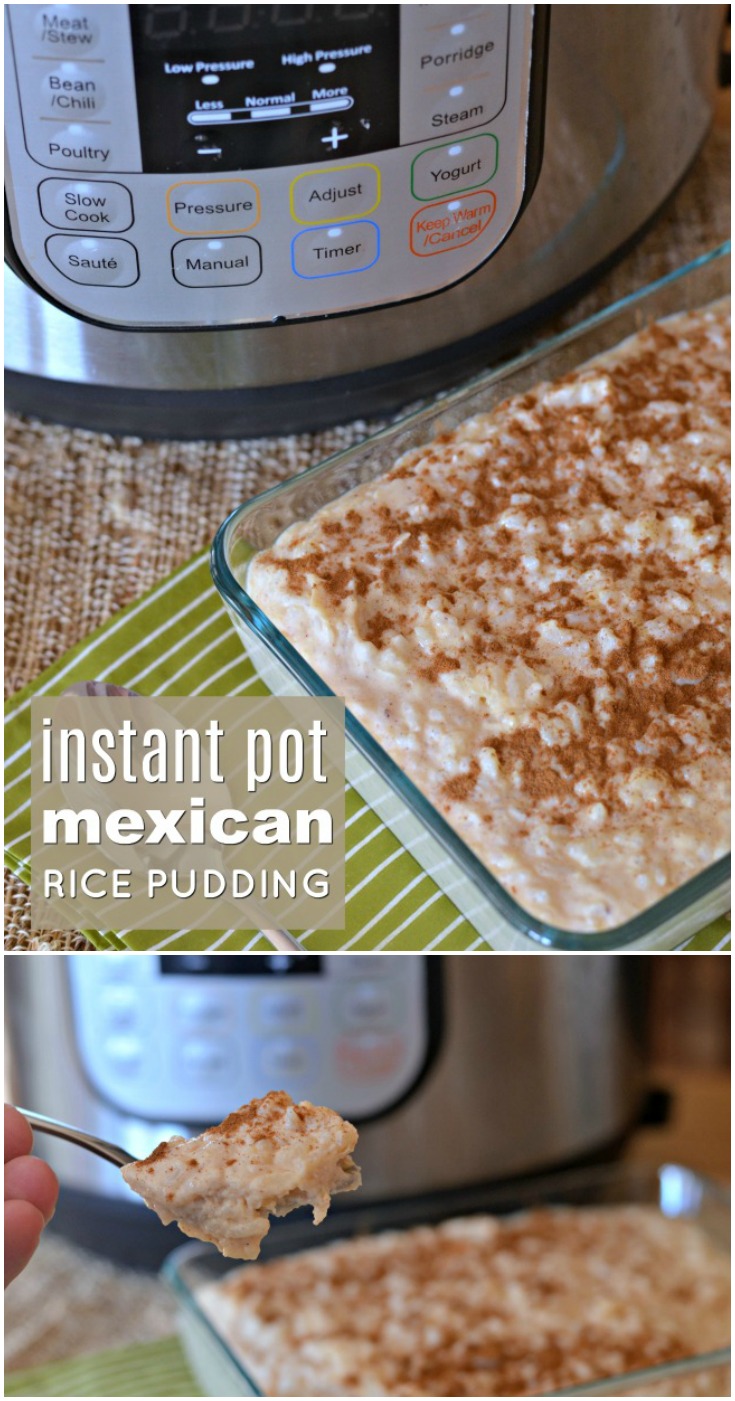
Instant Pot Mexican Rice Pudding

When you’re juggling work, kids, and life, it’s nice to have a dessert you can make with little to no effort to enjoy at the end of the day. This Instant Pot Mexican Rice Pudding is the perfect dessert to do just that! And it hits all of the right spots. 

Our lazy summer has turned into quite a busy one. I can’t even remember the last time I’ve been able to test out recipes to share here so when I had a craving for rice pudding, I knew I had to try it out in the Instant Pot to see if I could re-create one of my favorite desserts. With the help of the instant pot doing all of the work, I’ve gotten fairly close to replicating my favorite Arroz con Leche. This is the perfect dessert to dish out after a long day of juggling work and the kids when I want something no one else will steal bites of. 

One thing I love is that this recipe makes enough for 2 of my 3-cup Pyrex glass dishes. That way I can stack them in the fridge and take out 1/3 of a dish to enjoy. Because when I need a little comfort I don’t want to think about portions. 

You could try switching out the half and half with all milk but I feel the half and half adds a bit more creaminess to the dish. Also, if you have a ceramic pot insert for your Instant Pot you can reduce the amount of rice that may stick to the bottom of the pot. I’ve also found that there may be some spittle when releasing the pressure. That’s OK! Just put a dish towel over the top of your Instant Pot when you depressurize. 

Instant Pot Mexican Rice Pudding (Arroz con Leche)

  • 1 cup half and half
  • 1 cup milk
  • 1¼ cups water
  • 1 cup long-grain white rice
  • 1 can sweetened condensed milk
  • ⅛ cup sugar
  • ⅛ teaspoon salt
  • 1 teaspoon vanilla extract
  • 2 teaspoons cinnamon
  1. Rinse rice well using a mesh colander.

  2. Add half and half, milk, sugar, water, and salt to Instant Pot

  3. Add rice to liquid mixture and stir

  4. Place lid on Instant Post, seal lid, and close vent.

  5. Press the Porridge button. The rice will take 20 minutes to cook on this setting.

  6. When the timer beeps, allow the pressure to release slowly for 10 minutes.

  7. After 10 minutes, press the Cancel button and open vent to release pressure.

  8. When depressurized, open lid.

  9. Add Sweetened Condensed milk and vanilla.

  10. Sprinkle with cinnamon and stir until well mixed, adding a splash of half and half if needed for creamy consistency.

  11. Store in individual glass containers and top with a sprinkle of cinnamon.

  12. Refrigerate and serve or enjoy hot!

Love this recipe? Read more! 

Pin this article for later! 

Click the Pin button on the image below to save for later. 
Mini Dessert Pizzas with Creamy Glaze

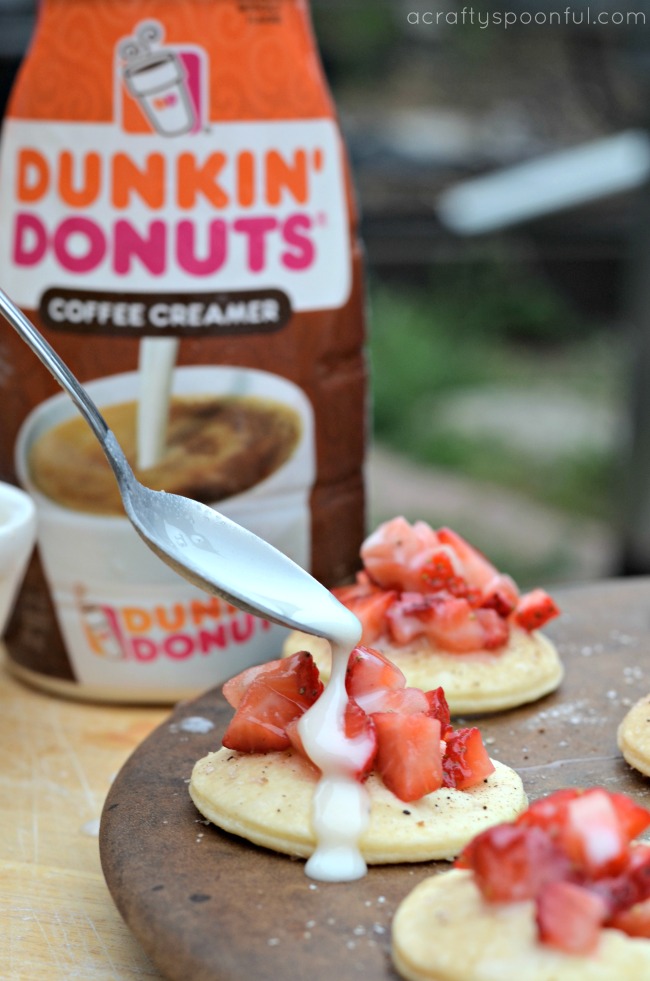
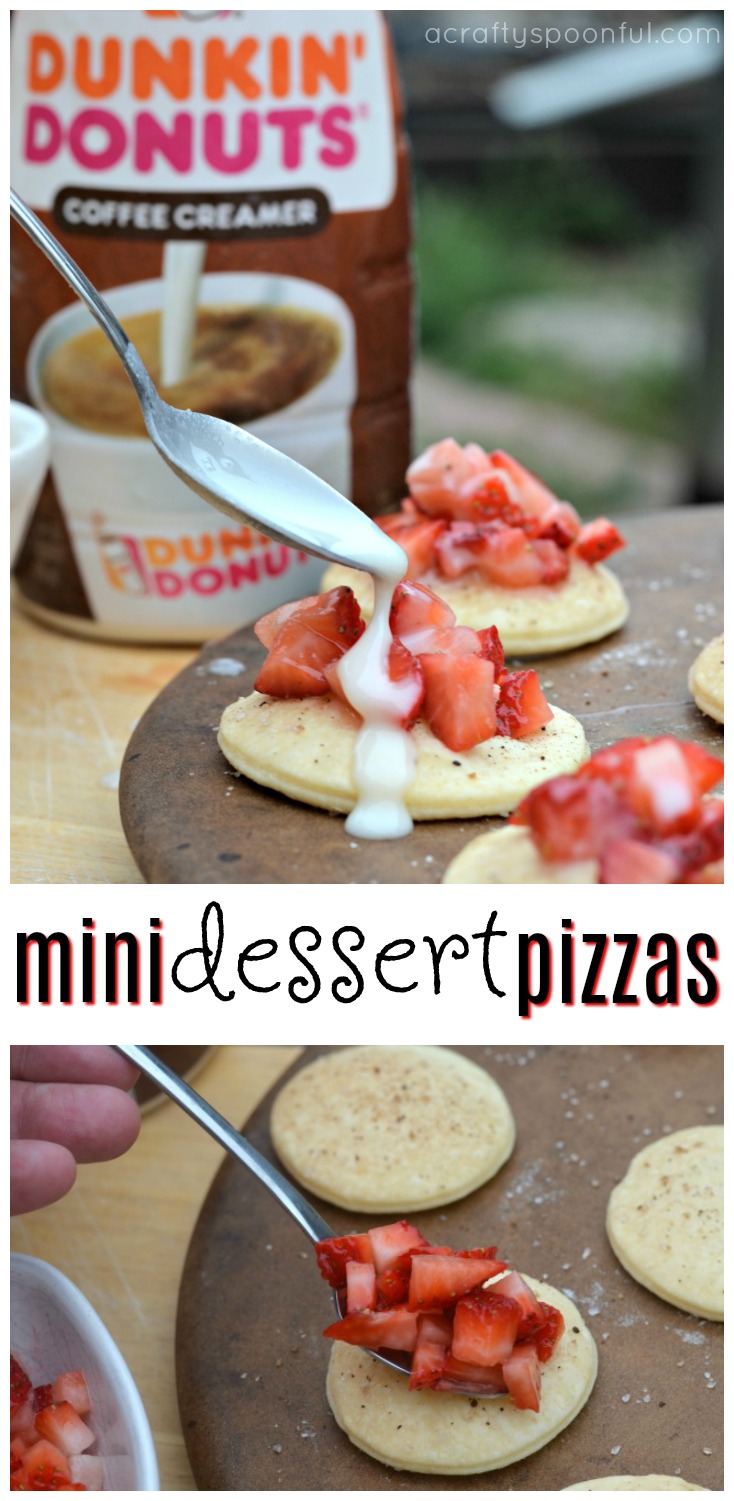
In preparation of the fun camping trips we have planned this summer, I made this delicious mini dessert pizza to enjoy with a cup of coffee. This shop has been compensated by Collective Bias, Inc. and its advertiser. All opinions are mine alone. #DunkinCreamers #CollectiveBias

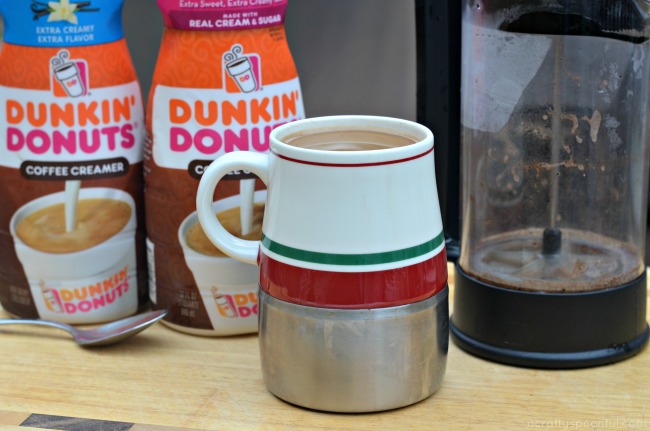
Whether you’re camping in in the wilderness or in your own backyard, there’s nothing like a delicious, slightly sweet treat to begin (or end) your day. And what else tastes better with a sweet treat than a deliciously caffeinated cup of coffee? With a little Dunkin’ Donuts® Extra Extra Creamer stirred in, of course. 

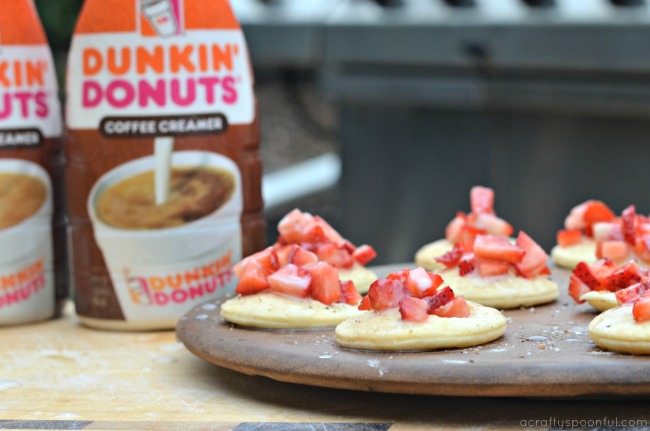
These mini dessert pizzas are so fun to make! Plus, they’re so versatile. And I love that we can make them on the grill when we’re out in the wilderness or at home in the oven. We always bring fruit and creamer with us when camping and occasionally have pie crust for hand pies and other desserts but usually only use one of the two crusts that come in the package. I love that this recipe uses up that other pie crust AND can be made with the creamer we already have on hand. 

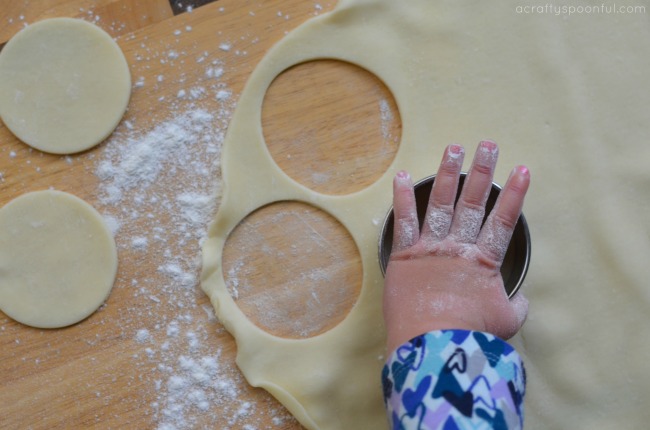
Another bonus about this recipe? the fact that the kids can help make it. While they try and sneak my coffee in the morning, I can distract them by asking them to help make these with me. That means I get to enjoy a HOT cup of coffee while they work on finishing up the recipe. And then I can enjoy another cup when we’re eating these up. Yum! 

Since the recipe is so simple, it’s important to layer on the flavor. From the dough to the strawberries to the glaze, we kick up the flavor at every step. Cinnamon is the perfect addition to sprinkle onto the dough, and macerating the strawberries in sugar and vanilla just add a little extra boost. But then when it comes to the final touch… the glaze… we save the best for last! 

Dunkin’ Donuts® Extra Extra Creamer is made with real sugar, milk, and cream for a wonderfully rich and smooth taste. The perfect choice for coffee purists. And it tastes amazing in this simple glaze. You can also sub Dunkin’ Donuts® Vanilla Creamer for another pop of flavor. 

We’re sharing one flavor – strawberries and cream – but there are endless possibilities when it comes to making these. Looking for more flavor options? 

Here are a few of my kids’ favorites: 

  • S’mores – mini baked pie crust round topped with marshmallows and 1 square of chocolate placed under the broiler until golden then drizzled with creamy glaze made with Dunkin’ Donuts® Vanilla Creamer and sprinkled with graham cracker crumbs.
  • Apple Pie – mini baked pie crust round topped with diced granny smith apples that have been cooked up in a skillet with sugar and cinnamon and drizzled with creamy glaze with Dunkin’ Donuts® Caramel Creamer
  • Bananas & Cream – mini baked pie crust round topped with a little banana pudding and sliced bananas and drizzled with a creamy glaze made with Dunkin’ Donuts® Caramel Creamer.

Mini Dessert Pizzas with Creamy Glaze

  • 1 package pie crust
  • 1 teaspoon cinnamon
  • 6 strawberries
  • 1 tablespoon sugar
  • 1/2 teaspoon vanilla
  • 3 tablespoons powdered sugar
  • 1 tablespoon Dunkin’ Donuts® Extra Extra Creamer
  1. Preheat oven or grill to 350 degrees. 

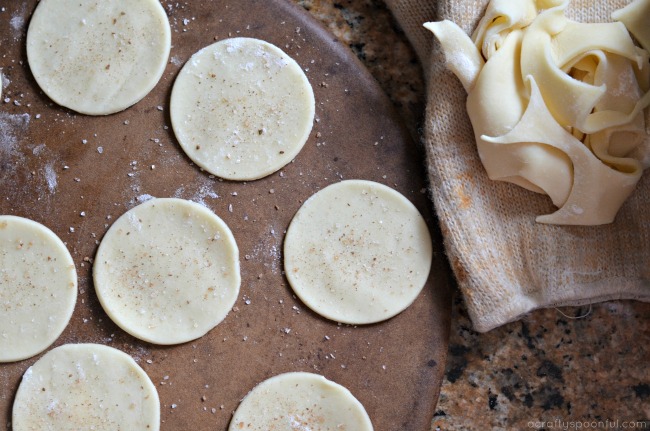
  2. Using a round cutter, cut pie crust into circles and place onto pizza stone or parchment-lined cookie tray. Sprinkle a little cinnamon onto each round. Place in oven or on grill and bake for 15 minutes or until slightly golden.

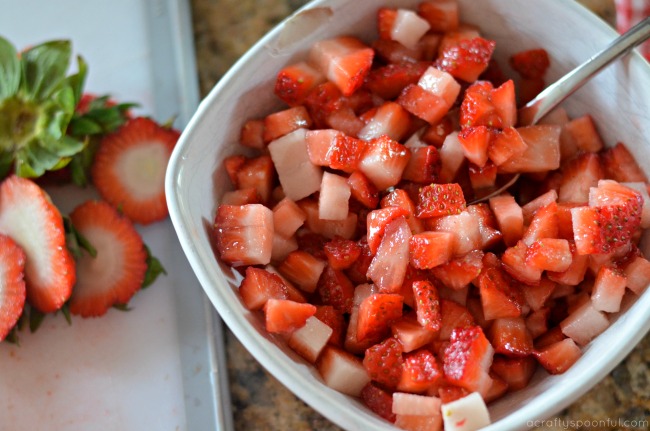
  3. Dice strawberries and place into a bowl. Sprinkle with sugar and add vanilla. Stir until sugar dissolves. 

  4. Mix together powdered sugar and Dunkin’ Donuts® Extra Extra Creamer until smooth and glaze forms. 

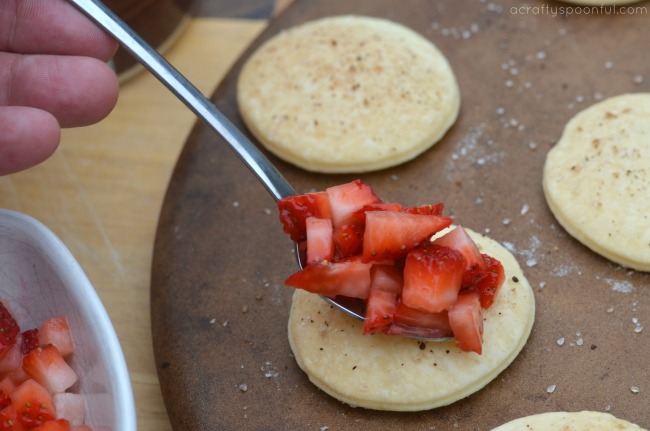
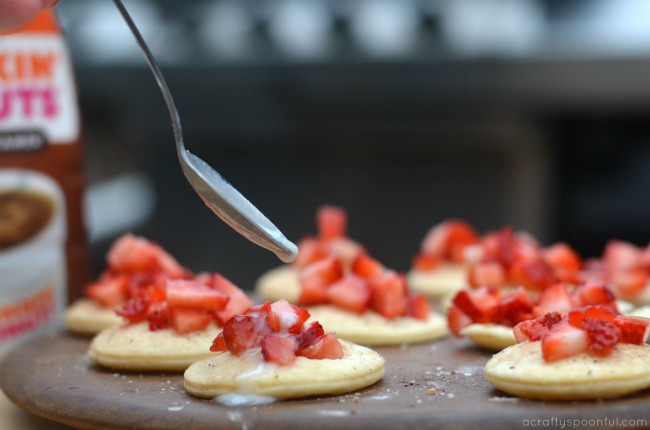
  5. Once pie crust has cooked, let cool 5 minutes then layer mini pizzas. Add 1 tablespoon strawberries to each round then drizzle with glaze. 

What’s your favorite dessert pizza flavor? 

Looking for Dunkin’ Donuts® Extra Extra Creamer to make your morning extra special? Head over to Walmart and pick up one or two containers from the Dairy aisle. 

Love this post? Check out these great recipe ideas you can use creamer in: 

Pin this article for later! 

Click the Pin button on the image below to save for later.
 

6 Ways to Enjoy Butterbeer at Universal Orlando

As I’m sure you saw on my Instagram account recently, I had the chance to head to Orlando, Florida sans kids for a few days to attend a conference. While I was in the great state of Florida for the first time, there was one thing I knew I had to do… visit the Wizarding World of Harry Potter and try all of the butterbeer varieties I could! So when Universal Orlando was kind enough to offer me 2 guest passes, I kindly took them up on their offer. 

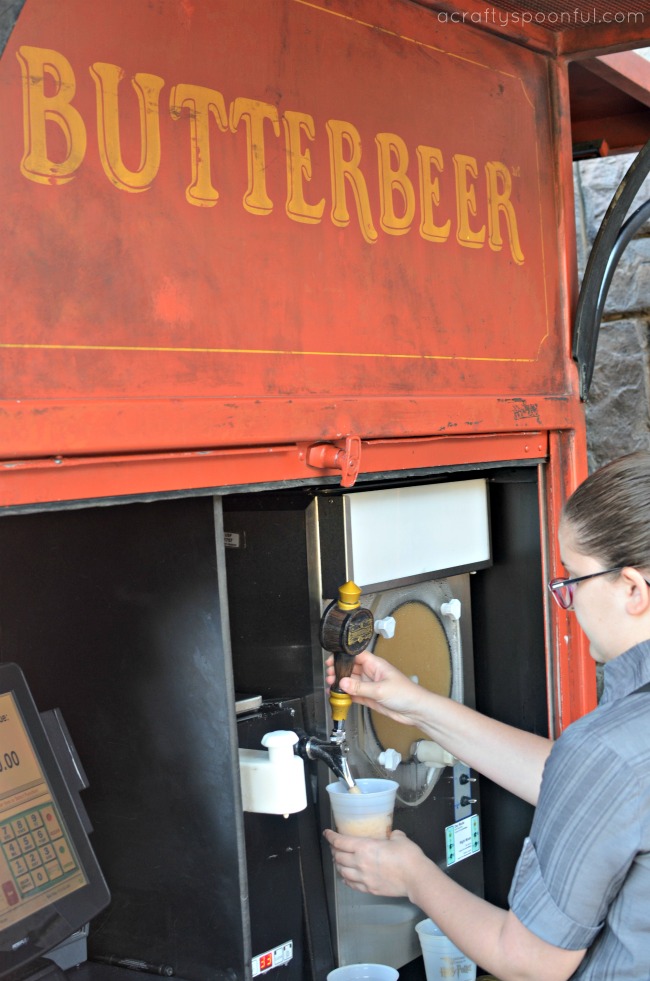
Did you know there are 6 ways to enjoy Butterbeer in the park? Yup! 6 ways to enjoy the delicious sweet treat that is famous amongst Potter fans. To be able to taste the deliciousness we once only read about and watched on the big screen goes hand in hand with the awe I felt as I walked up to Hogwarts and the Wizarding World of Harry Potter for the first time in Universal Orlando. 

So without further ado, here are the 6 ways to enjoy Butterbeer at Universal Orlando. Try all 6 and let me know which you would rate as #1 on your list! 

6 Ways to Enjoy Butterbeer at Universal Orlando

1. Cold Butterbeer – 

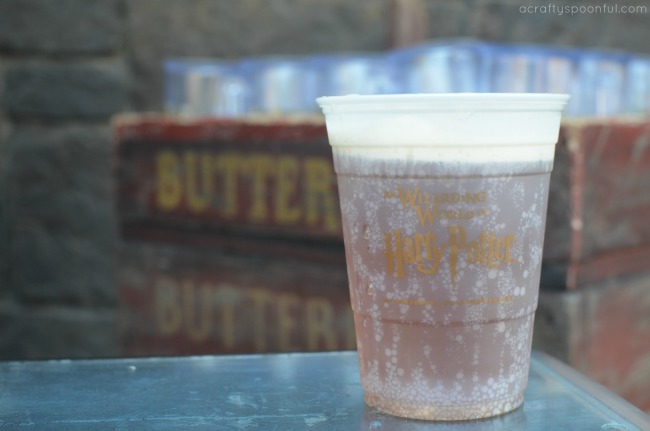
At the top of my butterbeer list is the classic cold Butterbeer. Closest in recreation to what the characters enjoyed in the series, it’s smooth, creamy, and super sweet. Plus, since it was in the mid-90s when we visited, it was the perfect treat to enjoy while trying to stay cool as we waited in line to visit Ollivander’s Wand Shop and pick out our wands. 

The best part was the butterscotch-flavored cream on top that we enjoyed with every sip as we made our way down to the bottom of the cup. Such deliciousness. If you’re a cream soda fan, you will fall head over heels for it! 

2. Butterbeer Potted Cream – 

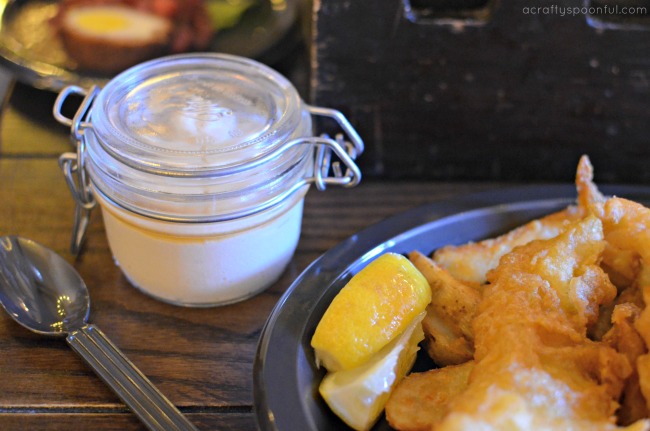
Runner-up has to go to the amazingly smooth butterscotch-esque Butterbeer potted cream found in Diagon Alley at The Leaky Cauldron. It’s the essence of perfection when it comes to butterscotch pudding and paired well with my fish and chips as a not too sweet treat. It would also be perfect paired with one of their beers on tap as a fun afternoon snack if you aren’t too hungry for a full meal. 

3. Butterbeer Soft Serve Ice Cream – 

We headed over to the end of Diagon Alley for this next sweet treat. When you’re there, make sure to head into the Florean Fortescue’s Ice Cream Parlour right across from Gringotts Bank. They have quite a few varieties of ice cream but only one soft serve… this delicious Butterbeer. But be careful! In the Florida heat, the soft serve melts fast! 

4. Frozen Butterbeer – 

If you don’t like your drinks super sweet but still want to get the great flavor of butterbeer, definitely grab a pint of frozen butterbeer. Because of its slushy state, it is a slightly milder version of the cold butterbeer and is absolutely perfect to help cool oneself down on a super hot summer day at the park. I suggest using a straw to enjoy this delicious variety. But make sure to lift up the straw to get the cream with each sip. 

5. Butterbeer Fudge – 

At the bottom of our butterbeer obsessed list is the butterbeer fudge found at Honeydukes sweet shop. While in theory it sounded lovely, it was just too sweet for this sweet tooth. If you have friends to share with, just one square will go a long way! While you’re at Honeydukes, pick up a few quill suckers (that actually write!) and some chocolate frogs as well (if it’s not too hot out). 

6. Hot Butterbeer – 

And last but not least is the hot butterbeer variety. Sadly, due to the heat, we were not able to try this variation so we have no way to rate it against the other options. However, if you’ve had the pleasure of enjoying this version, please let us know your thoughts!! 

Now that we’ve made our way through this amazing list of all things butterbeer, I do want to dispell a myth that a few individuals (not to be named) mentioned to me before going. Sadly, there is no alcoholic version of butterbeer in Universal Orlando. 

After visiting every butterbeer dealer … er… dispenser, we received the same answer to our question. Nowhere in the park can you order the alcoholic version of this bubbly delicious drink. However, you CAN enjoy some great alcoholic drinks like Wizard’s Brew or Dragon Scale in Diagon Alley at The Leaky Cauldron or The Hopping Pot

What’s your favorite variety of Butterbeer? 

Thank you to Universal Orlando for inviting me to enjoy your parks and experience The Wizarding World of Harry Potter. 


© A Crafty Spoonful - All Rights Reserved
It is OK to use one of my photos provided a link back and/or proper credit is given. It is NOT ok to copy and paste a whole post including instructions. Please do not remove watermarks or alter images in any way. Please contact me with any questions at danielle@acraftyspoonful.com
.