This is a sponsored post written by me on behalf of The a2 Milk Company™. All opinions are 100% mine.
Dessert is one of my family’s favorite parts of our meal. And most of the time when we all get together for a family meal, dessert is served. However I’ve noticed a few relatives who’ve declined dessert over the past few get togethers. After chatting with one of them about the reason, I found out that they’ve realized that they have an issue with lactose and since most of the desserts served have some sort of milk product, it’s easier to say no than deal with the consequences later. While they haven’t been formally diagnosed with lactose intolerance, by avoiding dairy they’ve reduced their tummy troubles.
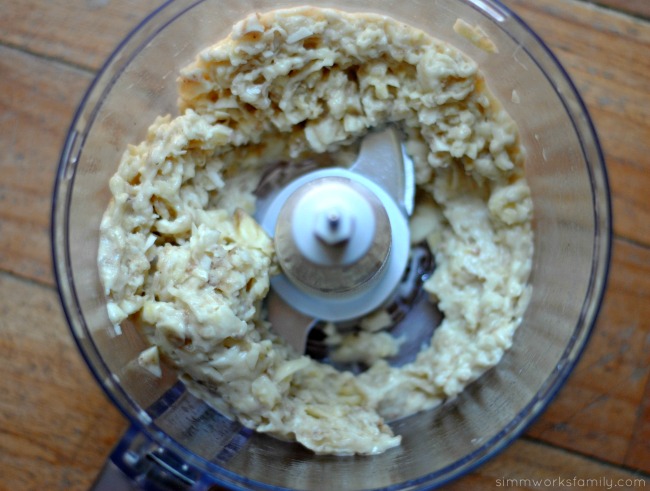
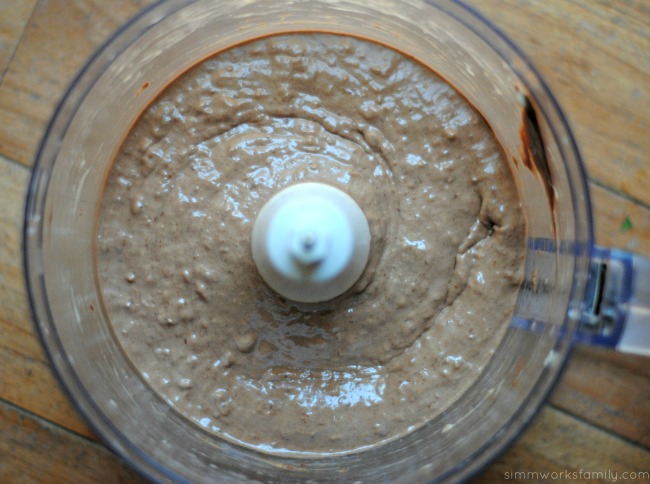
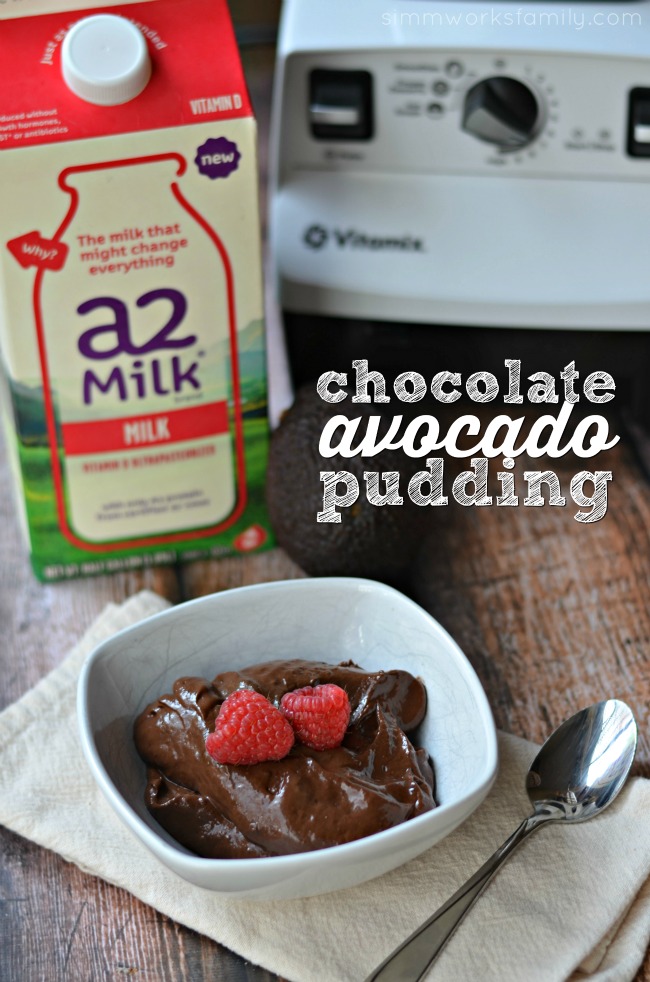
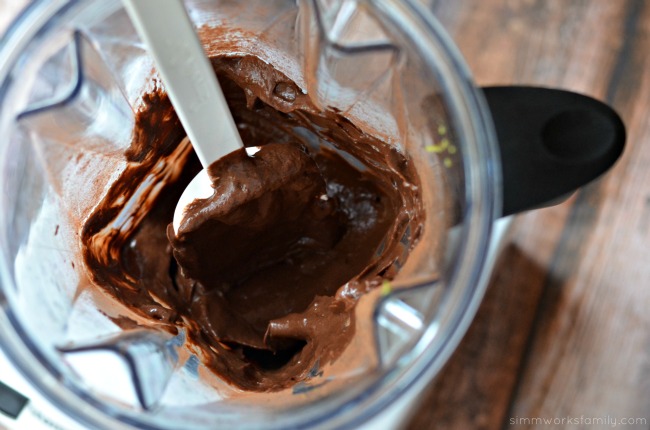
Because I hate seeing people feeling left out I figured I’d play around with one of my favorite pudding recipes and replace the dairy with a2 Milk®. Then I went a step further and figured out a way to make it thick and creamy without cooking it! Since I already use bananas and avocados in my smoothies to make them creamy and thick, I thought they’d be amazing together in this pudding recipe as well. And the best part? I mix everything together in the blender! Takes less than 5 minutes for everything to come together.
Haven’t heard of a2 Milk® before? It’s pretty awesome. Originally, all milk contained only the A2 protein. Over time a genetic mutation occurred in cows and a new type of protein developed called A1. This A1 protein causes digestive discomfort and is in all cows’ milk in-stores today, even organic milk. a2 Milk® is the only fluid milk on the US market that is guaranteed A1 protein free.
How do they do it?
The a2 Milk Company™ has partnered with U.S. family dairy farmers in upstate New York and the Midwest to expand the a2™ herd. Their cows naturally produce milk with only the A2 protein. And their farmers are certified in the humane treatment of animals, their cows are fed a vegetarian diet and never given hormones or rBST, and the milk is antibiotic free and contains no artificial ingredients or additives. Pretty cool huh? And it tastes no different than regular milk! My kids love it and haven’t caught on that it’s any different.
No Cook Chocolate Avocado Pudding
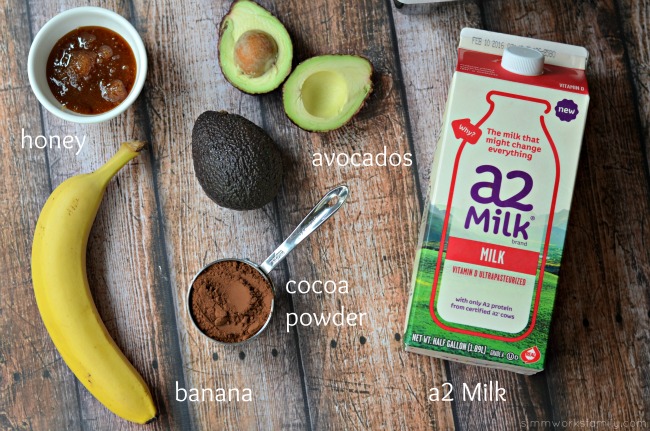
- 1 avocado
- 1 banana
- 1/2 cup cocoa powder
- 1/2 cup honey* (or other sweetener)
- 1/2 cup a2 Milk®
Add all ingredients in a blender or food processor. Process until completely blended. Serve right away with some berries or chill in the fridge if you prefer cold pudding.
* If you’re making this for children under 1, use an alternative to honey like agave or maple syrup.
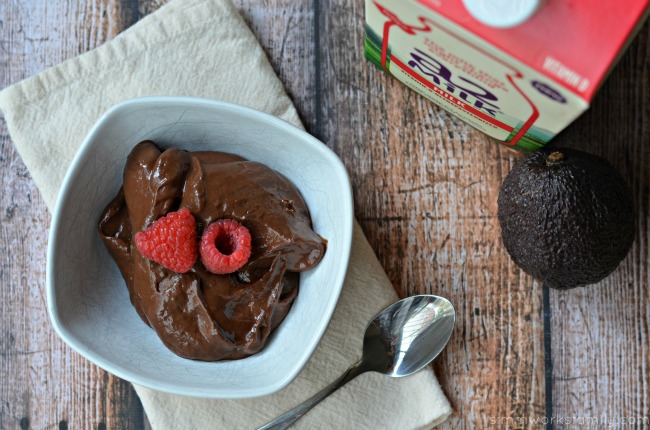
The results are an amazingly creamy and chocolaty pudding that the kids (and adults) all gobble down! I call that a success.
What’s your go-to dessert when family come over?
Interested in more info about a2 Milk®? Check them out on Twitter and Facebook or find where you can purchase it by using their Product Locator! Or check out the great recipes they have on Pinterest. And right now you can take advantage of this a2 Milk® $1 Off Coupon.