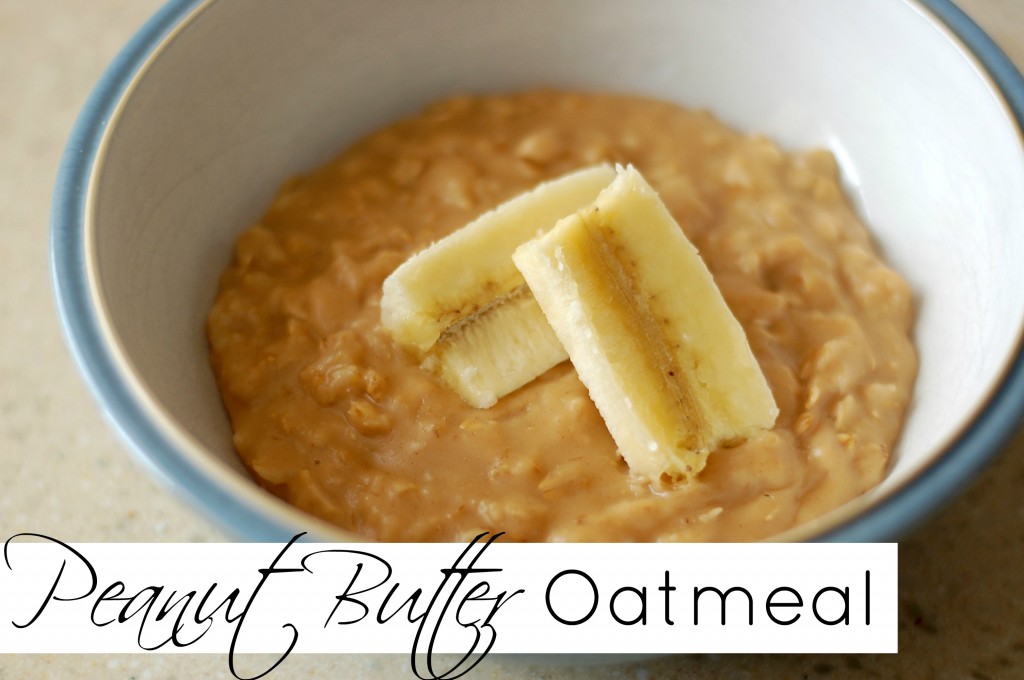
Peanut Butter Oatmeal {Breakfast Recipe}

As I mentioned yesterday, my daughter now has to take an iron supplement. We’ve had great luck over the first few days with making her smoothies when it was time to take her supplement but now she’s no longer interested.

So this morning I thought I’d put a spin on her favorite breakfast meal. I added her two favorite foods, peanut butter and oatmeal, and threw in a banana to find that this finger-licking good meal would be completely devoured before my eyes!

The results were exactly what this mama wanted.

The first time since we started her iron supplements and she actually finished a whole dose! In the form of peanut butter oatmeal, of course.

And an even better bonus is the fact that one serving is only 4 points. Paired with a banana this makes a delicious breakfast for my kids and me. And it’s a bit faster to whip up than my baked peanut butter and banana oatmeal squares.

Peanut Butter Oatmeal Breakfast

Peanut Butter Oatmeal 

  • 1/2 cup water
  • 1/2 cup milk
  • 1/2 cup old fashioned oats
  • 1 tablespoon peanut butter
  • 1 teaspoon brown sugar
  • banana to top, optional

Add all ingredients to a small saucepan. Cook on medium low heat stirring frequently. Cook for 5-7 minutes or until oatmeal is creamy and all ingredients are incorporated.

Spoon into a few bowls and enjoy this delicious breakfast!

Serves 2 | 4 WW+ Points
First my daughter tried eating her oatmeal with a spoon.
When that didn’t get it to her mouth fast enough she went with her hands and got much more!
The oatmeal was so good she licked each finger clean after finishing her bowl! Now that’s a success.

Baked Eggplant Parmesan {Dinner Recipe}

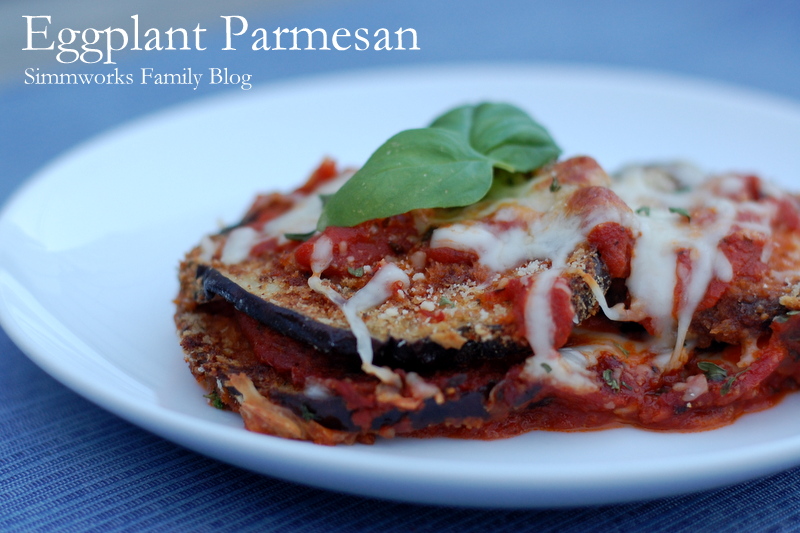
Eggplant Parmesan

I’m always looking for a great meatless meal. Lately I’ve been turning to one of my favorite blogs, Ezra Pound Cake, for meatless inspiration. I just recently decided to try her baked eggplant parmesan but knew I wouldn’t need as much so I tweaked the recipe a bit to meet our needs. And boy was I happy I made this! The dish was delicious, healthy, and the kids loved it!

If you’re looking for a great Sunday evening dish or even something to prep and freeze for meals later on in the week or month then I highly recommend trying this dish out. It sure beats the Trader Joe’s dish I’ve been buying (and you all know how much I love Trader Joe’s)! [Read more…]

Apple Carrot Walnut Muffins {Breakfast Recipe}

These Apple Carrot Walnut Muffins are the perfect quick and easy breakfast recipe to let the kids help make!

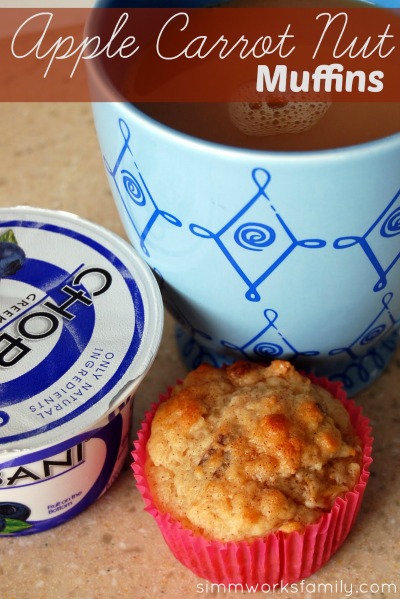
Apple Carrot Walnut Muffins

I hosted a playgroup playdate at my house yesterday morning and didn’t really have much planned in the form of snacks. I had the usual toddler fair of goldfish, snap pea crisps, and pretzels but nothing of substance for the mamas. So I asked Ethan what he wanted. And like your typical kid, he asked for cupcakes. So I made the next best thing.

I grabbed one of my recipe books and started flipping. And fell upon a recipe that I had all of the ingredients for (sans a few substitutions). And the results were pretty darn yummy. I’ll definitely be making these muffins for future get-togethers.

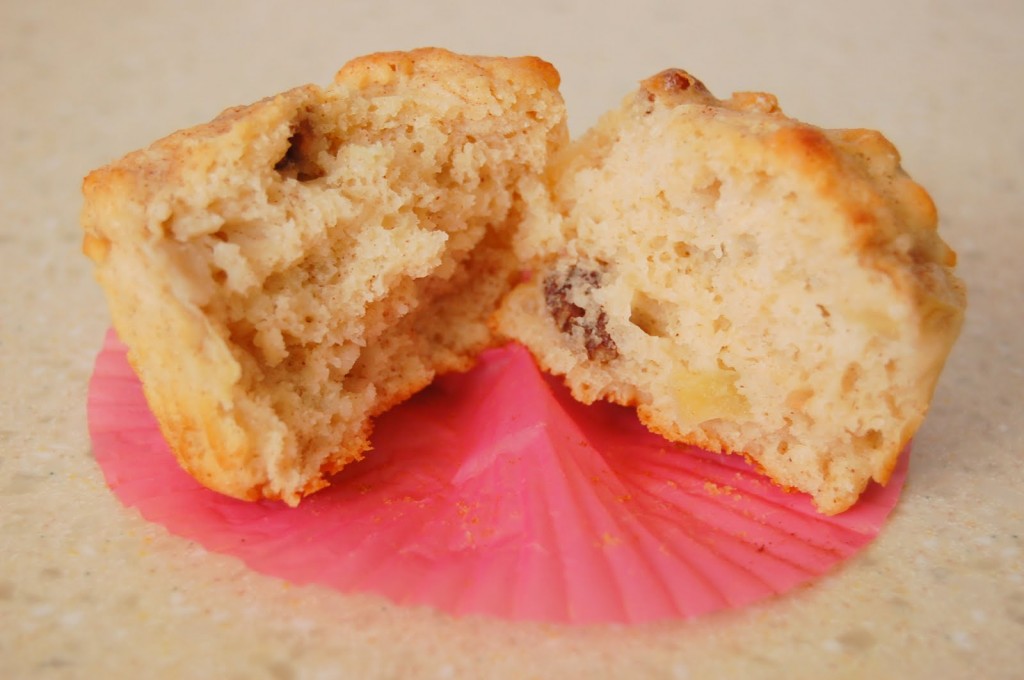
Apple Carrot Walnut Muffins 2

Apple Carrot Walnut Muffins

12 servings | 3 WW+ Points*

  • 1 cup all-purpose flour
  • 1/3 cup brown sugar
  • 1 teaspoon baking powder
  • 1/4 teaspoon baking soda
  • 1/4 teaspoon table salt
  • 1 egg
  • 1 cup greek fat-free yogurt
  • 2 teaspoons vanilla extract
  • 1/4 cup butter
  • 1 small apple (, shredded)
  • 1/2 cup shredded carrots
  • 1/2 cup pecans (, chopped)
  • 1 teaspoon cinnamon
  • 1/2 teaspoon nutmeg
  • 1 tablespoon sugar
  • 1 teaspoon ground cinnamon
  1. Preheat oven to 400 degrees. Grease a muffin tin or prep with cupcake liners.
  2. In a large bowl whisk flours, sugar, baking powder, baking soda, spices, and salt together until well mixed. In a separate large bowl whisk the egg. Add yogurt, vanilla, and butter. Stir until combined.
  3. Add liquid ingredients to dry ingredients and mix just until incorporated together. Do not over mix. Batter will be thick and dough-like. Fold in apples, carrots, and nuts.
  4. Use an ice cream scoop or spoon to fill muffin tins 2/3rds of the way full. Mix 1 tablespoon sugar with 1 teaspoon cinnamon. Top each muffin with sugar blend. Bake for 15-18 minutes or until golden brown.

*by omitting the nuts you can reduce this recipe to 2 WW+ points each

What is your all time favorite muffin flavor? 

Love this recipe? Check out these great ones too! 

Pin this article for later! 

Click the Pin button on the image below to save for later. 

Curry Tuna Melt {Lunch Recipe}

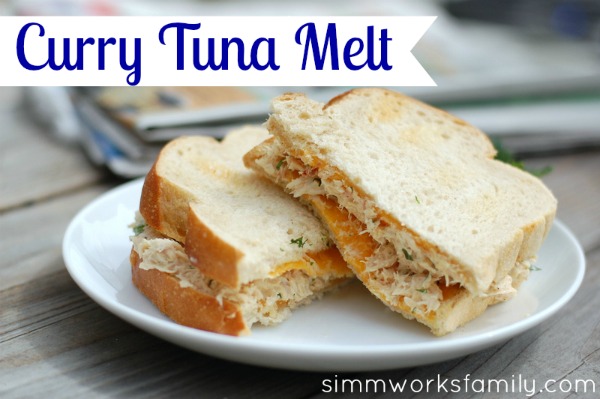
Every Friday during Lent I scramble for a great alternative to our usual meat filled lunches. Usually I have a salad with grilled chicken and I make the kids a sandwich, leftovers, etc. But in an effort to stick with meatless meals I turn to fish to make sure my kids are getting the protein they need.

I’ve recently been really lucky with my garden and have a great supply of celery, green onions, and cilantro. So I’ve tried to find various ways to use them up. I started to think of what cuisines uses these different ingredients and how and immediately I thought of Indian food. So I grabbed some curry powder, picked some veggies from the garden, and started mixing.

What I ended up with was a delicious dish that is sure to make any boring lunch into a great one. The kids even enjoyed it and split one amongst themselves. They were even more excited about the fact that we used the veggies from our garden to make the sandwich.

Curry Tuna Melt

[Read more…]

Tuna Noodle Casserole {Dinner Recipe}

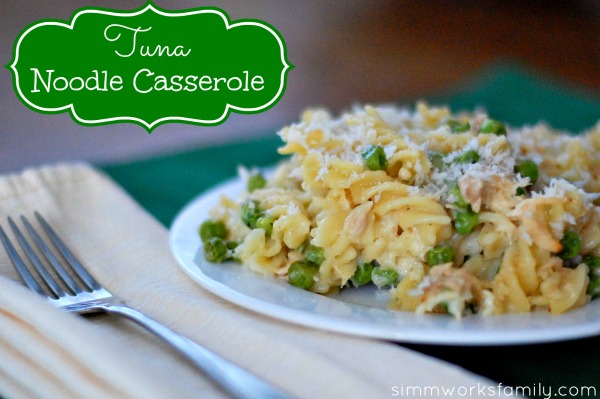
I’ve been pretty bad about keeping the cupboards stocked lately. I started to get lazy when it came to dinner planning and have been making sandwiches or eating what’s in the freezer to make up for it. So when Lent came around I was not prepared for a non-meat dish for dinner. But I didn’t have to worry… we always have the ingredients on hand for tuna noodle casserole. It’s a family favorite.

Only we were out of cream of mushroom AND cream of celery condensed soup.

So I went in search for an alternative. It was about time. I mean… really… I, er, we don’t need all of that extra sodium and additives. Plus I’m sure I read somewhere about canned stuff being bad. Or was that just for veggies?

Anyway… I only had 30 minutes until everyone under the roof starved and was already starting to get complaints about hunger pains so I searched the web until I found a recipe that sounded tasty and didn’t include canned soup.

This recipe is a winner! And I love how versatile I can be with the veggies. Next time I’m going to try some spinach. Delicious, nutritious, and the kids liked it. Added bonus.

tuna noodle casserole

[Read more…]

Green Monster Smoothies {Breakfast Recipe}

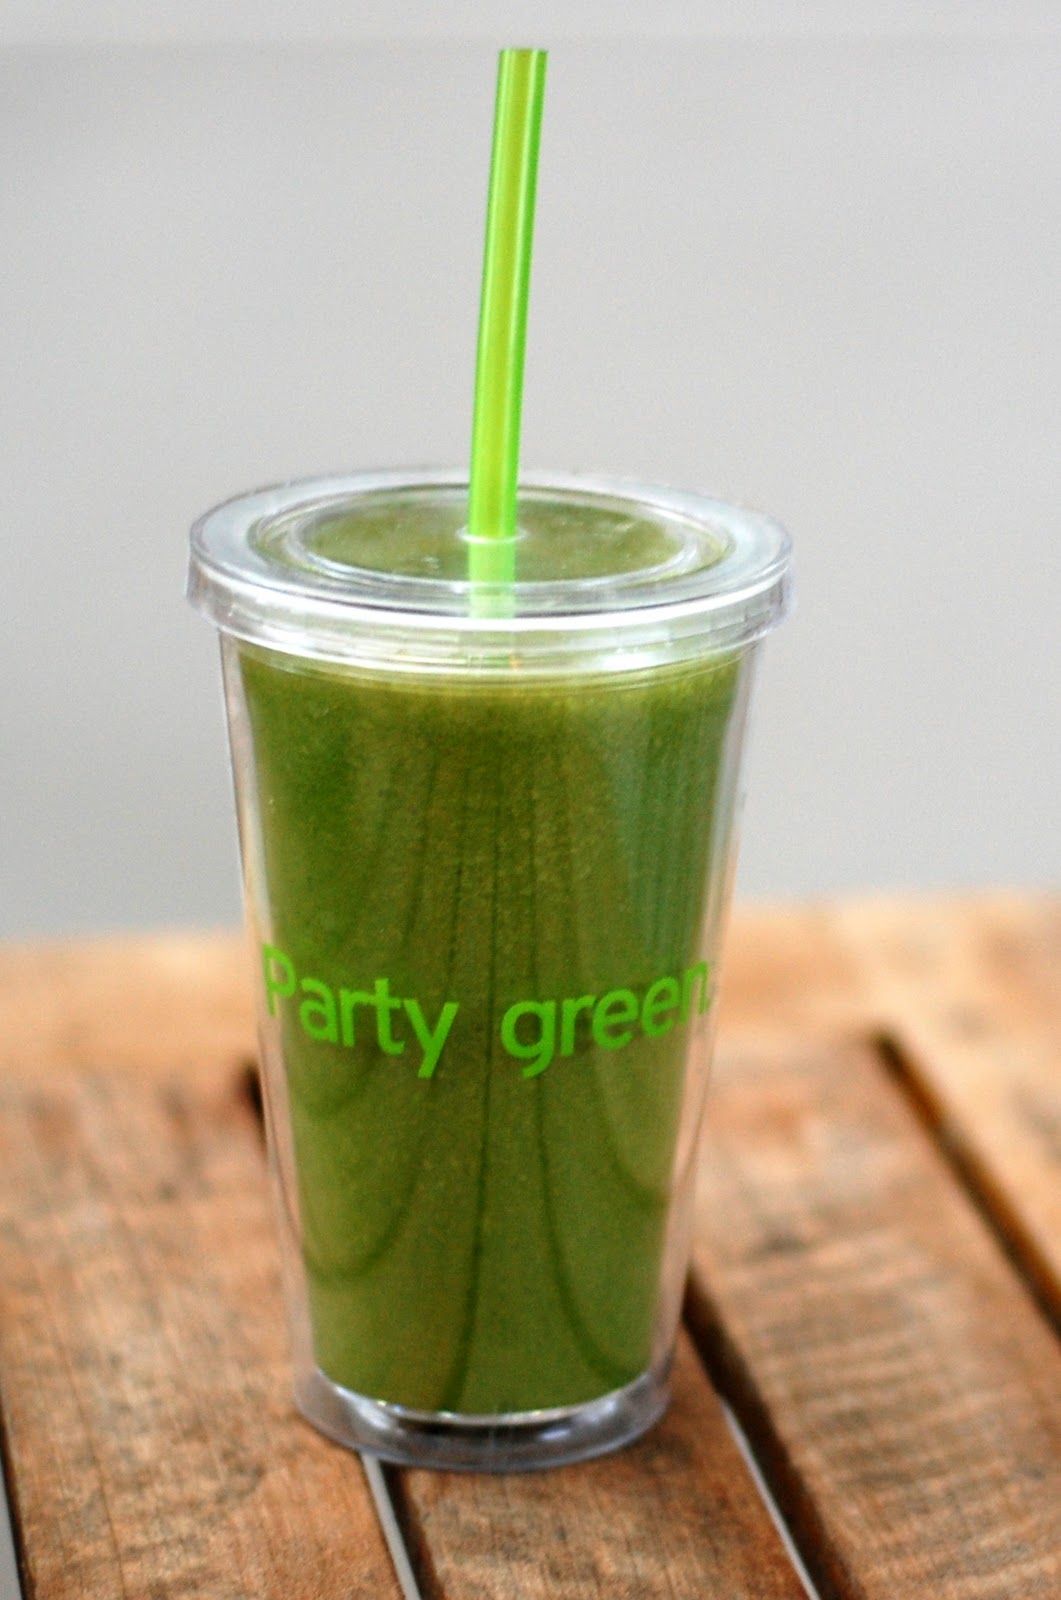
Green Monster Smoothie

One of my favorite new ways to get greens into my kids is by blending them up into smoothie form. And this smoothie started it all. Now this is just your basic Green Monster. There are so many different variations of this smoothie and my kids and I love to experiment with what we put in it when we make it.

For some awesome ways to shake up the original recipe check out my friend CB’s Green Monster journey over on her blog See Cupcake Run. Just search for “green monster” since I’m not sure how to link to one of her categories.

Green Monster Smoothie

  • 1 cup milk
  • 1 ripe, frozen banana, peeled
  • 3 handfuls organic spinach
  • 1 tablespoon ground flax
  • 1 tablespoon peanut butter (or PB2)
  • 4-5 ice cubes

Add 1 cup of milk to the blender.

Now add in the chia or flax (if using) and nut butter.

Next, add in the spinach followed by the banana on top.

Blend until smooth.

Add in your ice cubes and blend some more.

Serves 2 | 4 WW pp+ with PB2 (not including banana)

Meatballs and Polenta {Dinner Recipe}

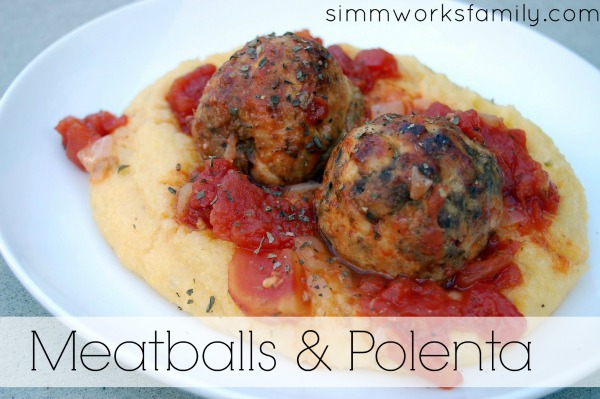
When I’m in need of a comfort meal the first dish that comes to mind is my Meatballs & Polenta. I’ve been making this dish for almost a year now after seeing it on my friend CB’s blog, Two Pink Hippos, and trying it out with a few changes. Now I make it at least once a month and love how versatile it is.

Plus I can never get over how easy it is to make polenta!

When I’m rushing to put dinner together 4 times out of 5 I always forget to start the grain or starch. So I’ve been saved quite a few times by quick cooking dried polenta. And the frozen brown rice from Trader Joe’s.

This is one of those meals that you can make ahead, freeze, and pull out when you want them too. So it’s the perfect dish to make for expecting mamas, friends in need, and any other meal in between. Plus you can turn left over meatballs into a meatball sandwich for the next day’s lunch. Mmmm…

Meatballs & Polenta

[Read more…]

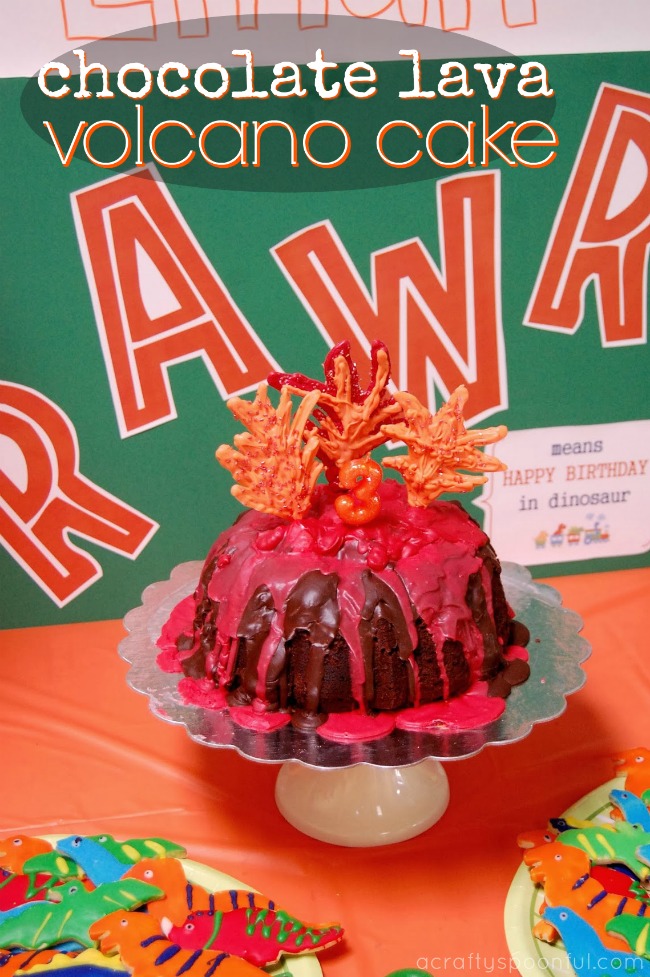
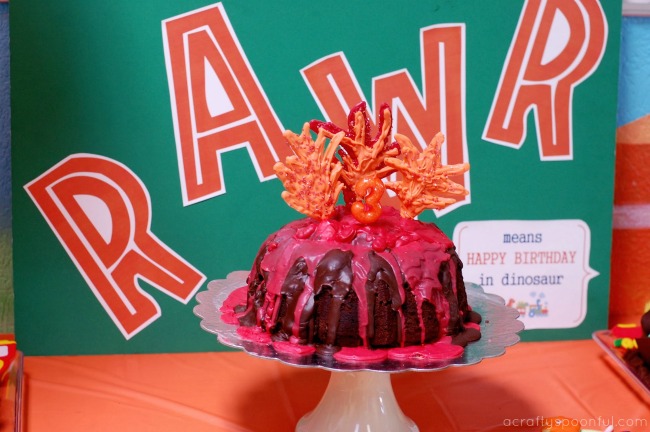
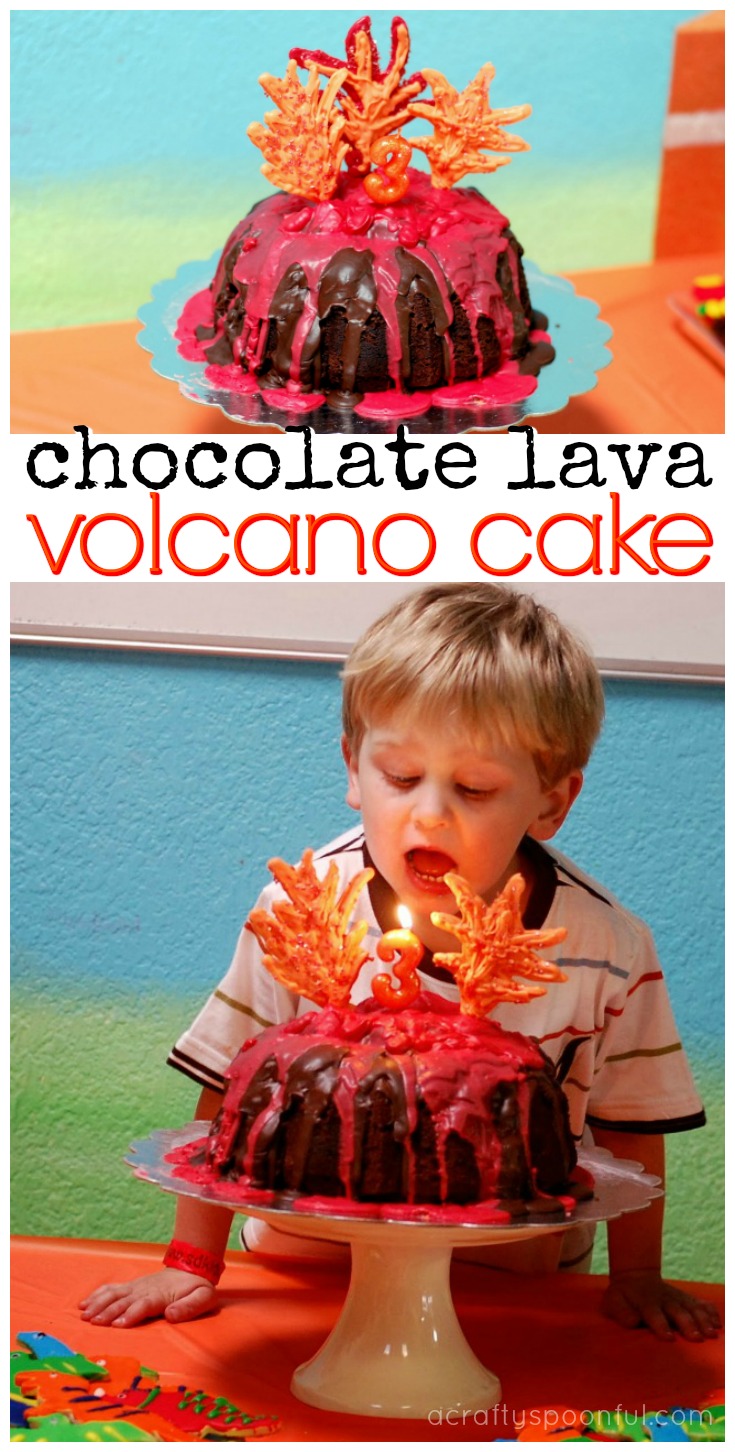
How to Make a Chocolate Lava Volcano Cake

This easy tutorial on how to make a chocolate lava volcano cake will help you create the perfect dino-themed cake.


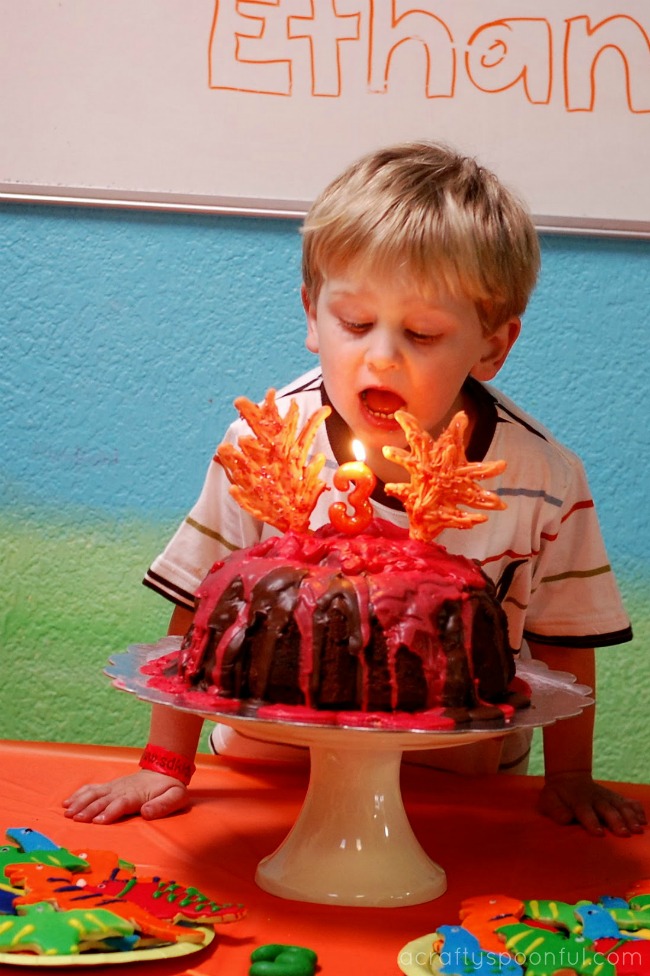
As you know, my son is OBSESSED with Dinosaur Train. It’s pretty much the best TV show ever according to him. So when we were planning his Dinosaur Train party, we knew we had to have a volcano cake. 

Not only does this incorporate some of his favorite things (chocolate and volcanoes), it was the perfect centerpiece for our dessert table! Plus it was so easy to make. Just use our delicious devil’s food cake and bake up in a bundt pan then follow the instructions below. 

You’re a few steps away from your own chocolate lava volcano cake! 

Chocolate Lava Volcano Cake

Devil’s Food Cake

  • 2 1/3 cups all-purpose flour
  • 1 cup unsweetened cocoa powder, sifted
  • 1 1/2 tsp. baking powder
  • 1/2 tsp. baking soda
  • 1/2 tsp. salt
  • 12 tablespoons (1 1/2 sticks) unsalted butter, at room temperature
  • 2 cups firmly packed light brown sugar
  • 2 tsp. vanilla extract
  • 4 eggs, at room temperature 
  • 1 1/2 cups buttermilk, at room temperature

Preheat an oven to 350°F. Butter and sprinkle the pan with cocoa powder (make sure you get every nook and cranny).

In a large bowl, sift together the flour, cocoa powder, baking powder, baking soda, and salt; set aside.

In another large bowl, using an electric mixer beat the butter on medium speed until smooth. Gradually add the brown sugar and continue beating until fluffy. Beat in the vanilla. Add the eggs one at a time, beating well after each addition.

Reduce the speed to low and add the flour mixture in three additions, alternating with the buttermilk and beginning and ending with the flour, beating after each addition.

Divide the batter between the prepared liners. Bake until a toothpick inserted into the center of a cake comes out clean, 55 to 60 minutes. Transfer the cake and let cool for 15 minutes. Turn the cake out onto a wire rack and let cool completely before frosting and decorating.

Chocolate Glaze

  • 1/4 cup chocolate pieces, semisweet
  • 1 tablespoon butter or margarine
  • 1/2 cup powdered sugar
  • 1 1/2 tablespoons milk

In a small saucepan, melt chocolate with butter. Remove from heat and beat in powdered sugar adding milk gradually until mixture is a pourable consistency. Immediately pour onto cake once it’s done.

To Assemble the Cake

  • 1 cup large marshmallows
  • 1 bag red chocolate candy melts
  • 1 bag orange chocolate candy melts 
  • red and/or orange glitter sprinkles
  • 3 round lollipop sticks
  • piping bags or plastic bag

 Move the bundt cake onto a cake plate and fill the center with marshmallows. Top the marshmallows with chocolate glaze and allow glaze to drizzle over the sides of the cake.

Melt 1/2 of the red chocolates and pour over the chocolate glaze to create the lava. Allow to drizzle over the sides of the cake and make sure to coat the middle where the marshmallows are. Let set.

While the chocolate is setting melt remaining red chocolates. Line your counter with wax paper and tape it down. Set the three lollipop sticks down spaced apart. These will be the flames of your cake. You can either free-hand the flames or print out a template and put the template under your wax paper.

When the chocolate is melted pour or scoop it into a piping bag and cut off the tip. Draw your flames around the lollipop sticks and make sure to coat the stick well. Leave about an inch at the end to stick into your cake. Top chocolate with some sprinkles to make them pop while the chocolate is still melted. Repeat with the orange candy melts until you get the desired look you want for your flames.

Once the chocolate has set (I waited about 1/2 an hour) you can stick the flames into the middle of your cake. Ta-Da! A chocolate lava volcano cake worthy of any prehistoric party.   

Have you hosted a dino themed party? What was your favorite part? 

Love what you read? Find more great dino-themed ideas below: 

Pin this article for later! 

Click the Pin button on the image below to save for later. 


The Perfect Birthday Pancakes {How-To}

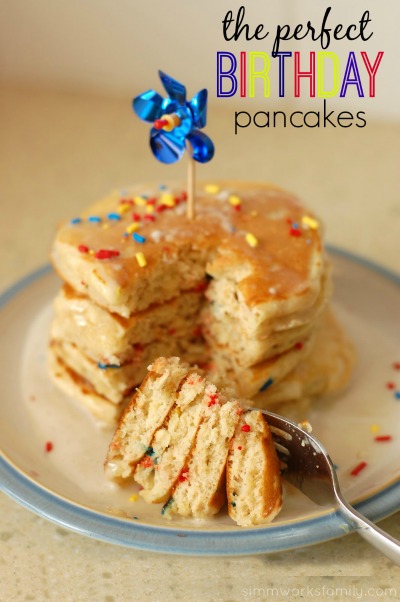
The Perfect Birthday Pancakes

Our family loves pancakes and waffles. But we hardly ever get to making them on weekdays. So when my son asked for pancakes on the morning of his birthday I had to give in. But I couldn’t just make any normal pancake. They needed to be special birthday pancakes! So I grabbed a box of multigrain pancake mix from Trader Joe’s and got to work.

Here’s how to make the perfect birthday pancakes:

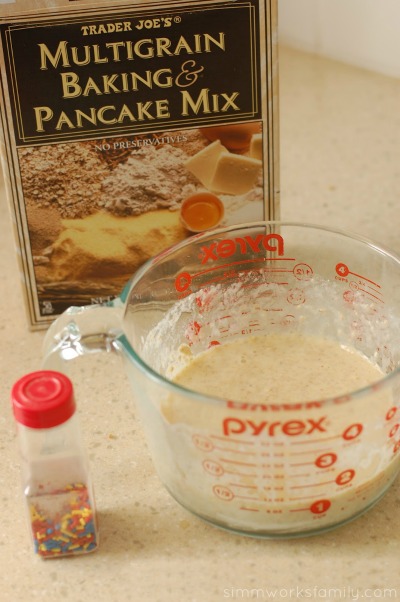
Perfect Birthday Pancakes ingredients

1. If you aren’t making your pancakes from scratch (they’re super easy to do!) pick out a multigrain mix. Grab the sprinkles while you’re in the pantry.

2. Mix ingredients together and let the batter sit and thicken. This will allow the batter to thicken and make fluffier pancakes. You can add in sprinkles now or wait till later.

3. Preheat your skillet on medium. You’ll know it’s ready when you place a  few drops of water on it and they sizzle and evaporate quickly.

4. Grease skillet with butter. Then wipe away any excess with a towel.

Perfect Birthday Pancakes adding sprinkles

5. Place no more than 1/4 cup of batter for each pancake (unless you’re a pancake master). Sprinkle each pancake with sprinkles and set timer for 1.5 minutes.

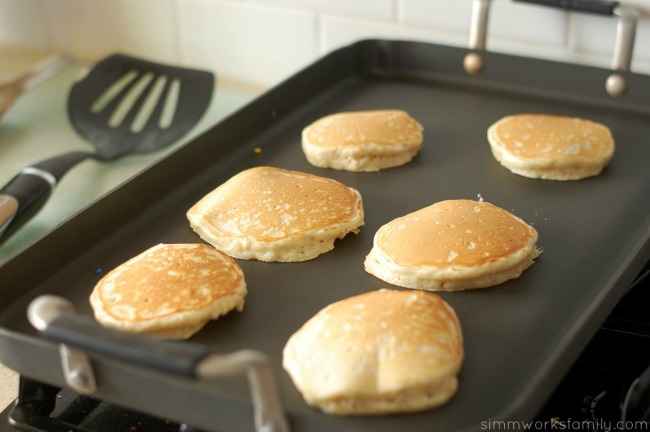
Perfect Birthday Pancakes baking

6. Turn pancakes when the edges start to bubble or when timer goes off, whichever comes first. The pancakes should be golden brown.

7. Let the other side cook for 1-1.5 minutes or until golden brown.

8. Place pancakes aside and cover loosely to keep warm. You can also put them in a 200 degree oven if you have a lot of pancakes to make.

9. Make a special icing instead of using syrup and butter. Take 1/2 a cup of powdered sugar and add in 1-2 tablespoons of milk. Stir vigorously to combine and remove lumps. Add more milk if too thick. Add 1-2 teaspoons of maple syrup to the icing.

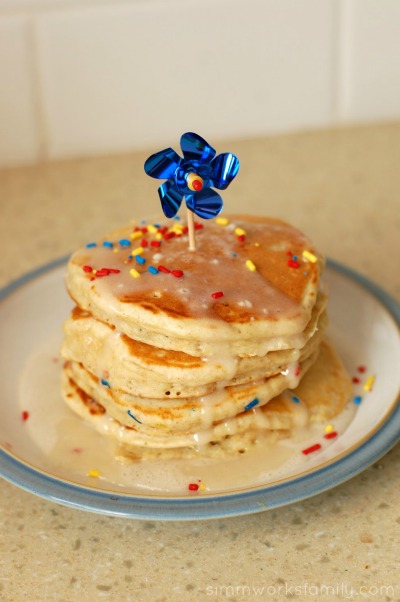
10. Top with icing, sprinkle more sprinkles on top and include a candle or fun cupcake topper to make this special stack of pancakes perfect.

Enjoy!

Perfect Birthday Pancakes stacked

What do you do to make your child’s birthday special? 

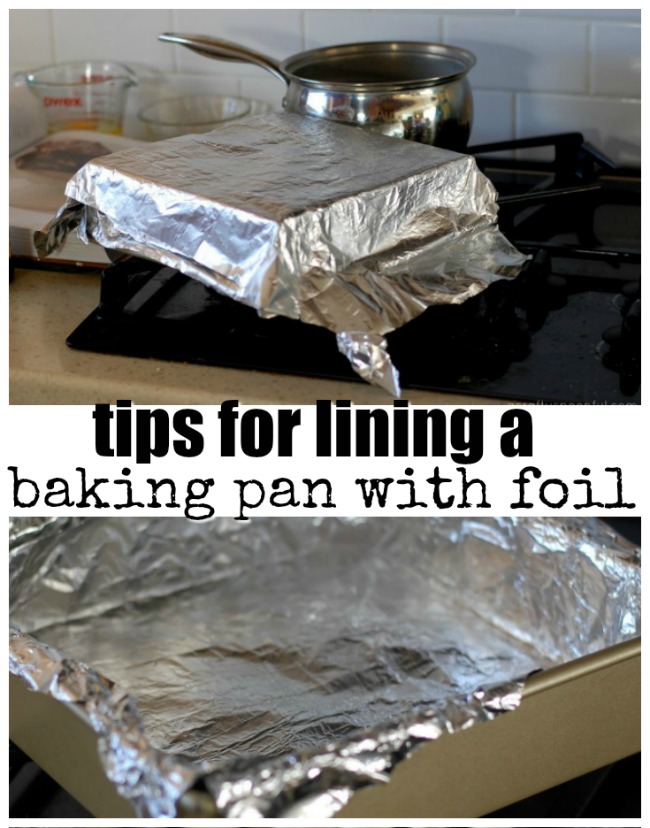
Lining a Baking Pan with Foil {Tips and Tricks}

Find out the easy way for lining a baking pan with foil! Plus learn more tips and tricks in the kitchen. 

One tradition we have in our family is a cookie party after the holidays. Every year on the day before the cookie party we make all of the cookies. So I headed over to my husband’s aunt’s house to help out with the cookie baking. Now by cookie baking, I mean cookie baking. Like 8 different types of cookies. Lots. Of. Cookies.

While making the cookies this year we had an oops. We were melting chocolate and it seized. So we had to figure out something to do with it. And I decided to try and make brownies… or so I thought. The “brownies” I made didn’t turn out so well but the tip I learned while making the brownies… priceless!

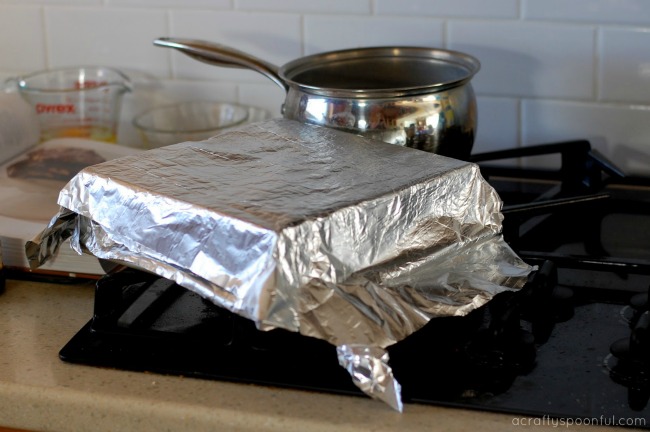
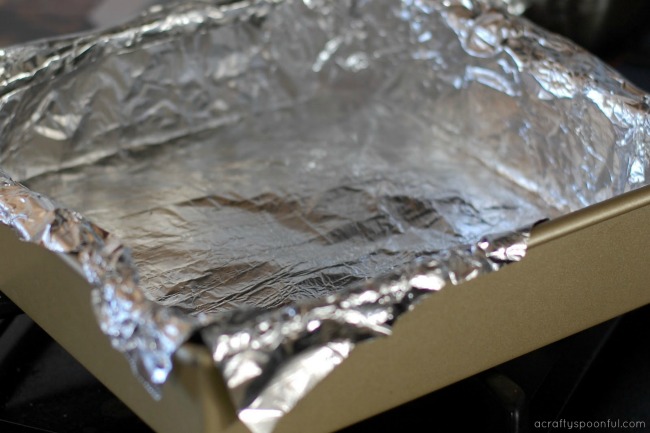
My husband’s aunt saw me trying to line the pan with foil and quickly showed me this neat trick. Maybe I’m the last one to know about it but I thought I’d share anyway just in case anyone else didn’t know!

Lining a Baking Pan with Foil

  1. Simply turn over the pan and place the foil on the pan. 
  2. Form the foil to the pan.
  3. Take the foil off and turn the pan around. 
  4. Line the pan and make your brownies!


© A Crafty Spoonful - All Rights Reserved
It is OK to use one of my photos provided a link back and/or proper credit is given. It is NOT ok to copy and paste a whole post including instructions. Please do not remove watermarks or alter images in any way. Please contact me with any questions at danielle@acraftyspoonful.com

.