Curry Tuna Melt {Lunch Recipe}

Every Friday during Lent I scramble for a great alternative to our usual meat filled lunches. Usually I have a salad with grilled chicken and I make the kids a sandwich, leftovers, etc. But in an effort to stick with meatless meals I turn to fish to make sure my kids are getting the protein they need.

I’ve recently been really lucky with my garden and have a great supply of celery, green onions, and cilantro. So I’ve tried to find various ways to use them up. I started to think of what cuisines uses these different ingredients and how and immediately I thought of Indian food. So I grabbed some curry powder, picked some veggies from the garden, and started mixing.

What I ended up with was a delicious dish that is sure to make any boring lunch into a great one. The kids even enjoyed it and split one amongst themselves. They were even more excited about the fact that we used the veggies from our garden to make the sandwich.
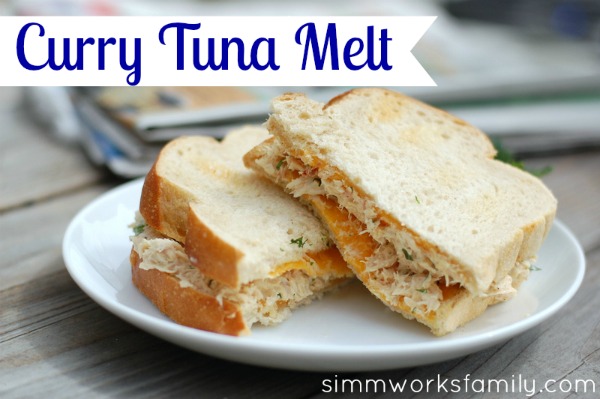
Curry Tuna Melt

[Read more…]

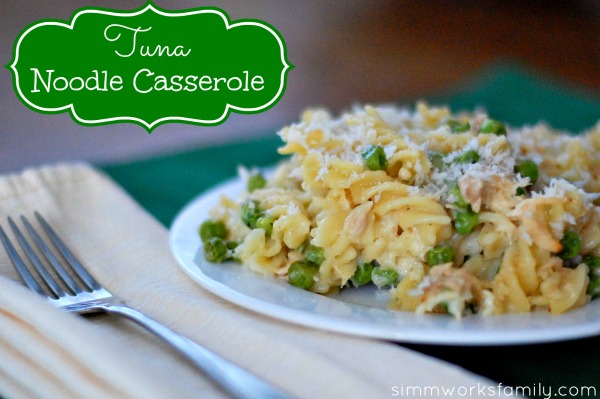
Tuna Noodle Casserole {Dinner Recipe}

I’ve been pretty bad about keeping the cupboards stocked lately. I started to get lazy when it came to dinner planning and have been making sandwiches or eating what’s in the freezer to make up for it. So when Lent came around I was not prepared for a non-meat dish for dinner. But I didn’t have to worry… we always have the ingredients on hand for tuna noodle casserole. It’s a family favorite.

Only we were out of cream of mushroom AND cream of celery condensed soup.

So I went in search for an alternative. It was about time. I mean… really… I, er, we don’t need all of that extra sodium and additives. Plus I’m sure I read somewhere about canned stuff being bad. Or was that just for veggies?

Anyway… I only had 30 minutes until everyone under the roof starved and was already starting to get complaints about hunger pains so I searched the web until I found a recipe that sounded tasty and didn’t include canned soup.

This recipe is a winner! And I love how versatile I can be with the veggies. Next time I’m going to try some spinach. Delicious, nutritious, and the kids liked it. Added bonus.

tuna noodle casserole

[Read more…]

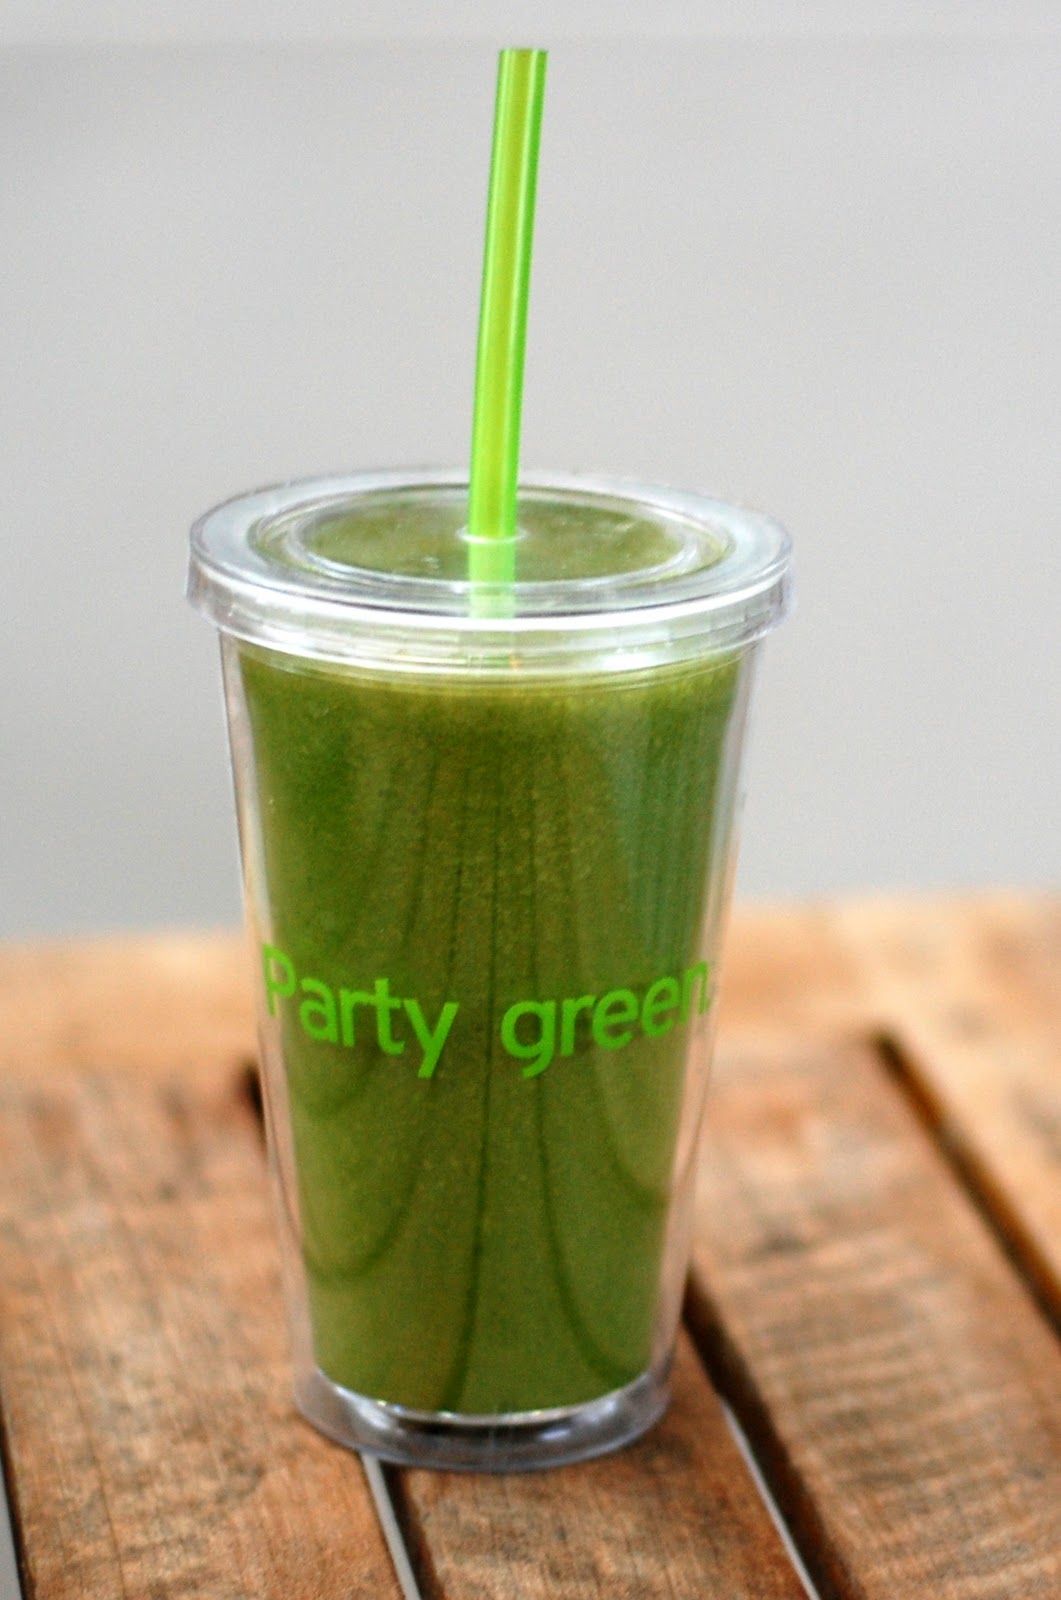
Green Monster Smoothies {Breakfast Recipe}

Green Monster Smoothie

One of my favorite new ways to get greens into my kids is by blending them up into smoothie form. And this smoothie started it all. Now this is just your basic Green Monster. There are so many different variations of this smoothie and my kids and I love to experiment with what we put in it when we make it.

For some awesome ways to shake up the original recipe check out my friend CB’s Green Monster journey over on her blog See Cupcake Run. Just search for “green monster” since I’m not sure how to link to one of her categories.

Green Monster Smoothie

  • 1 cup milk
  • 1 ripe, frozen banana, peeled
  • 3 handfuls organic spinach
  • 1 tablespoon ground flax
  • 1 tablespoon peanut butter (or PB2)
  • 4-5 ice cubes

Add 1 cup of milk to the blender.

Now add in the chia or flax (if using) and nut butter.

Next, add in the spinach followed by the banana on top.

Blend until smooth.

Add in your ice cubes and blend some more.

Serves 2 | 4 WW pp+ with PB2 (not including banana)

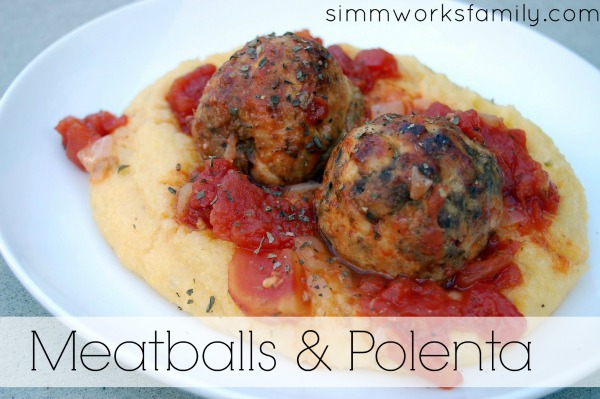
Meatballs and Polenta {Dinner Recipe}

When I’m in need of a comfort meal the first dish that comes to mind is my Meatballs & Polenta. I’ve been making this dish for almost a year now after seeing it on my friend CB’s blog, Two Pink Hippos, and trying it out with a few changes. Now I make it at least once a month and love how versatile it is.

Plus I can never get over how easy it is to make polenta!

When I’m rushing to put dinner together 4 times out of 5 I always forget to start the grain or starch. So I’ve been saved quite a few times by quick cooking dried polenta. And the frozen brown rice from Trader Joe’s.

This is one of those meals that you can make ahead, freeze, and pull out when you want them too. So it’s the perfect dish to make for expecting mamas, friends in need, and any other meal in between. Plus you can turn left over meatballs into a meatball sandwich for the next day’s lunch. Mmmm…

Meatballs & Polenta

[Read more…]

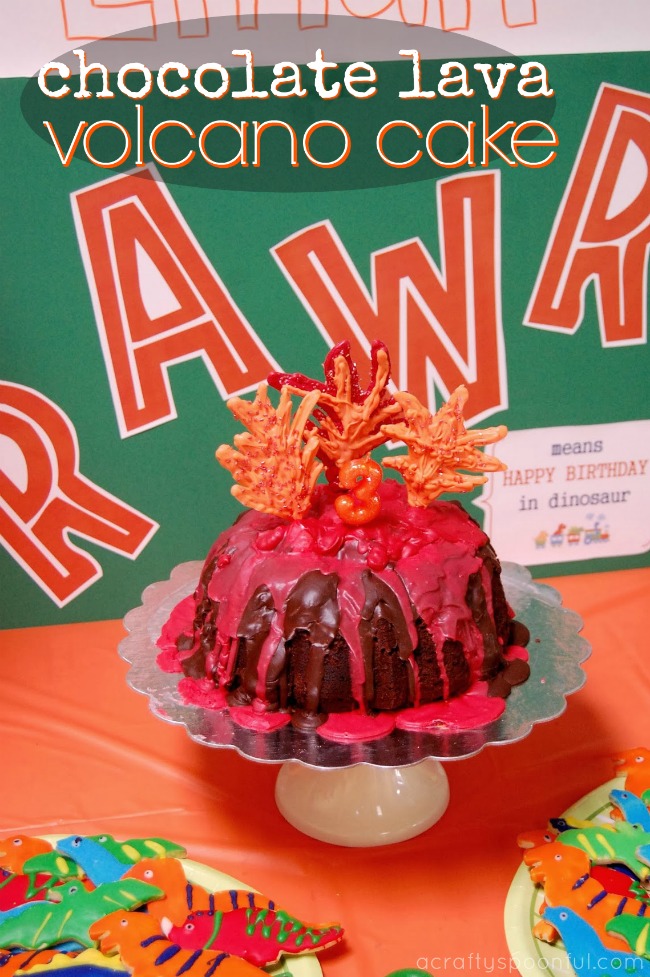
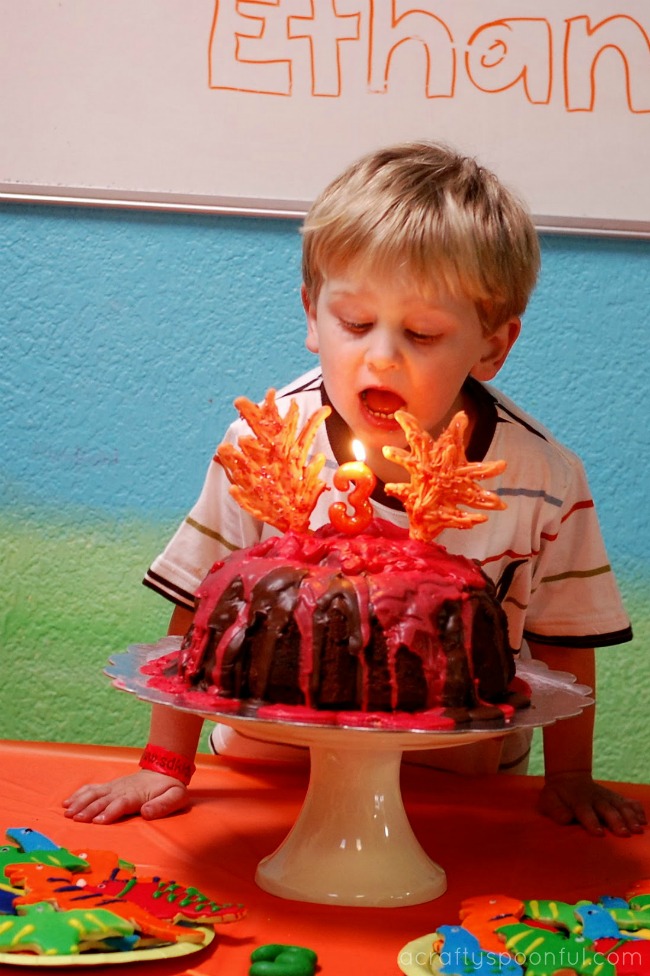
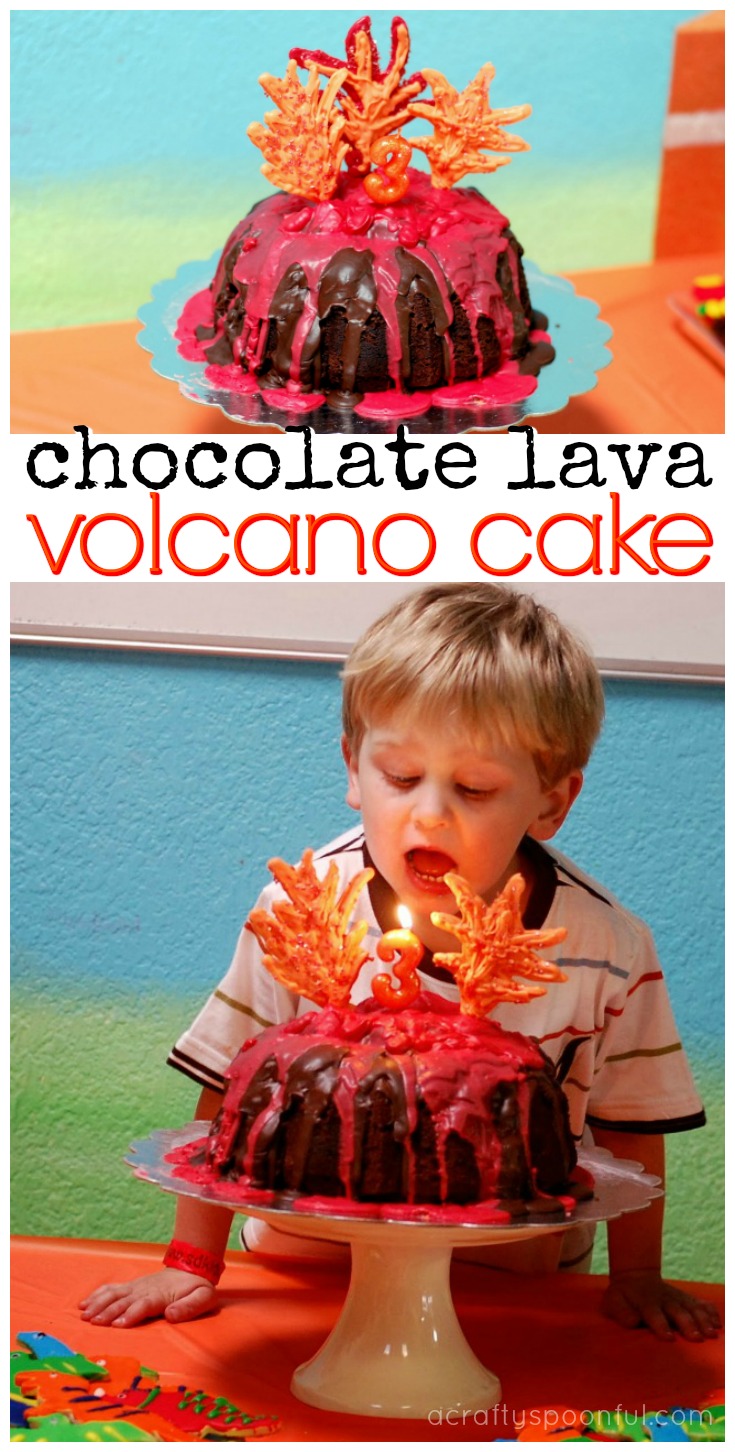
How to Make a Chocolate Lava Volcano Cake

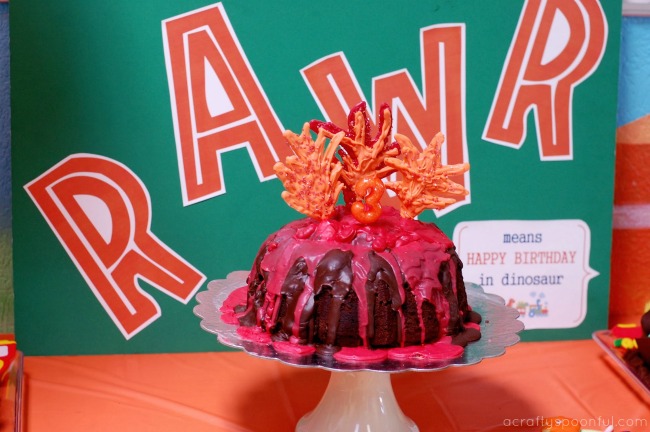
This easy tutorial on how to make a chocolate lava volcano cake will help you create the perfect dino-themed cake.


As you know, my son is OBSESSED with Dinosaur Train. It’s pretty much the best TV show ever according to him. So when we were planning his Dinosaur Train party, we knew we had to have a volcano cake. 

Not only does this incorporate some of his favorite things (chocolate and volcanoes), it was the perfect centerpiece for our dessert table! Plus it was so easy to make. Just use our delicious devil’s food cake and bake up in a bundt pan then follow the instructions below. 

You’re a few steps away from your own chocolate lava volcano cake! 

Chocolate Lava Volcano Cake

Devil’s Food Cake

  • 2 1/3 cups all-purpose flour
  • 1 cup unsweetened cocoa powder, sifted
  • 1 1/2 tsp. baking powder
  • 1/2 tsp. baking soda
  • 1/2 tsp. salt
  • 12 tablespoons (1 1/2 sticks) unsalted butter, at room temperature
  • 2 cups firmly packed light brown sugar
  • 2 tsp. vanilla extract
  • 4 eggs, at room temperature 
  • 1 1/2 cups buttermilk, at room temperature

Preheat an oven to 350°F. Butter and sprinkle the pan with cocoa powder (make sure you get every nook and cranny).

In a large bowl, sift together the flour, cocoa powder, baking powder, baking soda, and salt; set aside.

In another large bowl, using an electric mixer beat the butter on medium speed until smooth. Gradually add the brown sugar and continue beating until fluffy. Beat in the vanilla. Add the eggs one at a time, beating well after each addition.

Reduce the speed to low and add the flour mixture in three additions, alternating with the buttermilk and beginning and ending with the flour, beating after each addition.

Divide the batter between the prepared liners. Bake until a toothpick inserted into the center of a cake comes out clean, 55 to 60 minutes. Transfer the cake and let cool for 15 minutes. Turn the cake out onto a wire rack and let cool completely before frosting and decorating.

Chocolate Glaze

  • 1/4 cup chocolate pieces, semisweet
  • 1 tablespoon butter or margarine
  • 1/2 cup powdered sugar
  • 1 1/2 tablespoons milk

In a small saucepan, melt chocolate with butter. Remove from heat and beat in powdered sugar adding milk gradually until mixture is a pourable consistency. Immediately pour onto cake once it’s done.

To Assemble the Cake

  • 1 cup large marshmallows
  • 1 bag red chocolate candy melts
  • 1 bag orange chocolate candy melts 
  • red and/or orange glitter sprinkles
  • 3 round lollipop sticks
  • piping bags or plastic bag

 Move the bundt cake onto a cake plate and fill the center with marshmallows. Top the marshmallows with chocolate glaze and allow glaze to drizzle over the sides of the cake.

Melt 1/2 of the red chocolates and pour over the chocolate glaze to create the lava. Allow to drizzle over the sides of the cake and make sure to coat the middle where the marshmallows are. Let set.

While the chocolate is setting melt remaining red chocolates. Line your counter with wax paper and tape it down. Set the three lollipop sticks down spaced apart. These will be the flames of your cake. You can either free-hand the flames or print out a template and put the template under your wax paper.

When the chocolate is melted pour or scoop it into a piping bag and cut off the tip. Draw your flames around the lollipop sticks and make sure to coat the stick well. Leave about an inch at the end to stick into your cake. Top chocolate with some sprinkles to make them pop while the chocolate is still melted. Repeat with the orange candy melts until you get the desired look you want for your flames.

Once the chocolate has set (I waited about 1/2 an hour) you can stick the flames into the middle of your cake. Ta-Da! A chocolate lava volcano cake worthy of any prehistoric party.   

Have you hosted a dino themed party? What was your favorite part? 

Love what you read? Find more great dino-themed ideas below: 

Pin this article for later! 

Click the Pin button on the image below to save for later. 


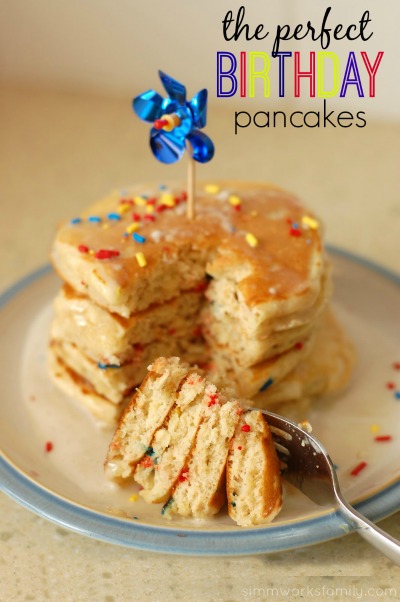
The Perfect Birthday Pancakes {How-To}

The Perfect Birthday Pancakes

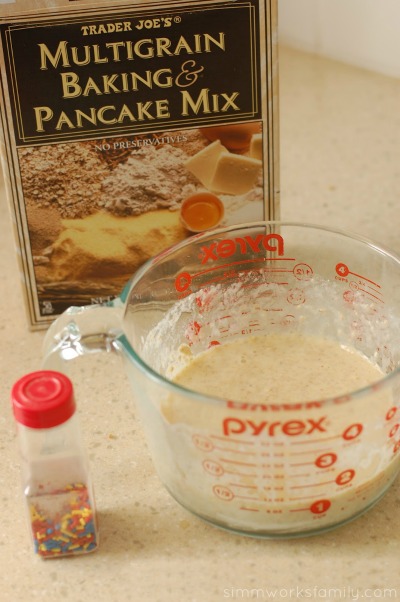
Our family loves pancakes and waffles. But we hardly ever get to making them on weekdays. So when my son asked for pancakes on the morning of his birthday I had to give in. But I couldn’t just make any normal pancake. They needed to be special birthday pancakes! So I grabbed a box of multigrain pancake mix from Trader Joe’s and got to work.

Here’s how to make the perfect birthday pancakes:

Perfect Birthday Pancakes ingredients

1. If you aren’t making your pancakes from scratch (they’re super easy to do!) pick out a multigrain mix. Grab the sprinkles while you’re in the pantry.

2. Mix ingredients together and let the batter sit and thicken. This will allow the batter to thicken and make fluffier pancakes. You can add in sprinkles now or wait till later.

3. Preheat your skillet on medium. You’ll know it’s ready when you place a  few drops of water on it and they sizzle and evaporate quickly.

4. Grease skillet with butter. Then wipe away any excess with a towel.

Perfect Birthday Pancakes adding sprinkles

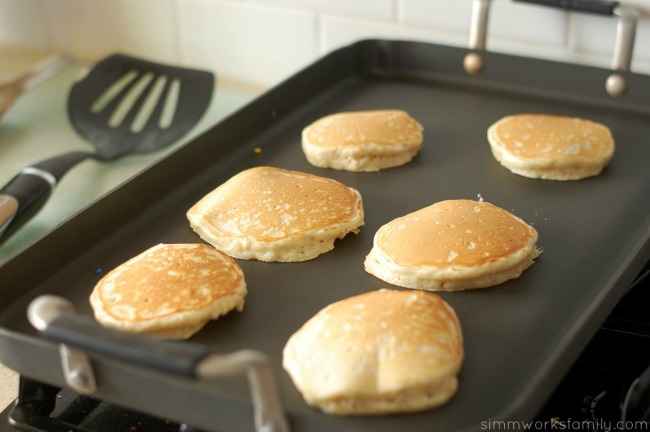
5. Place no more than 1/4 cup of batter for each pancake (unless you’re a pancake master). Sprinkle each pancake with sprinkles and set timer for 1.5 minutes.

Perfect Birthday Pancakes baking

6. Turn pancakes when the edges start to bubble or when timer goes off, whichever comes first. The pancakes should be golden brown.

7. Let the other side cook for 1-1.5 minutes or until golden brown.

8. Place pancakes aside and cover loosely to keep warm. You can also put them in a 200 degree oven if you have a lot of pancakes to make.

9. Make a special icing instead of using syrup and butter. Take 1/2 a cup of powdered sugar and add in 1-2 tablespoons of milk. Stir vigorously to combine and remove lumps. Add more milk if too thick. Add 1-2 teaspoons of maple syrup to the icing.

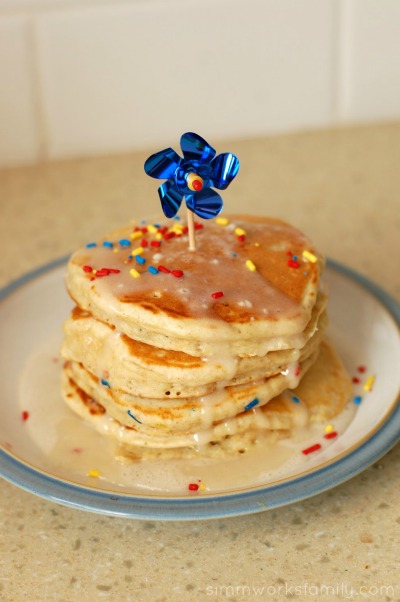
10. Top with icing, sprinkle more sprinkles on top and include a candle or fun cupcake topper to make this special stack of pancakes perfect.

Enjoy!

Perfect Birthday Pancakes stacked

What do you do to make your child’s birthday special? 

Food, Nutrition, and Health Tips for Kids

Food Nutrition and Health Tips for Kids - great snack and meal ideas

One of the biggest problems I have when it comes to my toddler and eating is that he doesn’t eat meals like I do. He would much rather snack all day then have large meals.

So in order to get him to eat during the day I let him have small snacks every two to three hours versus a set breakfast, lunch and dinner. And because it’s so easy to grab a pre-packaged snack from the cupboard I needed to find some simple, quick, healthy snack ideas to keep him fueled throughout the day. [Read more…]

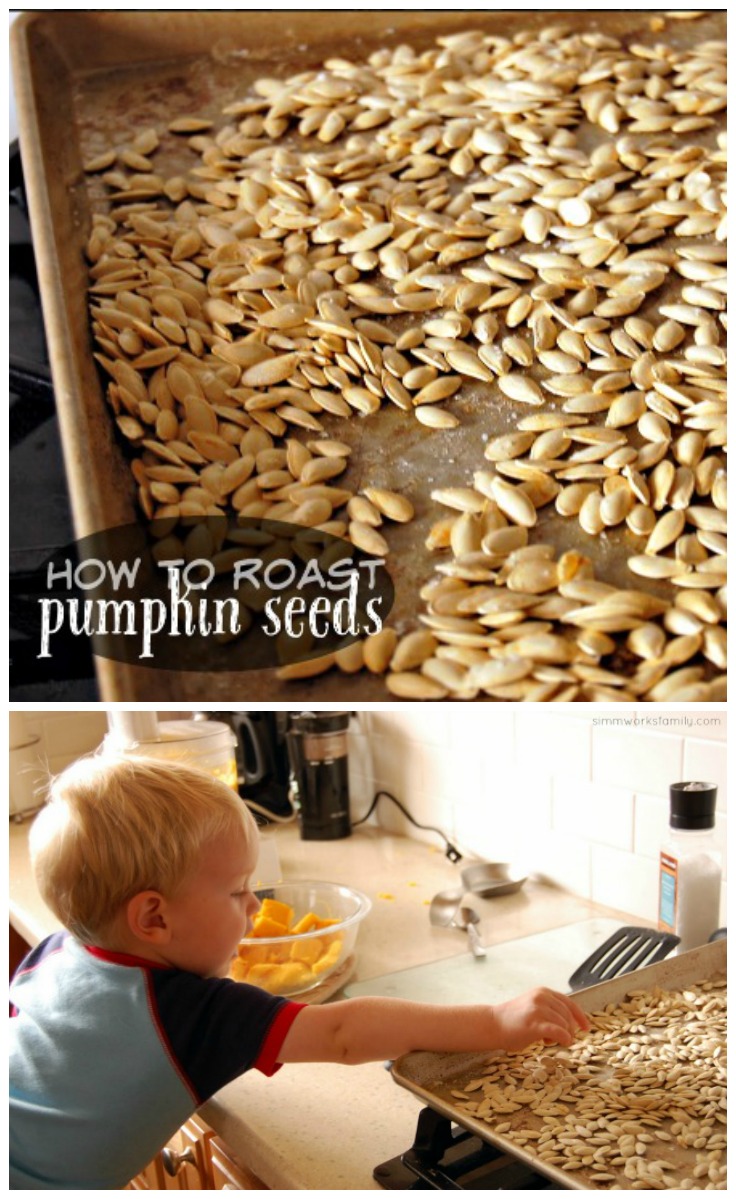
How to Roast Pumpkin Seeds

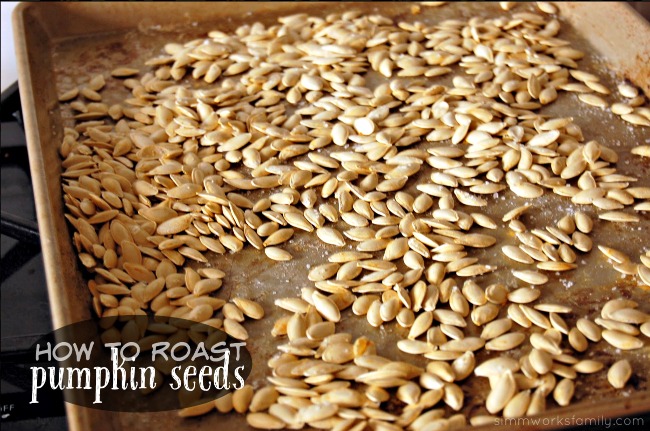
Have you ever eaten pumpkin seeds? How to roast pumpkin seeds is so easy and takes only two ingredients!

How To Roast Pumpkin Seeds

One of my favorite memories of fall growing up was when my mom would make pumpkin seeds. She’d bag them up and put them in our lunches or just have them out for an after school snack and they were so good! So I knew it’d be a fun thing to make with my kid this fall. 

After we gutted (or shall I say I gutted) our pie pumpkins we discarded the stringy mess and saved the yummy seeds. I knew this would be a great snack for me to munch on as we made our way to Halloween. You know, so I’d stay out of the candy 🙂

The seeds were yummy and just a little salt went a long way! I’m hoping to use some to top pumpkin muffins or pumpkin bread if I get the chance to make it.

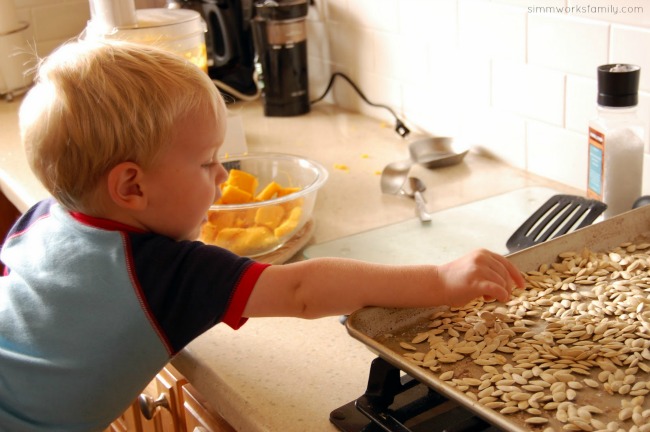
How to Roast Pumpkin Seeds - Ethan eating a few

Pumpkin Seeds

  • Pumpkin seeds (cleaned and dried off)
  • salt (to taste)
  1. Preheat oven to 325.
  2. Lay out pumpkin seeds in a single layer on an un-greased rimmed cookie sheet.
  3. Sprinkle with salt and bake for 25 minutes.
  4. Take out of the oven and let cool.

Make sure you watch you little one or else they may try to come up and steal some while you aren’t looking 🙂 I caught my little guy doing exactly that…

Have you learned how to make pumpkin seeds? 

Loved what you read? Read more: 

Pin this article for later! 

Click the Pin button on the image below to save for later. 

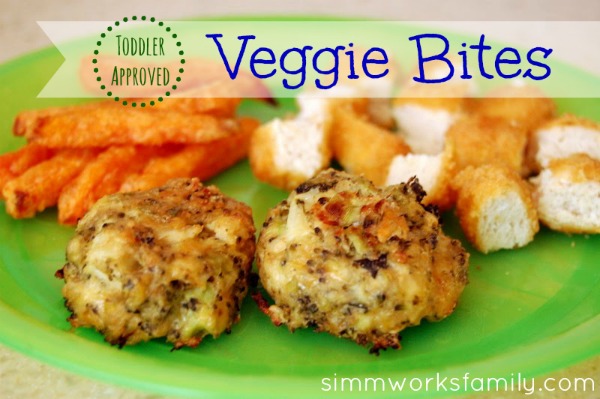
Adventures in Toddler Food: Veggie Bites

My son has been pretty bad at eating his veggies lately. With the vast fluctuation day by day of his appetite we have had very little luck getting the greens in him. He’s much more interested in the colorful fruit we’ve been bringing home this summer. A little too interested…

So I went out in search of a good veggie bite recipe and found a lot online. I got bits and pieces from a lot of different recipes and kinda pieced them together to form this one. And I am quite happy to say that it was a recipe he loved.

Veggie Bites

Veggie Bites

  • 1 bag frozen broccoli & cauliflower, steamed & chopped
  • 1/3 cup Italian seasoned bread crumbs
  • 2/3 cup shredded cheddar
  • 2 eggs

[Read more…]


© A Crafty Spoonful - All Rights Reserved
It is OK to use one of my photos provided a link back and/or proper credit is given. It is NOT ok to copy and paste a whole post including instructions. Please do not remove watermarks or alter images in any way. Please contact me with any questions at danielle@acraftyspoonful.com

.