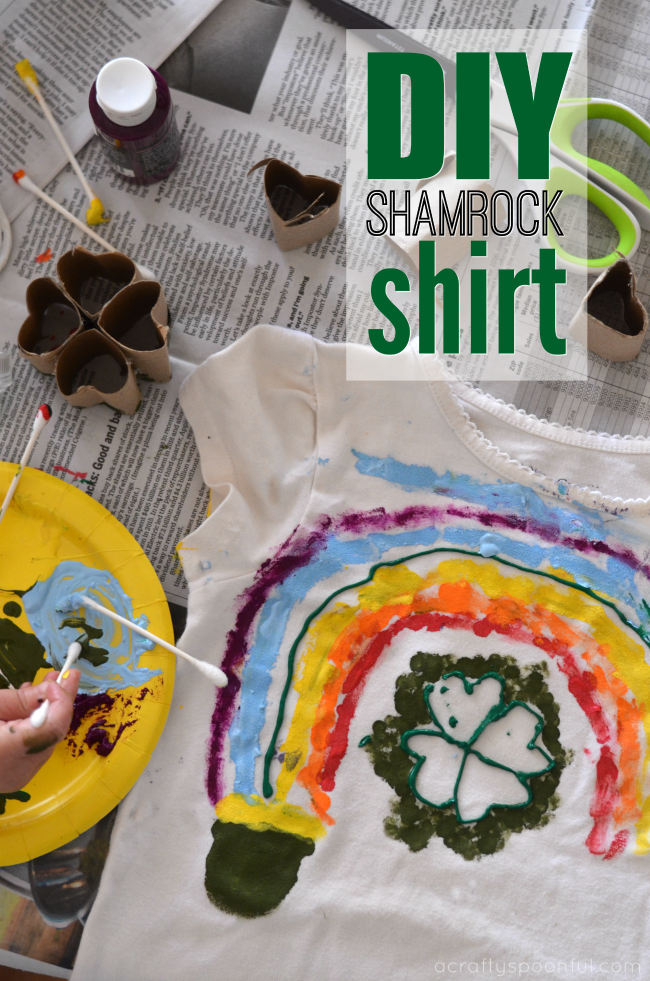
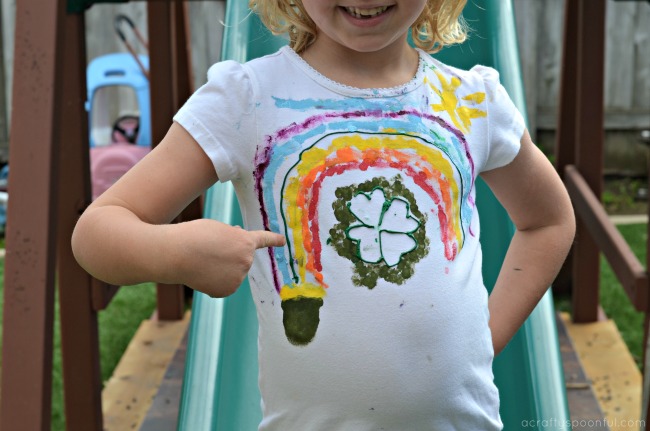
When the kids are home on a weekday because school is out we find an excuse to craft! And with St. Patrick’s Day right around the corner, we decided to make a festive t-shirt for my daughter to wear to school on the holiday. With a cardboard roll, some q-tips, and green paint, you can easily make a shamrock shirt in 30 minutes.
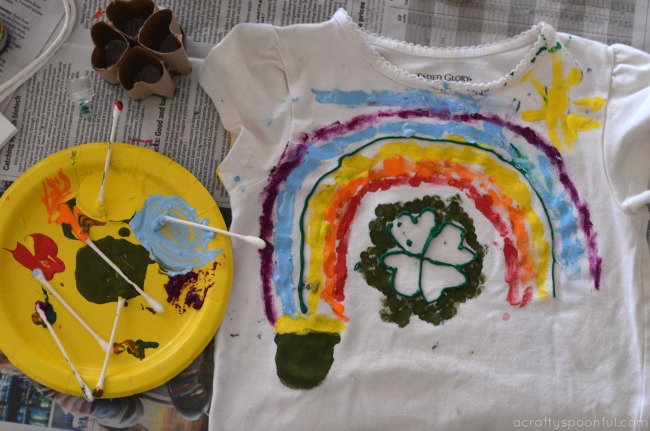
And, if your child is as excited to craft as mine was, you may also end up with a rainbow and pot of gold over your four leaf clover too! Painting with q-tips is fun and using items from around the house to create things allows the kids to think outside of the box! We share some more tips in the Facebook Live video we did below:
DIY Shamrock Shirt with 4-Leaf Cover Stamp
What you’ll need:
- white shirt
- green paint (plus rainbow colors if you want to add a rainbow)
- cardboard tube
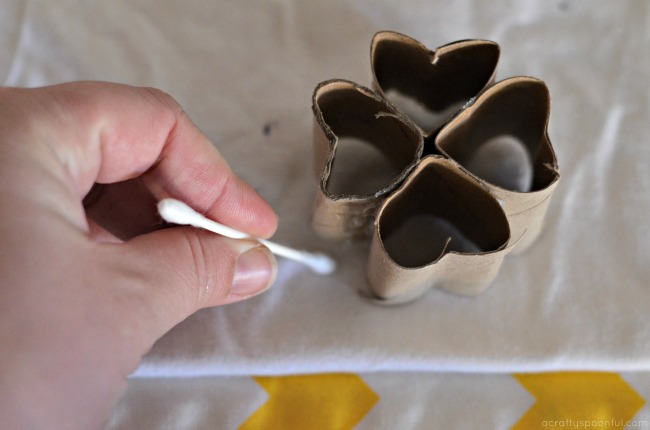
- q-tips
- hot glue gun
- scissors

What you do:
1. Cut cardboard tube into 4 sections.
2. Make a heart with each section by flattening the tube and turning one point into itself.
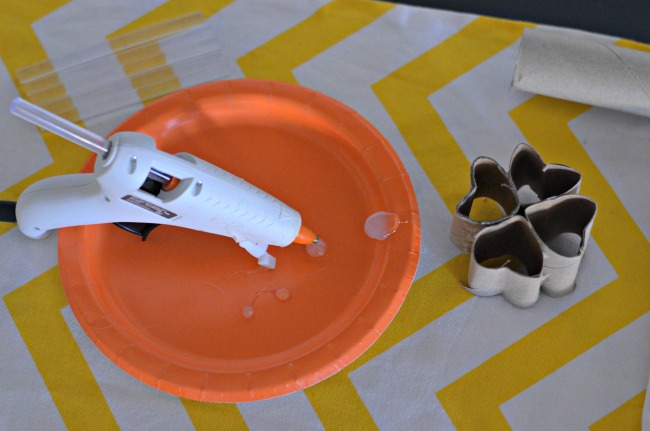
3. Glue all 4 hearts together to form a shamrock.
4. Position shamrock onto shirt. Using the q-tip, dot green paint onto shirt following the shamrock outline.
5. Add a rainbow, pot of gold, or sun to your shirt to finish it off.
6. Let dry fully before wearing.
How do you celebrate St. Patrick’s Day?
Looking for more ways to celebrate? Here are some great recipes to check out!